MULE CROSSING: Mule Conformation
By Meredith Hodges
As in any breeding program, when breeding jacks to mares to obtain mules, there are many variables to be taken into consideration that are basic and pertain to both the jack and the mare. However, there are some variables that are particular to each.
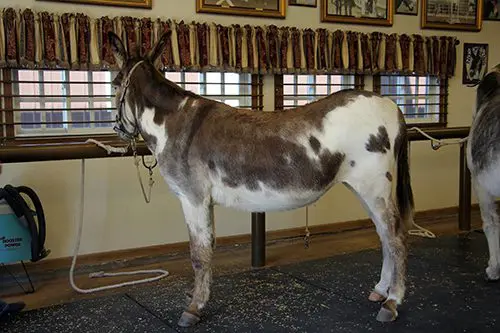
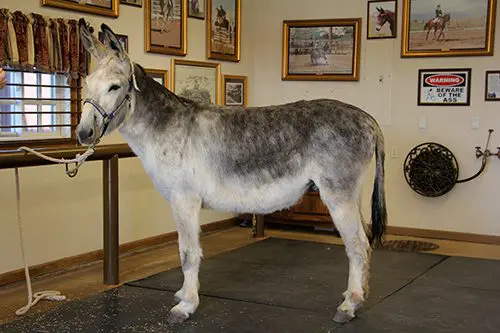
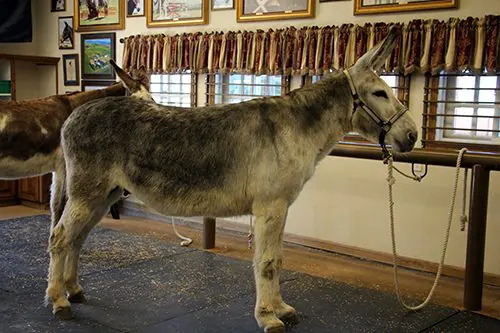
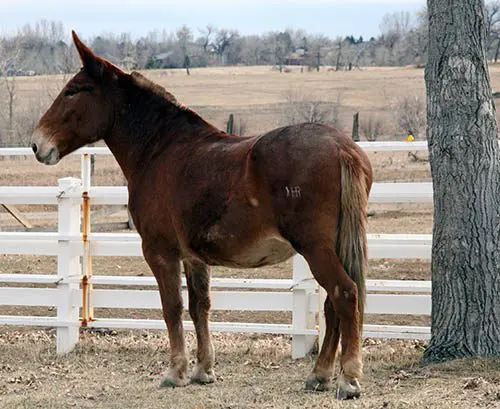
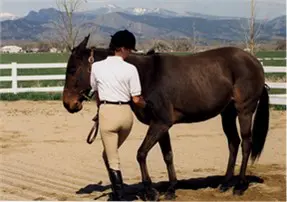
 The ideal mule should have a head that is slightly longer than that of a horse, but proportionate to the size of the mule’s body. The features should be prominent and give an overall pleasant appearance. The ears should have length and be nicely shaped, and the eyes should be large, soft and kind, reflecting the mule’s health and intelligence. The forehead should be broad, tapering to a small and delicate muzzle, with a shallow mouth and well-aligned teeth, and the nostrils should be wide to allow for adequate respiration while working. Both the mare and the jack are responsible for the shaping of these characteristics, but the jack has primary responsibility where the length of the ear and the mass of bone are concerned. A jack with a longer ear will, more often than not, throw a longer ear to the mule, while the shape of the ear is determined primarily by the mare. The attractive or unattractive head of the jack can emerge in the resulting mule, so be sure to carefully consider the head on the jack to be used for breeding to produce an attractive head on your mule offspring. Standard-sized jacks and Large Standard jacks most often have a more refined head, while the head of a Mammoth jack may be less refined and possess
  thicker bone, particularly around the eyes and jaw line. In the case of saddle mule production, massive bone on an otherwise attractive head can be very unattractive, so using the smaller jacks would be better for a more refined look in your saddle mule (which is also true for the rest of the mule’s body).
The neck of the mule should have good length and come well back over the shoulders to the withers, with neither an excessive arch nor a u-shape. The withers should be apparent, but will not be as prominent as that of a horse. Many jacks have a characteristically short, thick neck. If it is passed on to the mule, this shortened and thick neck may inhibit the suppleness and agility of the resulting mule. Since donkeys tend to be rather flat over the withers, a mare with good wither development is also recommended to offset the tendency for this trait in the mule. It’s hard to keep a saddle on a mule with little or no withers, despite the use of cruppers and breeching.


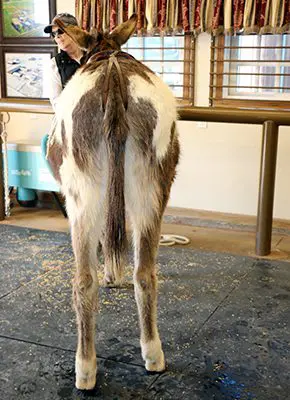
The back of the mule should be slightly shorter than that of a horse and nearly straight with only a gentle slope over the top line and with strength over the loins. The croup should be nicely rounded with smooth muscling (indicative of strength and staying power), with the tail set-in neither too high nor too low. Again, the jack/mare combination must be considered in order to obtain a desirable saddle mule. Both the mare and the jack should have good body length to avoid a “boxy” appearance in the mule.
 The shoulders of the mule should be at a nearly 45-degree angle, with a broad collar surface. Most mares will have this angle, but donkeys have a tendency toward short, steep shoulders, so, to insure that the mule has good shoulders and hips, consider a jack with good length and a lower angle through the shoulders and hips.
The curved ribs of the mule should be well sprung and separated around the torso, and extended (not flat and narrow), and should range close to the hipbone. The flank should be well set down from the croup and just above the stifle with a nearly flat appearance (not as indented as that of a horse). The hip, stifle, and gaskin should all have a smooth-muscled look, not bulging, as seen in many horses. The more bulky-muscled mare is generally crossed with the smooth-muscled jack to create a more bulky, yet smooth musculature in the mule than that of the jack. The contribution of bulk muscling from the mare provides more stability to the inherent smooth muscles from the jack and will enhance athletic performance in your mule athlete.
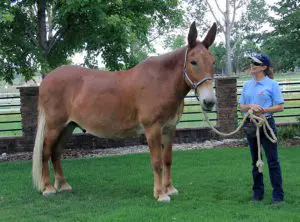 The chest of the mule should be deep and prominent, broad and well developed (it should resemble a turkey’s breast), with little or no line of separation (as is seen in a horse’s chest). Since jacks are generally narrower through the chest than are mares, the mare chosen for breeding should exhibit much width and depth through the chest to compensate for the lack of it in the jack.
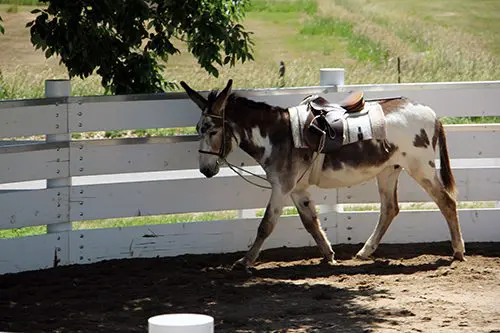
The legs of the mule (as with horses) should be nearly straight, broad and clean, with adequate bone density for the size of the mule. The legs should be well braced at all four quarters and properly balanced underneath the mule’s body. The knee should be broad, deep and firmly set and the hock should be broad and muscular. Being slightly “cow hocked” in the rear quarters (with the toes pointed slightly outward) is common in mules and is actually preferred for performance (though not when showing at halter), but pay special attention to the straightness of legs in both the jack and the mare because being extremely “cow hocked” is not acceptable and should be minimized through careful breeding practices.
 If a stockier mule is desired (as in the case of breeding for pack or draft mules), a stockier mare bred to a Mammoth jack will produce the desired thickness of bone in the legs of the mule. If a more refined Thoroughbred appearance is desired, the mare should be bred to a Standard or Large Standard jack in order to reduce the mass of the bone in the legs of the mule and retain refinement throughout the body. This does not affect the height of the mule, as the mare is primarily responsible for the mule’s height, while the jack is primarily responsible for the mule’s bone thickness. The forearm and stifle in the mule should be well developed and thickly covered with smooth muscle that tapers to the knee and hock in regular, well-defined lines. Again, these muscles should be thick and smooth, but not bulging, as in horses. The mare will compensate for the limited bulk muscling in the donkey jack, and the jack will contribute and maintain the smoothness of that additional bulk muscle in the mule.
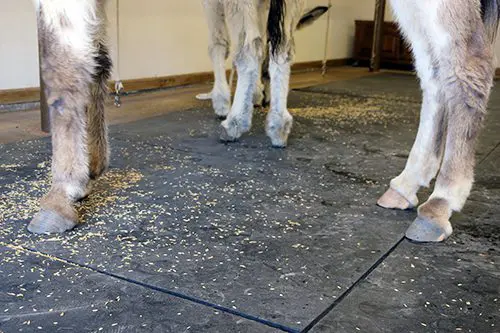
The old saying, “No Foot, no mule” is literally true, as it is in any nomadic animal. If the hooves are not trimmed and balanced properly, it will offset the balance of the equine’s entire body and can compromise longevity in the animal, because his entire internal structure will be compromised. The hooves of the mule will be smaller and more upright than that of a horse of equal size, and should be well sprung and supported, not contracted. They should have a smooth appearance and look sleek and oily. No ribbing should be apparent and the frog should be well extended, healthy and make adequate contact with the ground for good circulation to the hooves. When being trimmed, the mule should be left with more heel than the horse to maintain the more upright position that complements the shoulders and hips. The shape and condition of the hooves of the jack and the mare are both equally important when considering foot development in the mule.
 The coat and hair of the mule should be soft and shiny, covering pliable skin. The coat should be soft to the touch, denoting good skin health. Length and thickness of the coat are contributed by both jack and mare. Since donkeys have a typically thick coat of hair, a mare with a thinner coat will balance this thick hair coat in the mule, making him look sleeker and more horse-like than his donkey sire.
Although the jack plays a part in the mule’s way of going, the mare plays a larger part in the animation of the mule’s gaits. Mules out of gaited mares will generally exhibit the mare’s way of going and will also be gaited.
Probably the most important trait of the mule is his disposition. This characteristic comes primarily from the mare. Much of the mule’s attitude is formed during his first days with his dam, at which time he will observe and then assume her behavior patterns. Although much of a mule’s attitude development is environmental, there is still an inherent general disposition, so avoid breeding to mares with a negative or sour disposition, as those traits will most likely be passed on to her mule offspring.
Keeping all of these considerations and guidelines in mind when breeding for mules can definitely increase your chances of producing an attractive, usable, and enjoyable equine companion.
To learn more about Meredith Hodges and her comprehensive all-breed equine training program, visit LuckyThreeRanch.com, MEREDITH HODGES PUBLIC FIGURE Facebook page, or call 1-800-816-7566. Check out her children’s website at JasperTheMule.com. Also, find Meredith on Pinterest, Instagram, MeWe, YouTube and Twitter.
Covered in TRAINING MULES & DONKEY: A LOGICAL APPROACH TO TRAINING, TRAINING WITHOUT RESISTANCE and EQUUS REVISITED at www.luckythreeranchstore.com.
© 1986, 2016, 2018, 2024 Lucky Three Ranch, Inc. All Rights Reserved.


 Desensitization should be humane and considerate—never abusive. When we say we want to desensitize an animal, it simply means that we want him to become accustomed to touch and handling all over his body, particularly in areas such as his head, legs and rear quarters, where he is apt to be the most sensitive. An animal that has not been politely desensitized will tend to react more violently to touch. When properly teaching your mule to become desensitized, your touch should be presented in a pleasurable way, so that your mule not only learns to tolerate it, but to actually enjoy it and look forward to it. An old-time method such as “sacking out” is a somewhat crude technique that is used to desensitize an animal by tying the mule in a corner where he cannot flee, and then flinging a tarp or large canvas all over his body, including the head. Often times, it creates more problems than it can solve because it is rarely done politely. A mule that has been “sacked” about the head can actually become more sensitive because this inconsiderate approach teaches him that humans cannot be trusted. He perceives that they will fling things over his head, blinding him and causing him anxiety for no apparent reason. The mule will stand still only because he cannot move, but if he is given the opportunity to flee or fight back, he will more than likely do so. Thus, the old “obstinate mule” myths are actually most often the result of some fault of the trainer, and not the mule. Sacking out more politely will eliminate these kinds of potential bad habits.
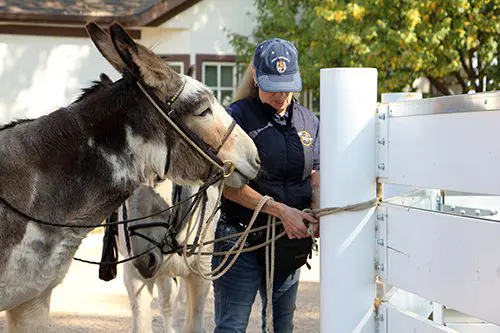
 When his nose is finally up to the rail, run your lead around the post and come through the noseband on his halter and around the post again. Then tie him off snugly, so that his nose is tied as closely as possible to the hitch rail, making sure there is no slack. Now begin softly stroking your mule’s nose, using gentle yet firm strokes. Next, work your way up his forehead, and finally toward his ears. NOTE: Remember to use soft, gentle yet firm strokes, going with the grain of the hair and never against it. Do not “pat” your mule—it’s too threatening.
 When he will tolerate this, you can then cradle the ear in your fingers and with your thumb, begin to gently rub upward on the inside of the edge of his ear. Do not go too deep into the ear at first. After he is calm with this, you can begin rubbing downward into the ear with your fingers, while cradling the ear in your opposite hand, being very careful not to go too deep. Watch his eyes and allow him to “tell” you how deep to go. If it feels good, his eyebrows will raise and flicker. If he doesn’t like it, he will simply jerk his head away and that is your cue to lighten up. Most mules love to have the insides of their ears rubbed, so find the areas inside your mule’s ear that actually give him pleasure. Each individual mule will be different.
 In the next step, you will be in the same position, but you will close your hand around your mule’s ear and hold it with just enough pressure that he cannot jerk your hand loose. Do not hold too tight, grab or pull the ear—just maintain a quiet, gentle hold on the ear and go with his movement. If he pulls away, just slightly tighten your grip on the ear until he stops pulling and then lighten your grip again. Tighten only when he pulls away, and then immediately release when he stops resisting—tighten and loosen your grip as needed, and be sure to follow his movement. He will soon learn that if he doesn’t fight it, there is no discomfort. Never tightly grip his ear and do not tighten your grip any more than you need to in order to hold onto the ear—you never want to induce pain. Once your mule is tolerant of you holding his ear in this fashion, you can introduce the clippers, should you desire, using the same guidelines of tightening gently yet firmly when he pulls and releasing when he submits. However, introduce the clippers only after he has completely accepted you holding his ears.
 When you return with the difficult mule, tie him as before, stand directly in front of him (with the hitch rail between you) and gently remove the bridle with both hands lifting and sliding the crown piece over both of his ears simultaneously, so there is little pressure on his ears as it slides over them. If he still holds the bit in his mouth, hesitate for a minute when the bridle is off his ears and allow HIM to drop the bit. Removing the bridle this way will help to avoid chafing the ears and will avoid the bit hitting his teeth before you remove the bridle the rest of the way. Always removing the bridle in this fashion will encourage him to drop his head and will prevent bad habits such as pulling away or flinging his head.
 When your mule gets used to having his ears handled and being bridled while snubbed and haltered, you can then begin dropping the halter and loosely tying him while he is being bridled. Sometimes it takes a couple of weeks before you can drop the halter—this will vary depending on the individual mule, so just be patient. Your quiet, gentle perseverance will eventually win out and your mule’s ears will be desensitized and quite manageable. After you have mastered his outer ear and inner ear, you may find that your mule actually enjoys having his inner ear stroked or scratched, and bridling becomes easy. Integrating washing his face and cleaning his nostrils and ears during the grooming process should further help him to accept having his ears handled. Handling your mule’s ears can actually become a truly pleasurable experience for your Longears.


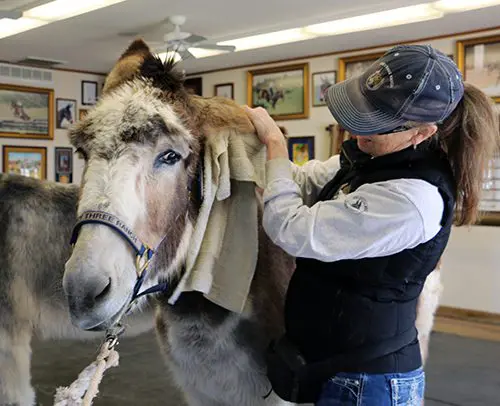








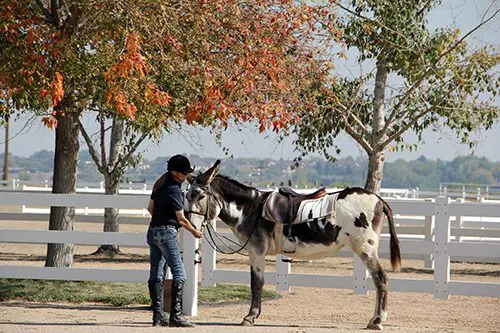


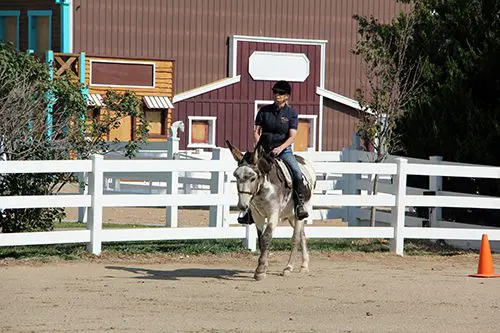


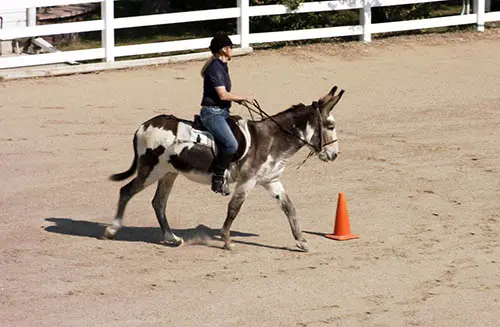
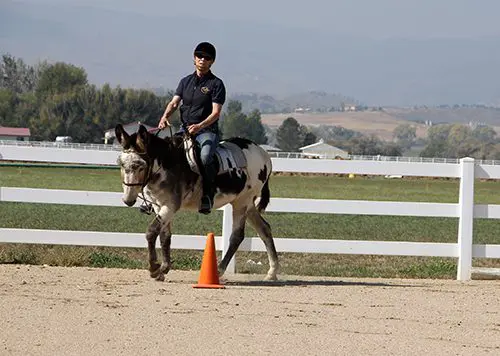
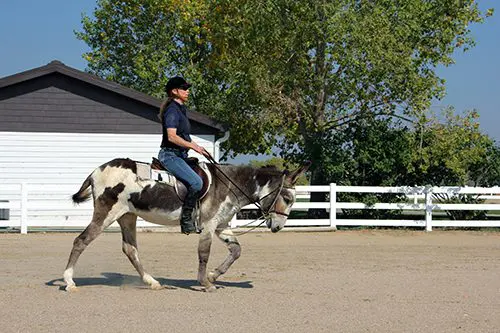


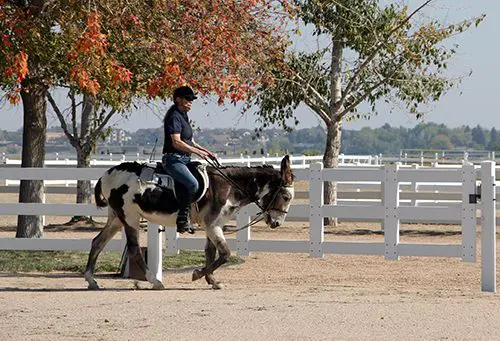


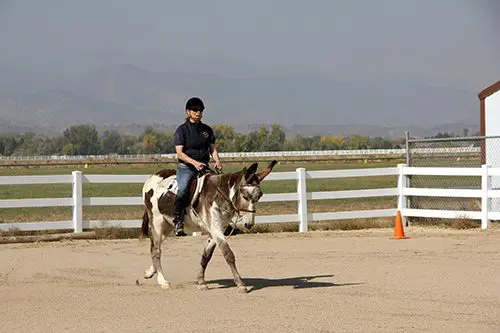


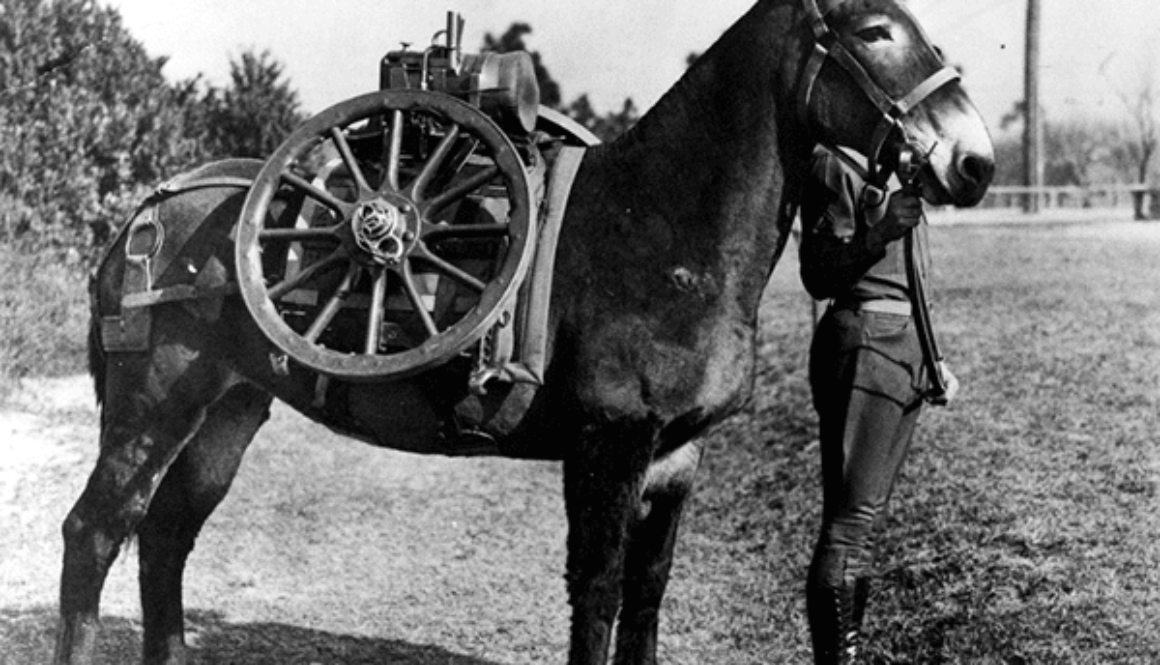
 Mules played an important role in our country during the Reconstruction Period: they patiently worked the fields, packed necessary artillery for the army, and served as a durable riding and driving animal in the westward movement. With the coming of the industrial age, their uses were minimized and they were faced with the possibility of extinction in the march of progress. Today, through the persistent determination of mule enthusiasts, mules are once again emerging as a conceivable asset to our economy and a unique form of athletic achievement and entertainment.
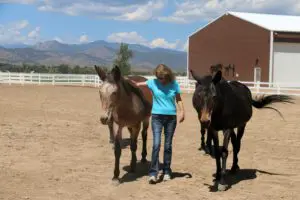 They will generally follow you around until you leave the field, begging for attention or simply observing you closely from a safe distance. Mules have a genuine desire to make friends with those other than their own species. Also, they are a very sensitive animal and can read your intentions through the tone of your voice and your body language.
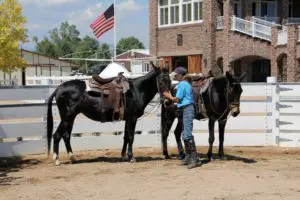 Still, the most important thing to remember is to praise the mule with caressing and scratching when he does what you desire and back it up with the food reward. Mules love this kind of attention and will do their best to get it. If they are rewarded immediately when they are behaving as desired, the desired behavior will eventually become the norm. If bad behavior is ignored or gently reprimanded, it will fade to a minimum. The result is a pleasant, affectionate, and dependable animal.


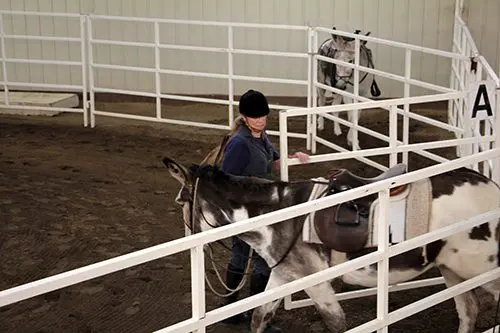


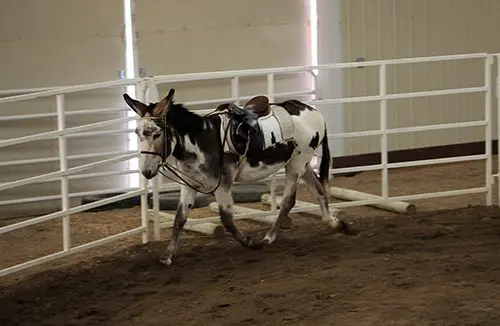







 By Meredith Hodges
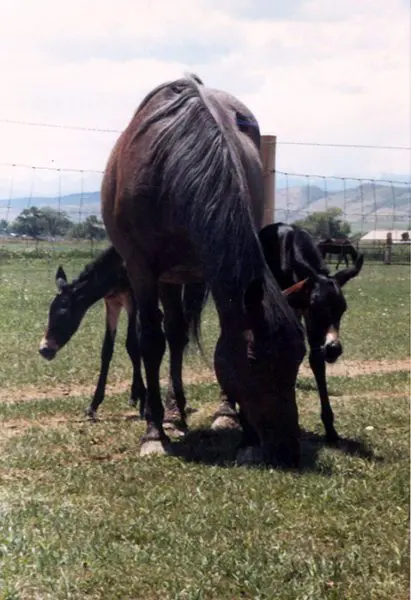 Mule foals are not too much different than human infants in their emotional needs. They require lots of attention, love, guidance and praise if they are to evolve into loving, cooperative and confident adults. In your efforts to get your young foal trained, bear in mind that he is still a child. If he is expected to fulfill too many adult responsibilities too quickly, he can become overwhelmed, frustrated and resistant. This is why it is important to allow your foal to have a childhood. You can turn this time into a learning experience by playing games with your foal that will help him to prepare for adulthood without imposing adult expectations on him when he is too young.
 The first component of developing a well-adjusted adult mule is to establish a routine that will give your mule foal a sense of security and trust in you. Having a definite feeding schedule can help a lot. If you take a few minutes each morning and evening to scratch and pet your foal while your foal’s dam is eating and after he has finished nursing, he will associate you with a very pleasurable experience. If his dam is busy eating, she will be less likely to think about running off with him. If your animals are on pasture, a short visit once or twice a day with a ration of oats and plenty of petting while paying special attention to the intensity of your touch on his body will accomplish the same thing.
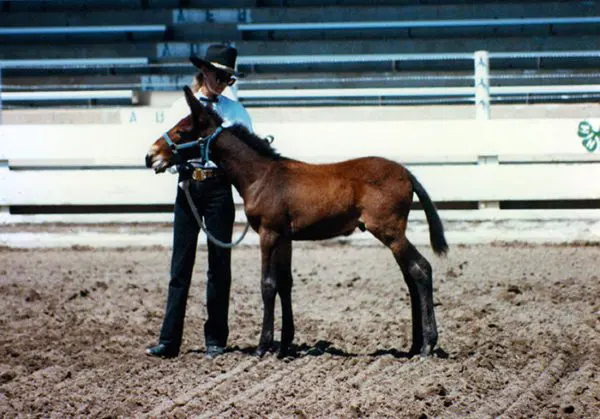 When your mule gets a little older and is ready to be halter broken, you can use your pleasurable status with him to your advantage. First, halter him and tie him to a fence with a safety knot (see DVD #1 n my Training Mules and Donkeys series). Leave him like this each day after breakfast for about half an hour, making sure to return to him every ten minutes. Each time you return, if he doesn’t become tense and struggle, untie him and ask him to follow you. If he refuses, just tie him up again and come back again ten minutes later and try again. If he comes with you, even if it is only one step the first time, take his halter off and play with him for a little while and then end the lesson. This will maintain your pleasurable status with your foal while he learns the things he will need to know as a young adult. In the next lesson you can ask for more steps before playing and ending the lesson
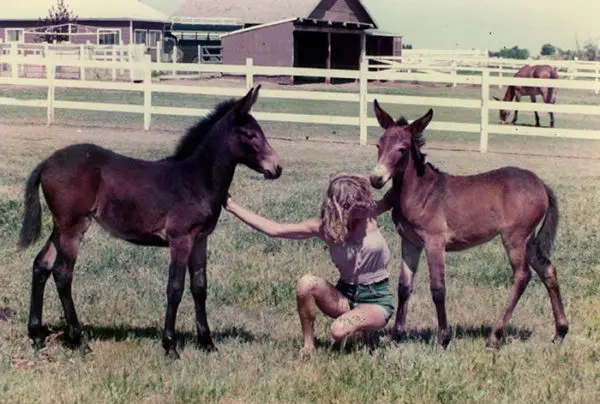 When handling your mule foal, always be sure to give him time to relax and accept a situation…and he probably will. Never get in a hurry and do not try to force anything—or your foal will be happy to oblige you with more resistance than you ever imagined possible! And remember, you can catch more flies with sugar than you can with vinegar, so go out there and have a good time with your little longeared pal. He’ll be glad to be your best friend if you learn how to be his best friend.
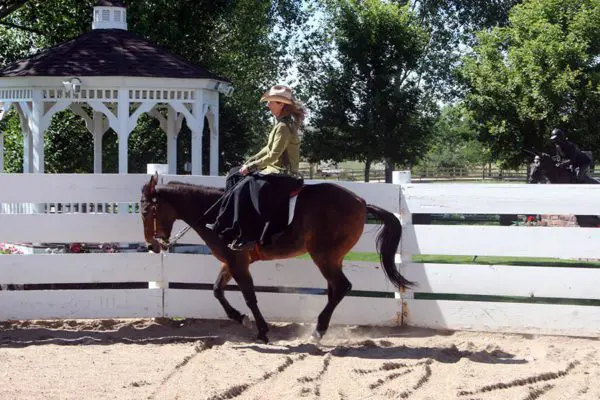
 As you ride your equine through walking exercises, try to stay soft, relaxed and following forward in your inner thighs and seat bones. Get the sensation that your legs are cut off at the knees and let your seat bones walk along with your animal—lightly, and in rhythm with him. If he slows down, just bend your knees and nudge him alternately with your legs below your knees, while keeping your seat and upper legs stable and moving forward. While your legs are still, they should rest gently on his sides in a “hug.” Do not push forward in your seat, but allow him to carry you forward. When collecting the walk on the short side, just bend both knees at the same time, nudging your equine simultaneously on both sides, while you squeeze the reins at the same time.
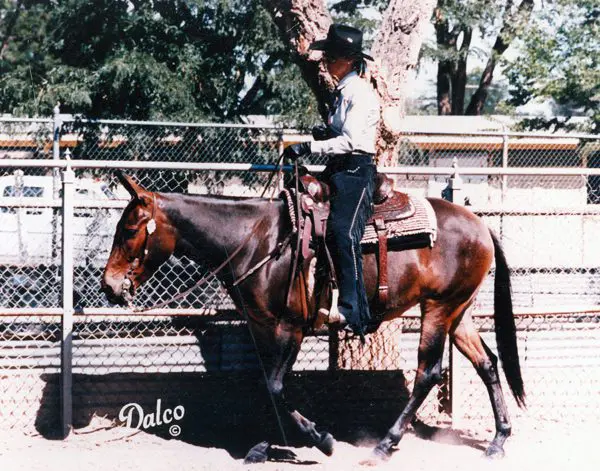 Most of us feel that we do not balance on our reins as much as we actually do. If there is any balancing on the reins at all by the rider, your equine will be unable to achieve proper hindquarter engagement and ultimate self-carriage. Here is a simple exercise you can do to help shift the weight from your hands and upper body to your seat and legs. Begin by putting your equine on the rail at an active working walk. On the long side, drop your reins on his neck and feel your lower-body connection with him as you move along. In order to maintain your shoulder-to-hip plumb line, you will find that you need to tip your pelvis forward and stretch your abdominal muscles with each step. If your lower leg remains in the correct position, this will also stretch the thigh muscles on the front of your leg from hip to knee. There is also a slight side-to-side motion as your animal moves forward that will cause your seat bones to move independently and alternately forward. There is no doubt that you can probably do this fairly easily right from the start, but to maintain this rhythm and body position without thinking about it takes time and repetition.
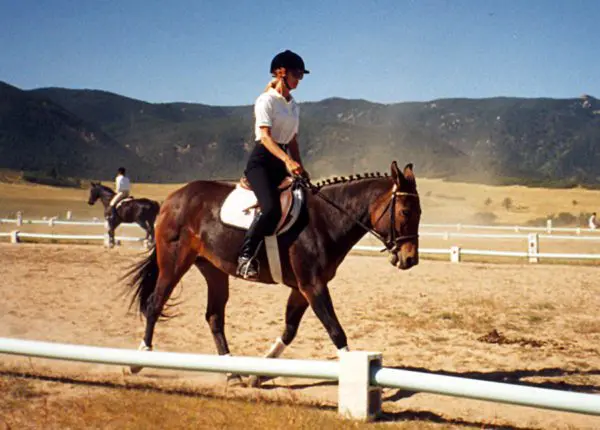 If your animal drifts away from the rail, you will need to post with a little more weight in your outside stirrup. As you go around the corners, be sure to turn your eyes a little to the outside of the circle to help your positioning. As you approach the short side of the arena, bring your arms backwards and straight out from your shoulders in a “T” formation, while keeping your upper body erect. As you go through the corners, just rotate your arms and upper body slightly toward the outside of your circle. When you come to the next long sides, bring your arms, once again, in front and parallel to your shoulders and repeat the exercise.
 Notice the different pressure on your seat bones as you change your arm position. The forward arms will somewhat lighten your seat, while your arms to the side tend to exert a little more pressure. Consequently, you can send your animal more forward by using your seat as you go down the long sides, shortening that stride with a little added pressure from the seat bones on the short sides. When you wish to halt, put your arms behind you at the small of your back to support an erect upper body, and let your weight drop down through your seat bones and legs. Also, remember to use your verbal commands often in the beginning to clarify your aids (effect of the seat, legs and hands) to your equine. If your equine doesn’t stop, just reach down and give a gentle squeeze/release on the reins until he stops, but be sure to remain relaxed and continue to drop your weight into your seat and legs. Keep your inner thighs relaxed and flexible. Do NOT squeeze! Think DOWN through your legs on both sides. Before long, he will begin to make the connection between the weight of your seat and your command to “Whoa,” and your seat will take precedence over your reins.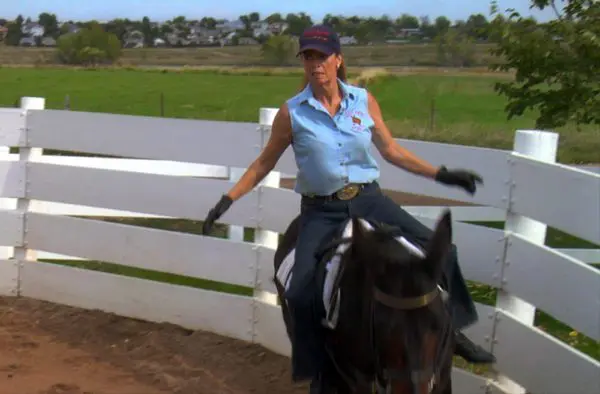

 By Meredith Hodges
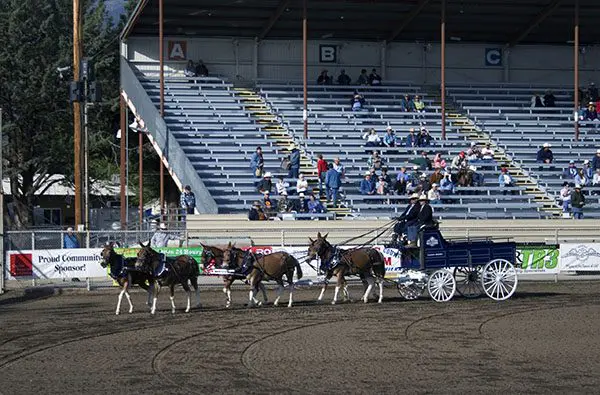 They are limited only by the imagination of The gift we have found with Longears is one that needs to be shared with others so that they might also experience the joy and pleasure these animals have to offer. In this hustle-and-bustle world, it is easy to take for granted the importance of love, sharing and simple pleasures derived from personal growth. Mule and donkey shows are a vehicle we can use to bring these things to light and revitalize the appreciation of Longears. The show ring is a place where mules and donkeys can exhibit the results of experiments with their owners and trainers, in exceptional horsemanship and performance, where challenges are met with both humor and enthusiasm. They can be pets, performers, pleasure mounts, or just plain hard workers.
 Because showing mules and donkeys is relatively new, there is much to be gained by participation. Those who feel that their animal is not of show quality can still attend shows and learn a lot about Showmanship, grooming and training skills. This development of new skills can make the difference between show quality or not, particularly in performance events. Newcomers to showing also give the audience something extra-special. The enthusiasm of the newcomer is often very contagious and the audience always finds Longears shows incredibly entertaining. They feel that this is something that they too could manage to do and enjoy. Those who feel they just cannot put in enough training time can still participate in a lot of the plain old fun classes that the show rosters include. There are enough mule and donkey clubs today that sponsor all kinds of shows and all one needs to do is contact any one of them to acquire the information that you need.
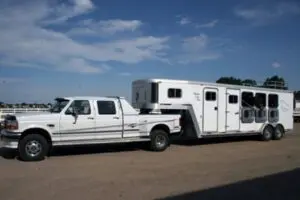 Geographical locations and transportation can also restrict showing opportunities. With a little help and a lot of ingenuity, these issues can be resolved. One just needs to decide which shows would benefit them the most and then plan accordingly. If the show is some distance away, families, or groups, can pool their efforts and cut expenses dramatically. The growth of the mule and donkey industry has increased the number of shows throughout the country. They are now more numerous in remote areas and easy to reach. If you live in a really remote area, you might want to start a Longears Group and host your own schooling shows, or you can always request permission to ride in the Open Classes at Horse Shows in your area. Either way, you are doing important work in the promotion of Longears!











 will not give you an accurate feeling for any specific task—you must plan your course of action. If, for instance, you set up your mule to bend through and impulse out of the corner, you can close your eyes for a few seconds down the long side and feel the balance that comes out of that corner when the movement is executed correctly. In this particular situation, once you’ve closed your eyes, you may notice that your animal is starting to leans lightly to the inside. A squeeze/release from your inside leg, sending your mule forward and into the outside rein, corrects the balance and keeps him going straight down the long side.
 If he “ducks out” with you and begins to run, keep your connection on the rein that he has pulled as best as you can, and try to stop him by pulling on both reins together with a light squeeze/release action. Try to verbally calm him, and when he finally stops, praise him for stopping. Then, turn him with the rein that he has just pulled out of your hand, and return him to the task. Do not try to pull him around with the other rein, because this will cause him to lose his balance and will frighten him even more. If he is praised for stopping, he will not be afraid to stop. If he’s punished for running, he may never want to stop.
 I ride my equines diagonally through the aids to get the best lateral and vertical response. I want to maintain a good forward movement, which means that the impulsion must come from the hindquarters and from the push forward. Think of your hands and legs as four corners of a box that contains your mule. If you push forward on one side at a time from, say, left leg to your left hand, it leaves the other whole side of the animal unchecked, and he will proceed forward with a tendency to drift into the “open” side. This is why you have to ride alternately and diagonally from the left leg to the right hand and from the right leg to the left hand. It is why you ride from back to front, leg to hand, in a diagonal fashion—it pushes your mule from the outside leg forward into a straight and balanced inside rein, and from the supportive inside leg to the outside rein—he remains upright on the arcs and sufficiently bent. The wider the space between your legs and between your hands, the more lateral “play” you will feel in your mule. If you keep your hands close together and your legs snugly around his barrel, there is a lot less lateral “play” and a great deal more accuracy when doing your patterns. Think of your legs and hands creating a “train track” with rails between which your mule must move. The wider the space between your hands and legs, the more “snakier” his movements will become.