MULE CROSSING: Getting Down with Minis, Part 3
By Meredith Hodges
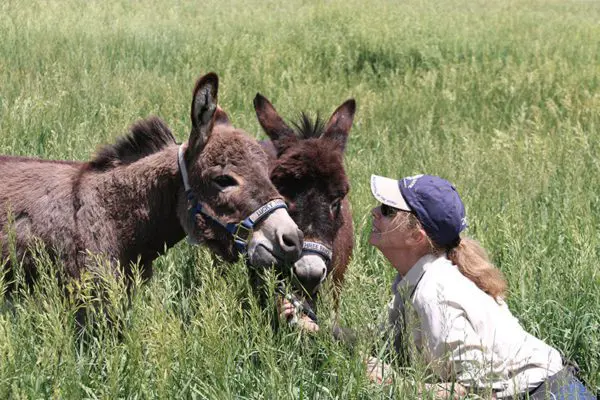
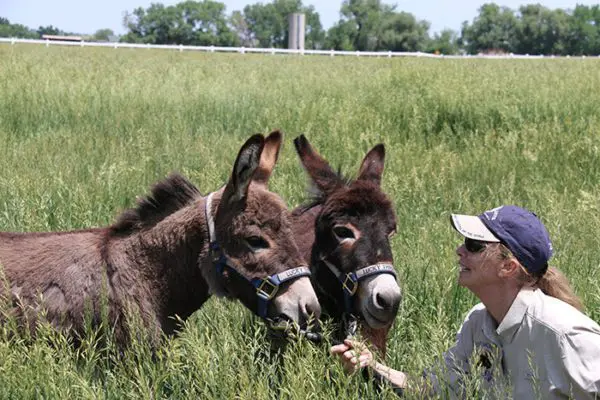
In Part 1, you learned how to begin the relationship with your miniature equine in a positive and natural way that fosters good behavior and a good relationship between you. You also learned the importance of getting down to your mini’s eye level so that he can make eye contact with you, which discourages striking, jumping on you and other bad behaviors that are common when working with miniature equines. In Part 2, I discussed how important it is to successfully complete the tasks in Part 1 before moving on to Part 2, and explained why it is advisable to work minis in groups, as they perform better when they are with their friends. You also learned how to train minis to go over and around various obstacles. Remember that all of this is to be done with no expectations that may overwhelm your mini—it is better if you maintain an attitude of fun and games. Now, in Part 3, it is time to get down to some serious training so your mini can be used for the purpose of driving and showing in hand.
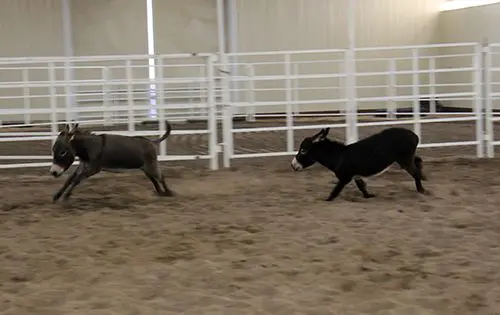
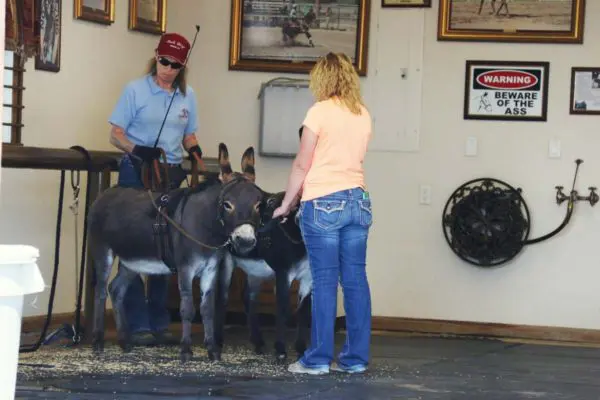
 Miniature mules and horses settle into their lunging lessons very well, but miniature donkeys (and donkeys in general) really don’t like to be lunged. They just don’t seem to see much purpose in it unless you make it fun for them. If you have a mini donkey, when teaching him to lunge it is helpful if you employ the aid of another type of equine of comparative size (such as a miniature horse or mule) to help “lead” your mini donkey through the lessons. Before I first began lunging my two mini donkeys, Augie and Spuds, I introduced them to Franklin the mini mule, Francis the mini molly mule and Mirage the mini horse by putting them altogether in the larger indoor arena space, and then I put them all in the round pen together. Before I began giving any of them specific instructions, they were all allowed some time to investigate each other and establish their pecking order. Before long all five were lunging cooperatively together, although Spuds did feel the need to kick at Mirage a few times so Mirage would allow him enough space to perform. (Mirage can be a bully sometimes and needed to be put in his place.)
After several months of leading training done in good posture on the flat ground and over obstacles (see “Showmanship,” which is covered in DVDs #1 and #9 of my DVD training series, Training Mules and Donkeys), it is enough at this point in your mini’s training that you teach him to walk, trot and canter on command on the large circle in the round pen.
In the beginning, lessons should be only 15 to 20 minutes long at the most, and only every other day. This helps your mini avoid fatigue and allows him to rest in between each lesson so he can process what he has learned. However, there may be times when things don’t go as planned and you will need slightly more than the suggested 15 to 20 minutes. If you try to rush your mini to finish his lessons, you could end up spending a lot more wasted time in a confrontation with him. Because of this, on lesson days, it is better to make sure that, if necessary, you have the whole day to spend with him. When you approach your mini with this attitude, you will be able to accomplish your goals much more easily and in much less time. Remember, whenever you are working with any breed of equine, you should always make sure you have no pressing appointments that day that might cause you to rush through the training process.
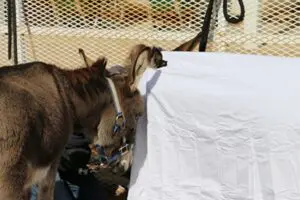
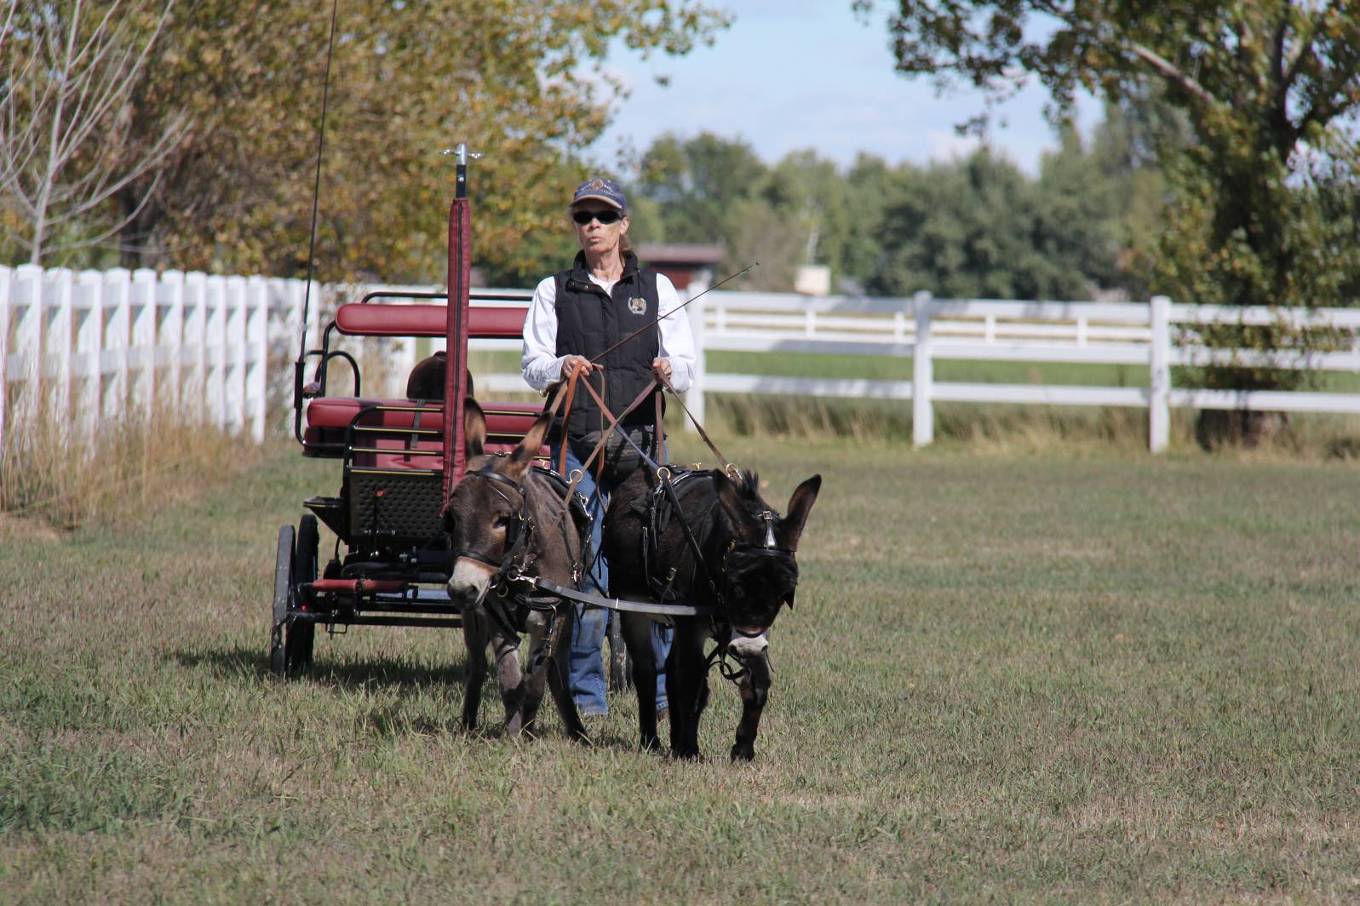
 It is important that your tack and other “mini” equipment fit well. Check the harness to make sure the bridle fits and the bit is placed correctly, and be sure to adjust the blinders on your harness bridle so they don’t rub against your mini’s eyes. Fitting miniature donkeys for harness can sometimes be difficult, but I was fortunate to find Chimacum Tack, a tack and harness manufacturing company that does a fantastic job with miniature donkey, mule and horse harness. I suggest that you make the fitting a lesson in itself—you can even introduce your mini to the cart he will be pulling without actually hitching him up to it. Just as you have with all other obstacles, first let him inspect the tack. Then, once you have put it on him, have him stand quietly in the spot in front of the cart where he will eventually stand. Don’t forget to amply reward him and he should be more than willing to comply.
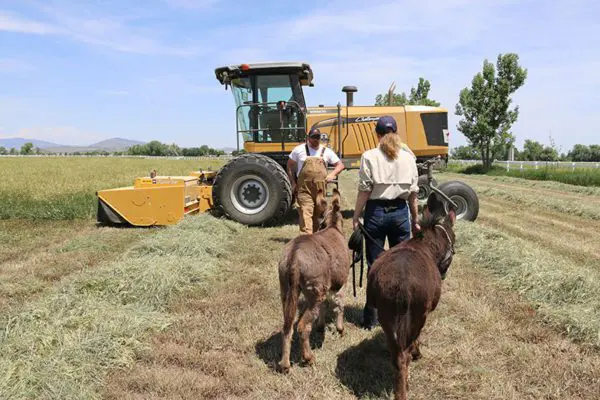
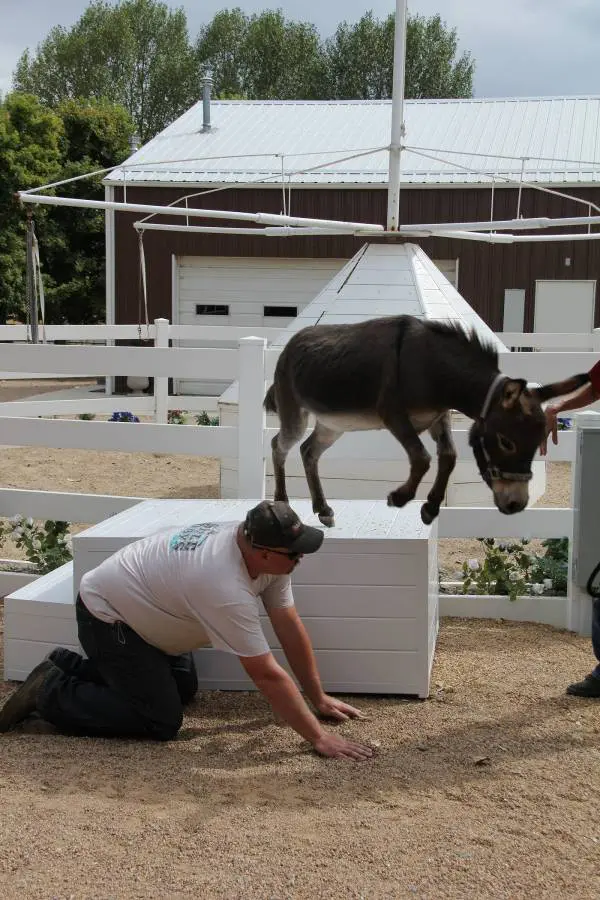
 At this stage of training, lessons over obstacles can now be done with more finesse. You can begin lateral work over small rails placed in front of a fence, backing through the walk-through “L” and doing lateral work in the tractor tire. In advanced tractor tire work, if you judge it to be safe, get down on your knees so you are on your mini’s level. Now ask your mini to put all four feet inside the tractor tire, and to then make a turn on the haunches. Direct his head in the direction you choose to go first and ask him to slowly turn while all of his feet are still inside the tire. Do this by poking him in the shoulder with your index finger (just as you did when repositioning him for the farrier) and asking him to move his front end over and around the inside of the tire. Do this in one direction and then in the other direction. Stay low, maintain eye contact and don’t be too forceful in your movements.
In future lessons, ask him to put only his front feet in the middle of the tire and leave his back feet outside of the tire, and then have him pivot on his front feet. Now, instead of poking him on the shoulder to move the front end, you will poke him in the hip to ask him to move his hindquarters around the outside edge of the tire, pivoting on his front feet (that remain inside the tire). In the next lesson, you can ask him to put his hind feet inside of the tire and by poking him in the shoulder again, move his front legs around the outside of the tire, making sure he crosses over in front of and not behind the weight-bearing leg. Note: First make sure that your mini is calm during the picnic in the middle of the tire exercise (as described in Part 1) before you try any of the more advanced maneuvers described here.
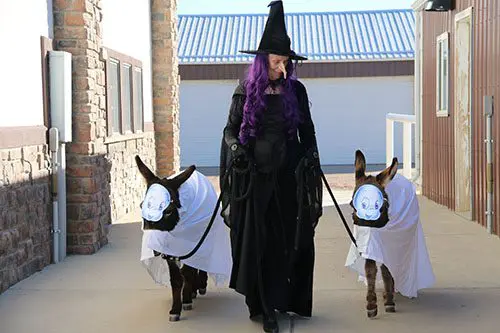
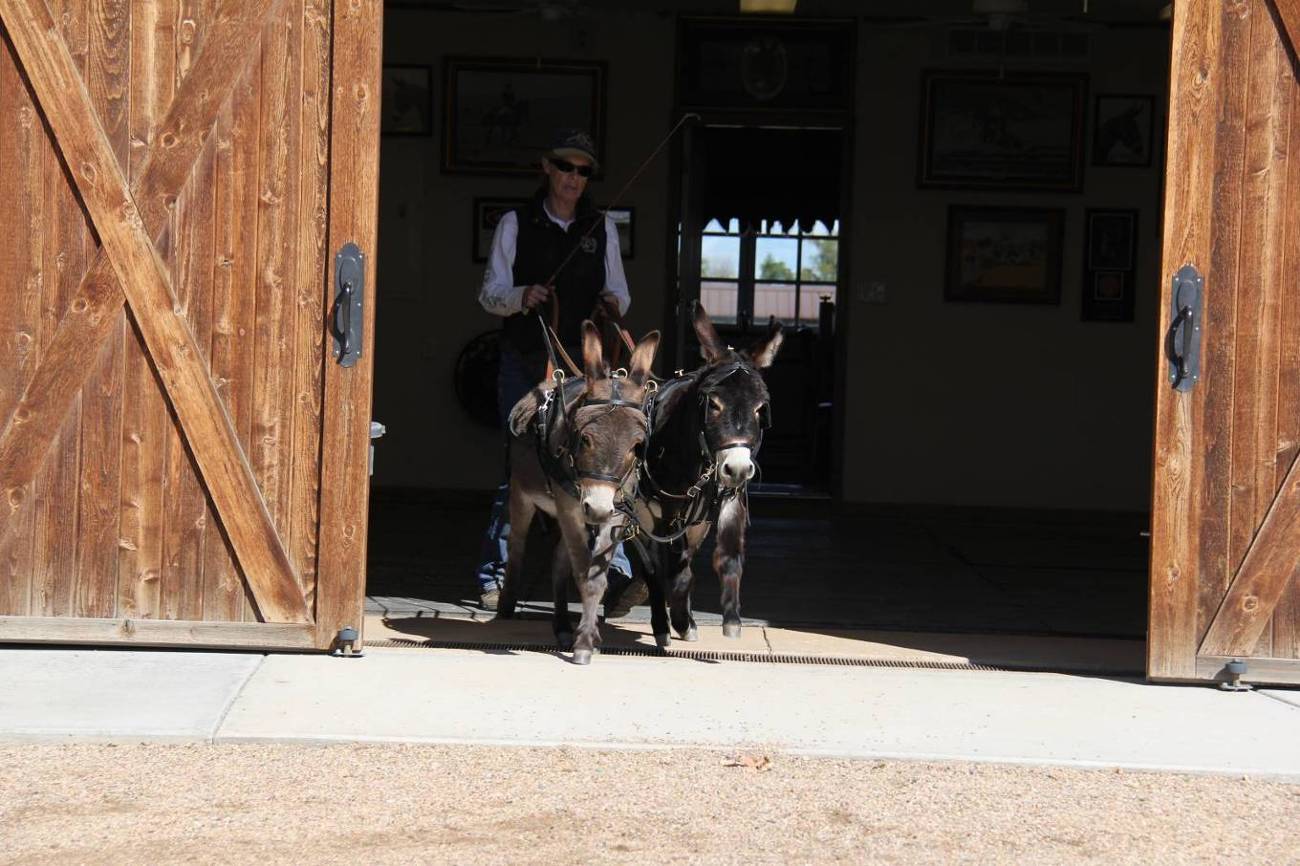
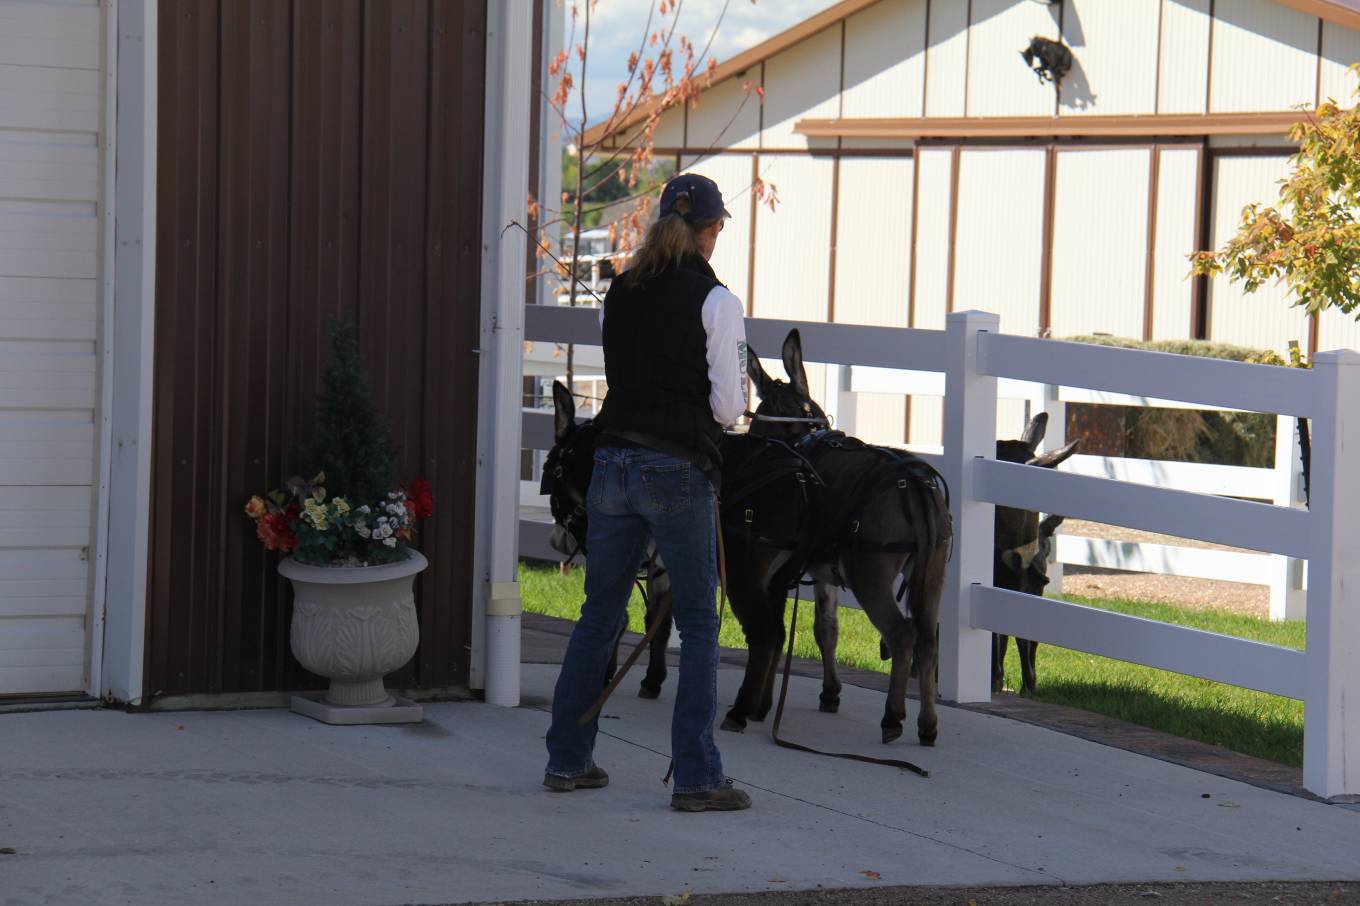
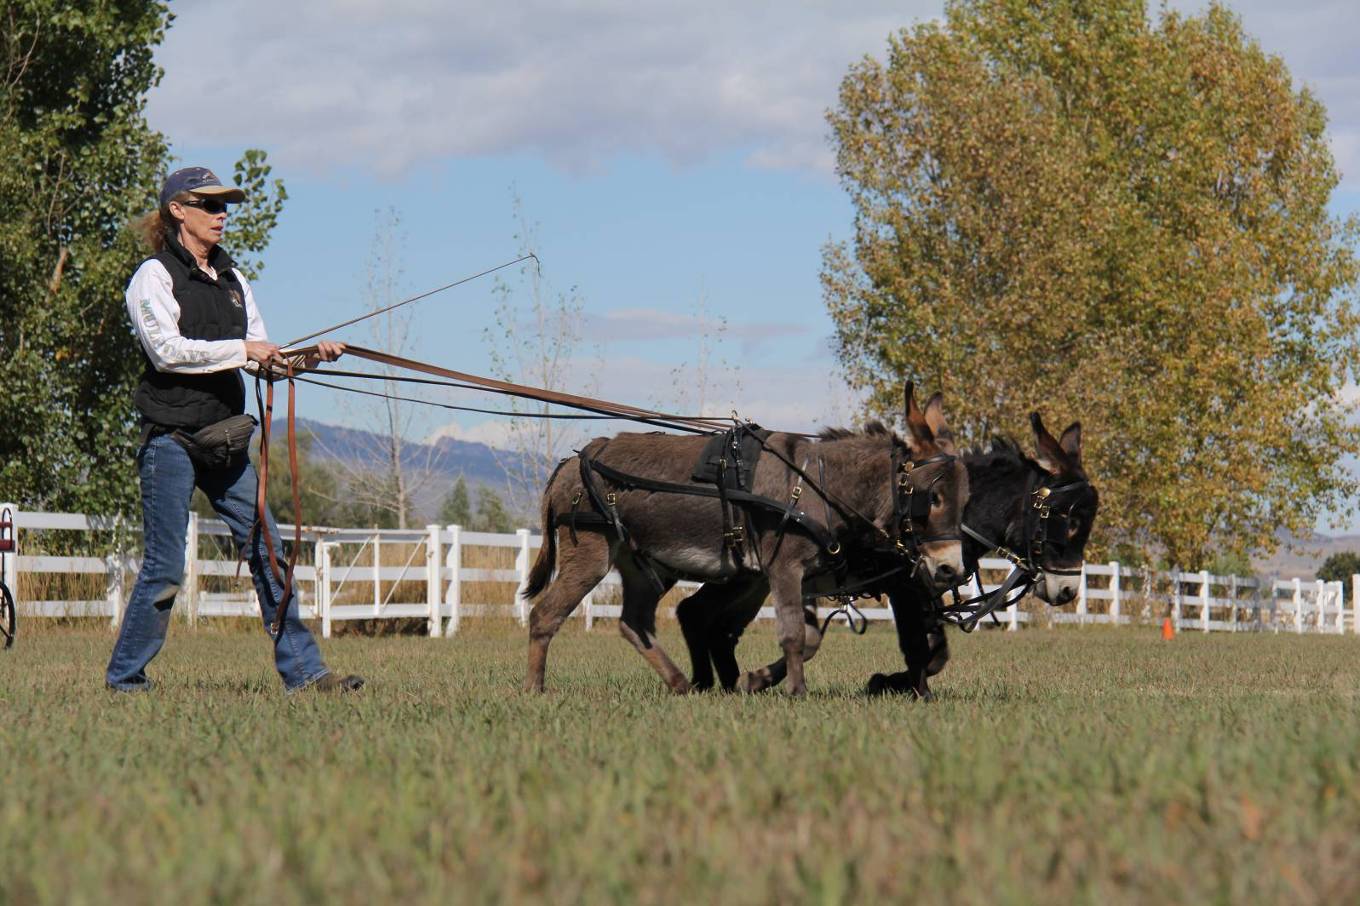
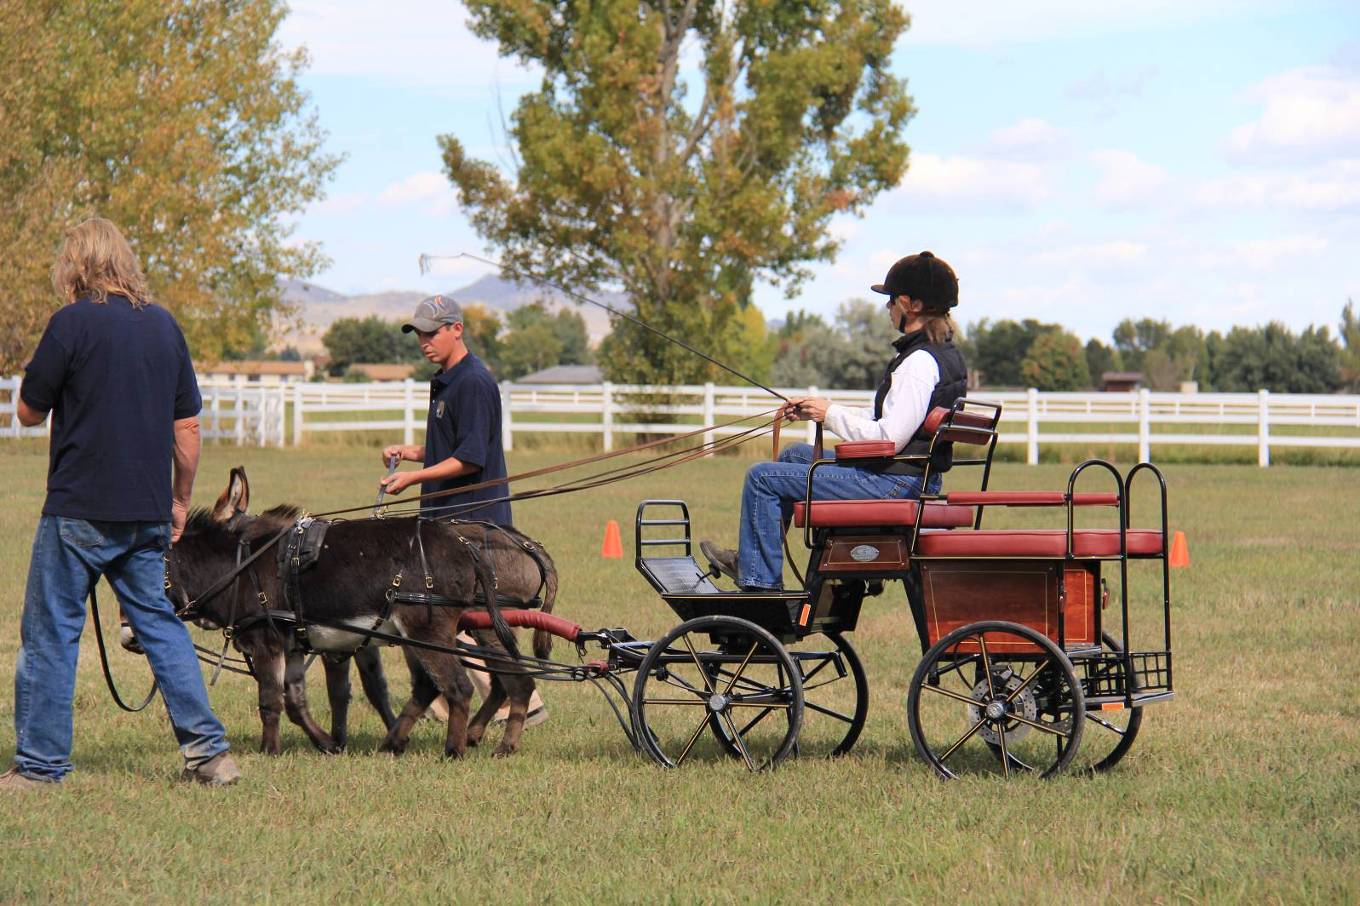
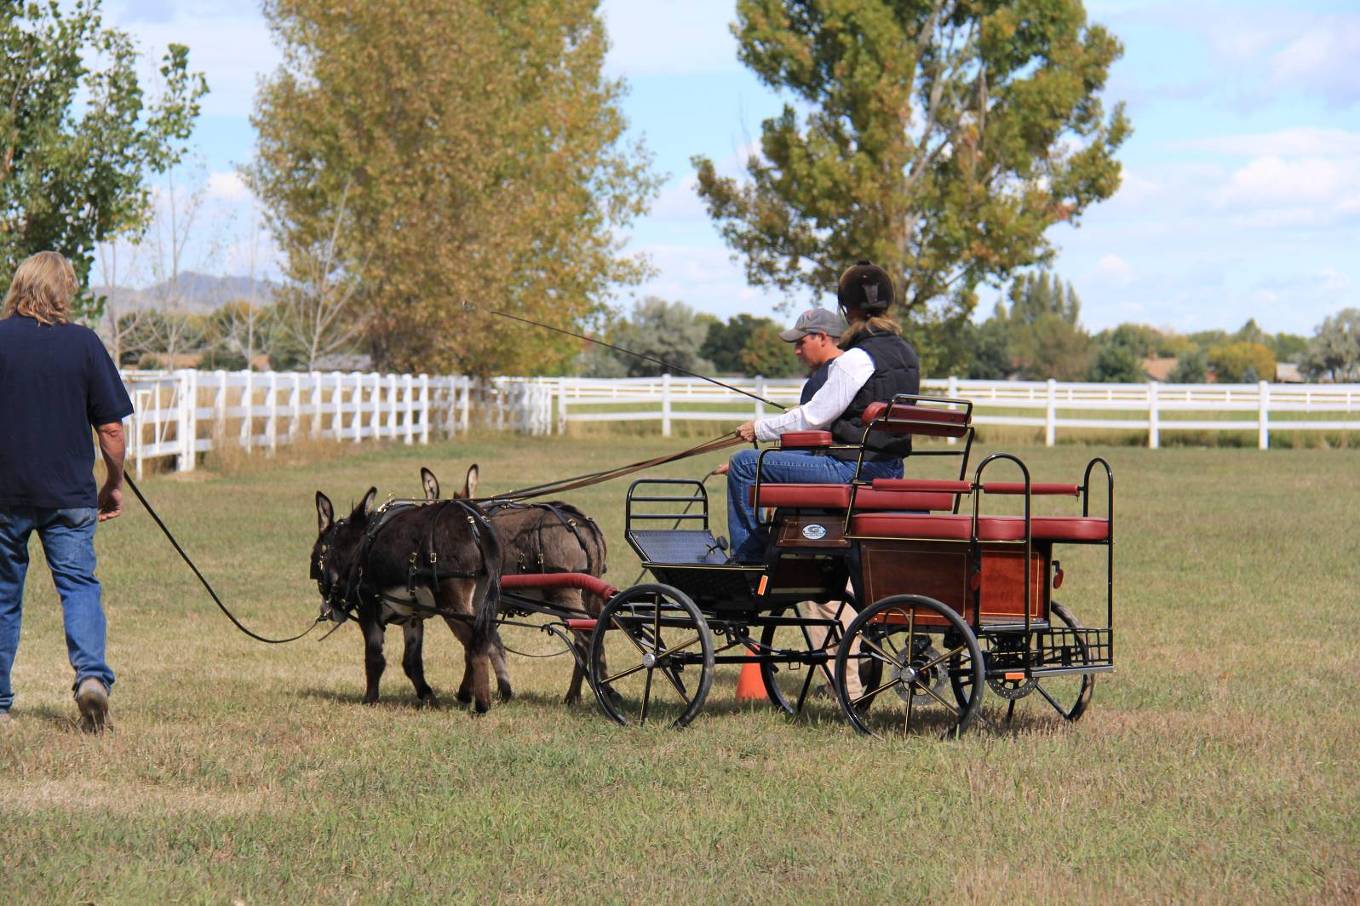
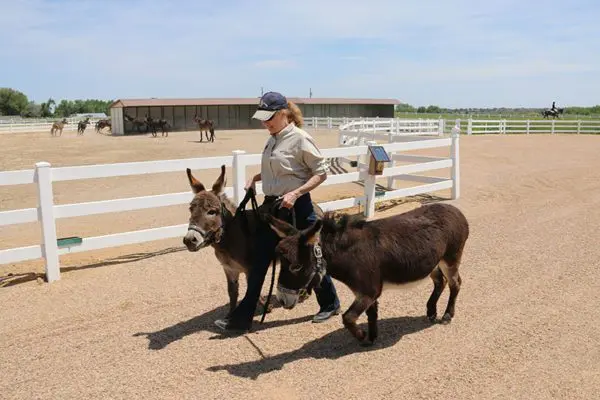
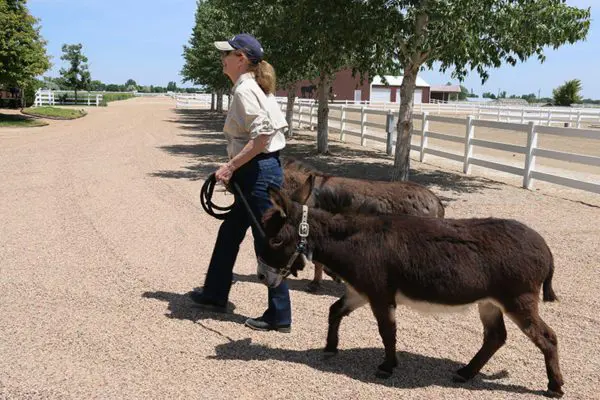
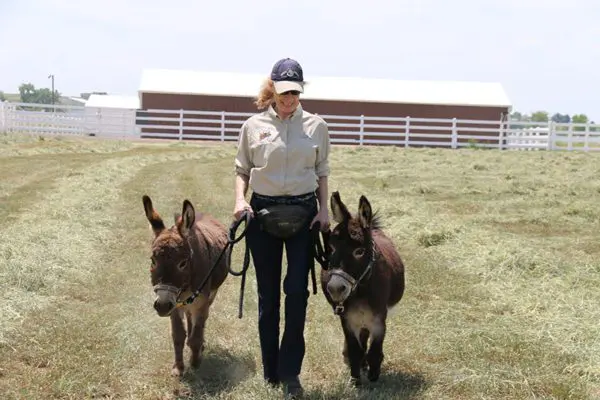
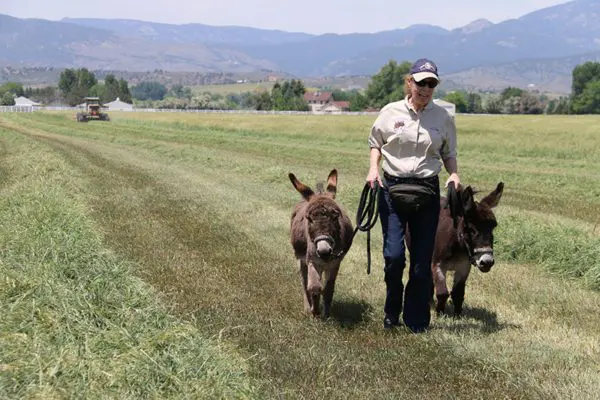
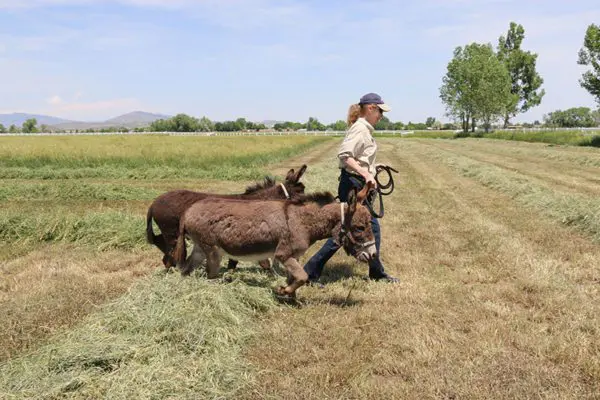
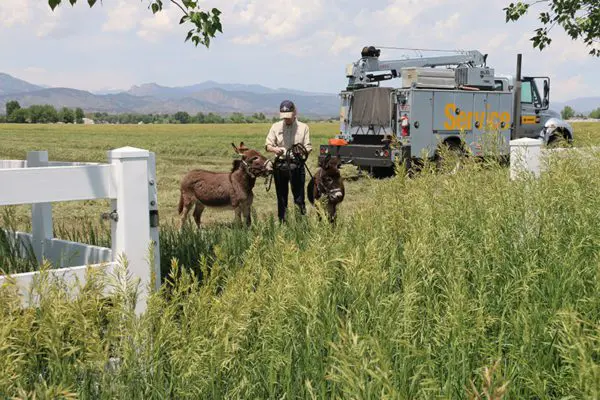
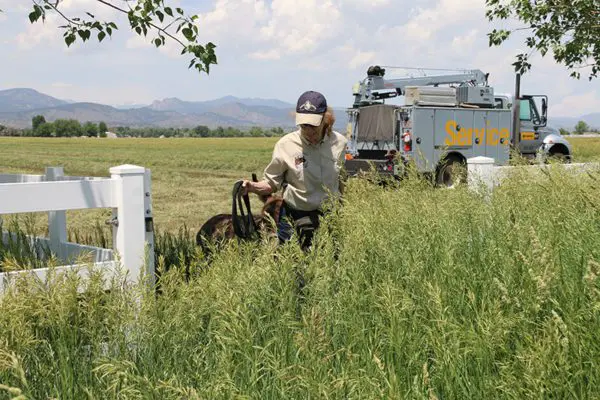
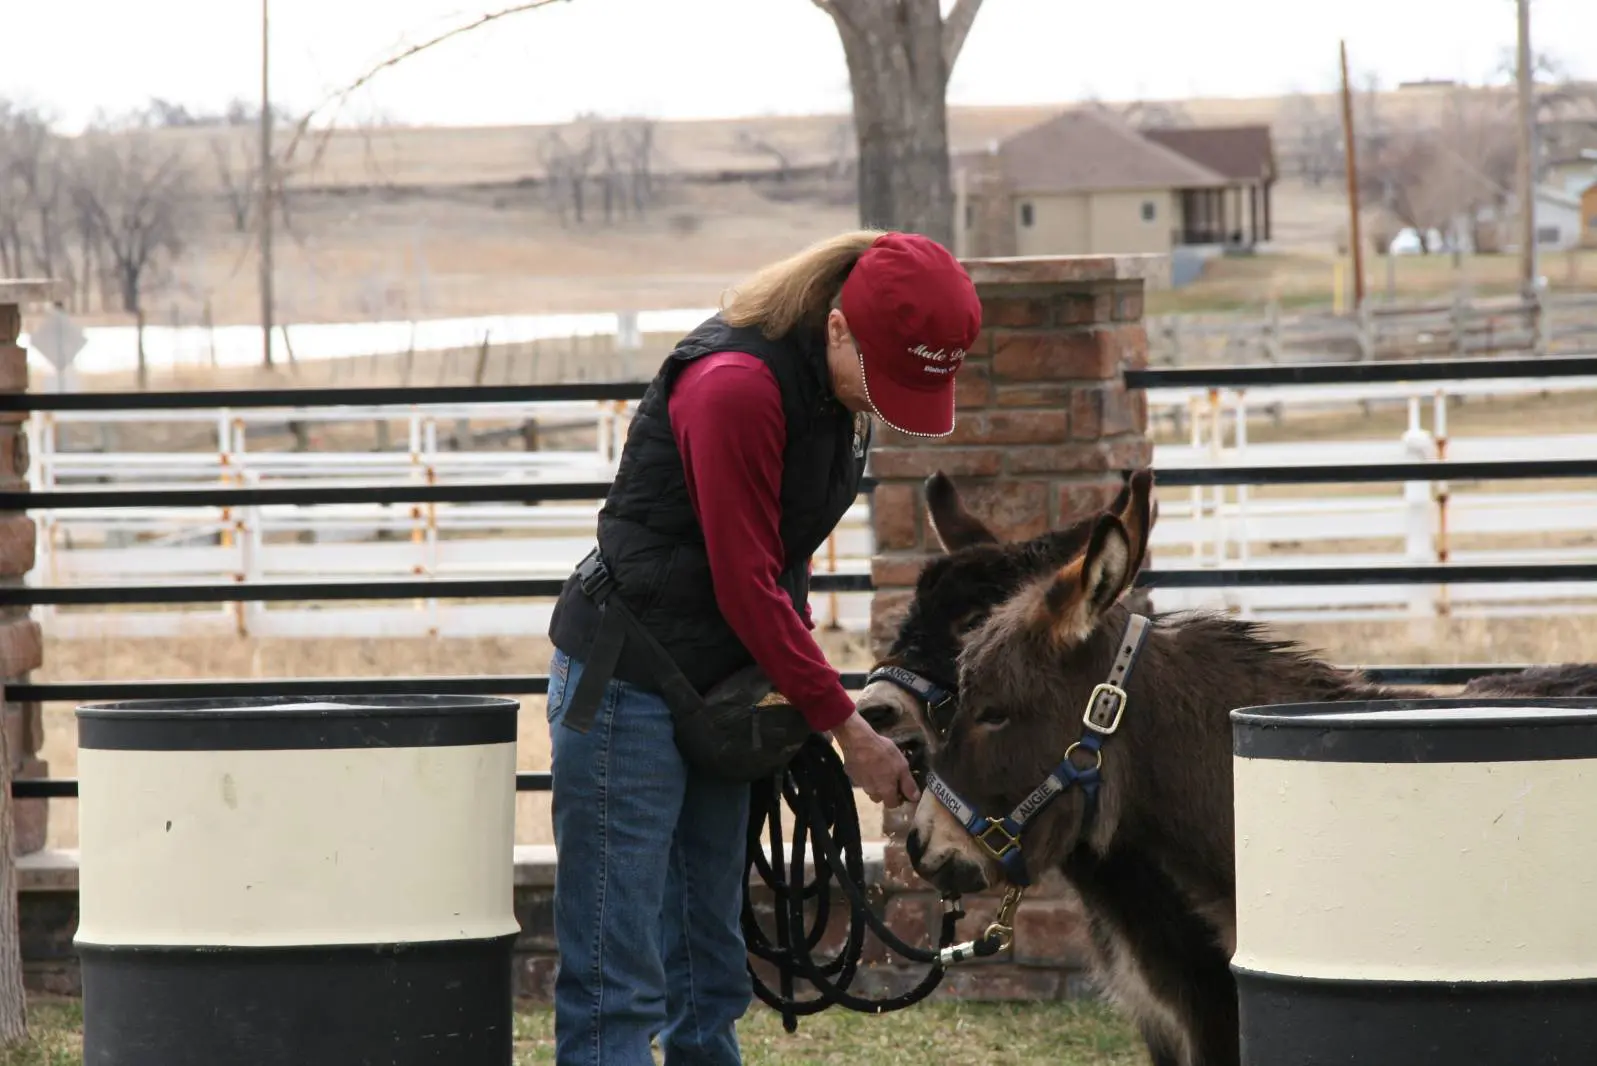
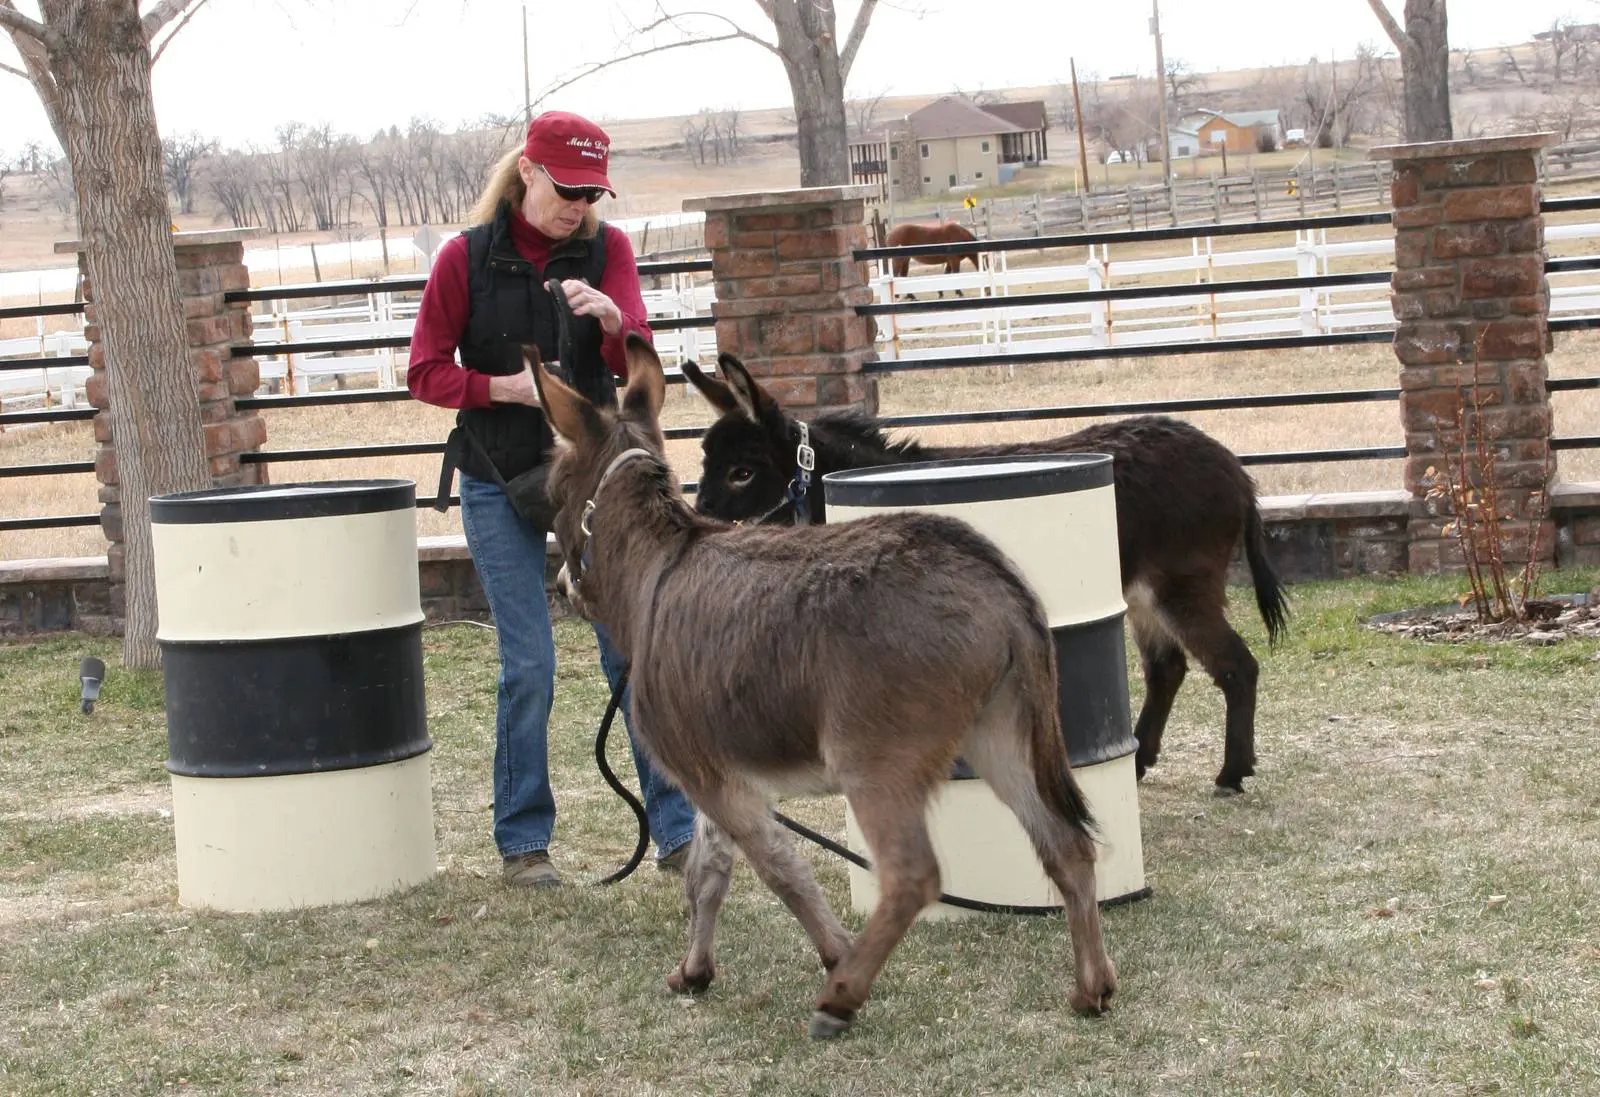
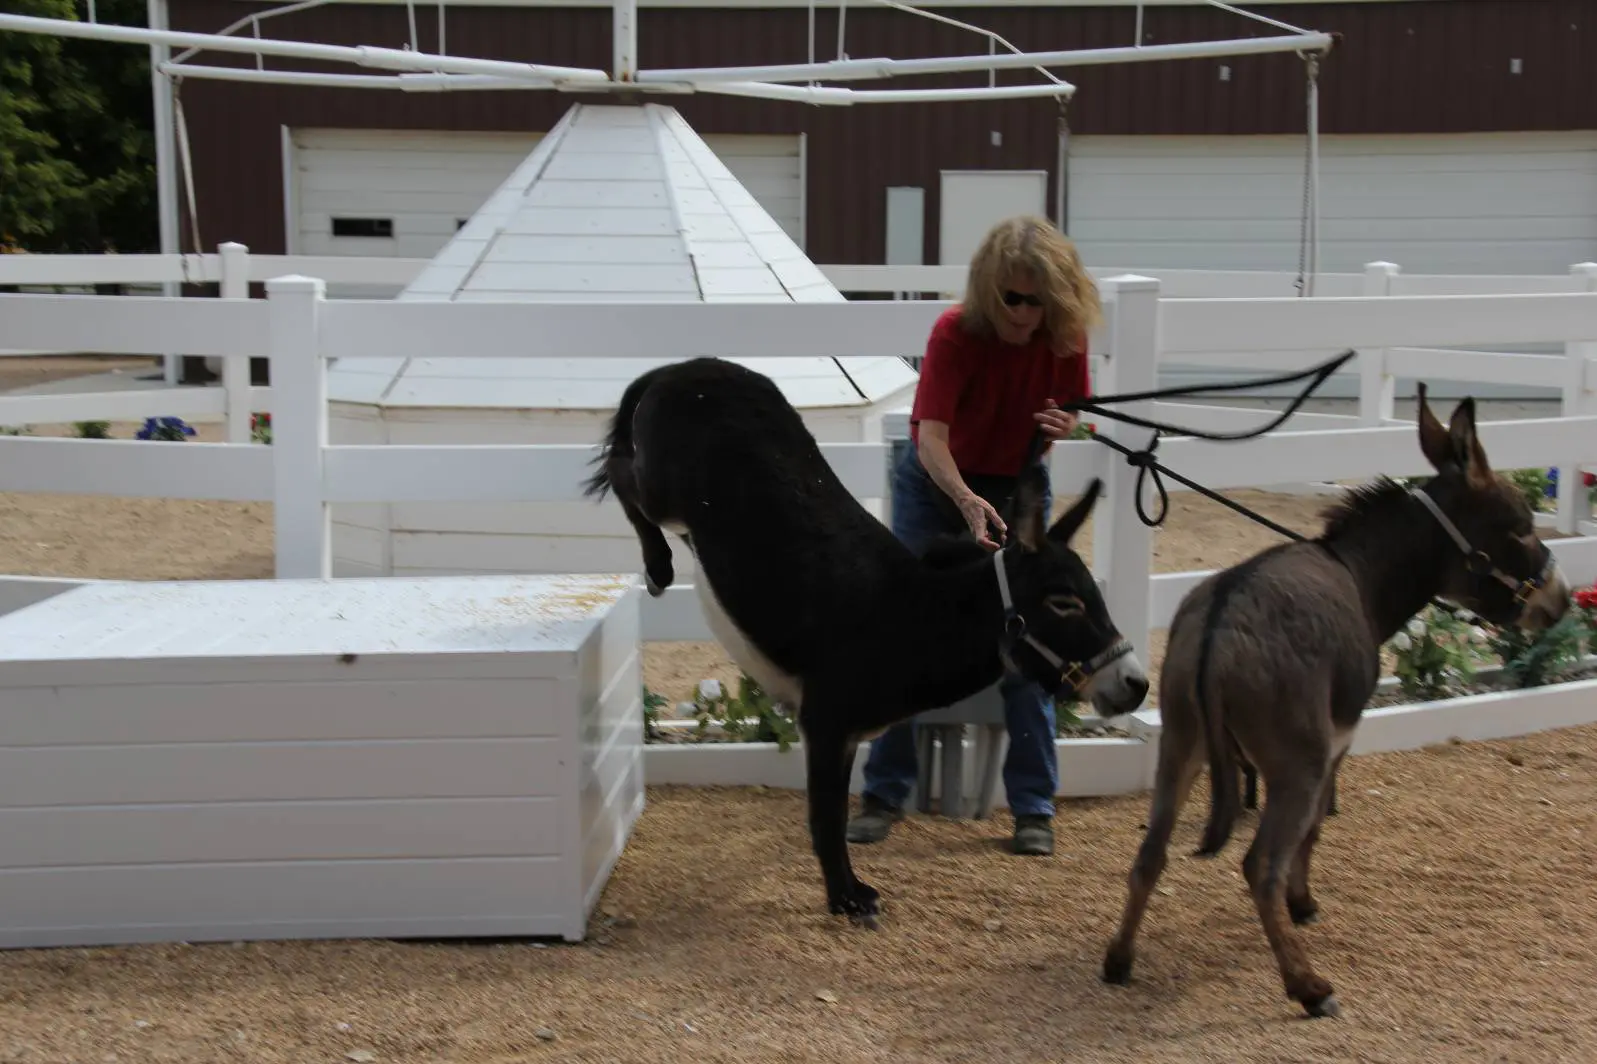
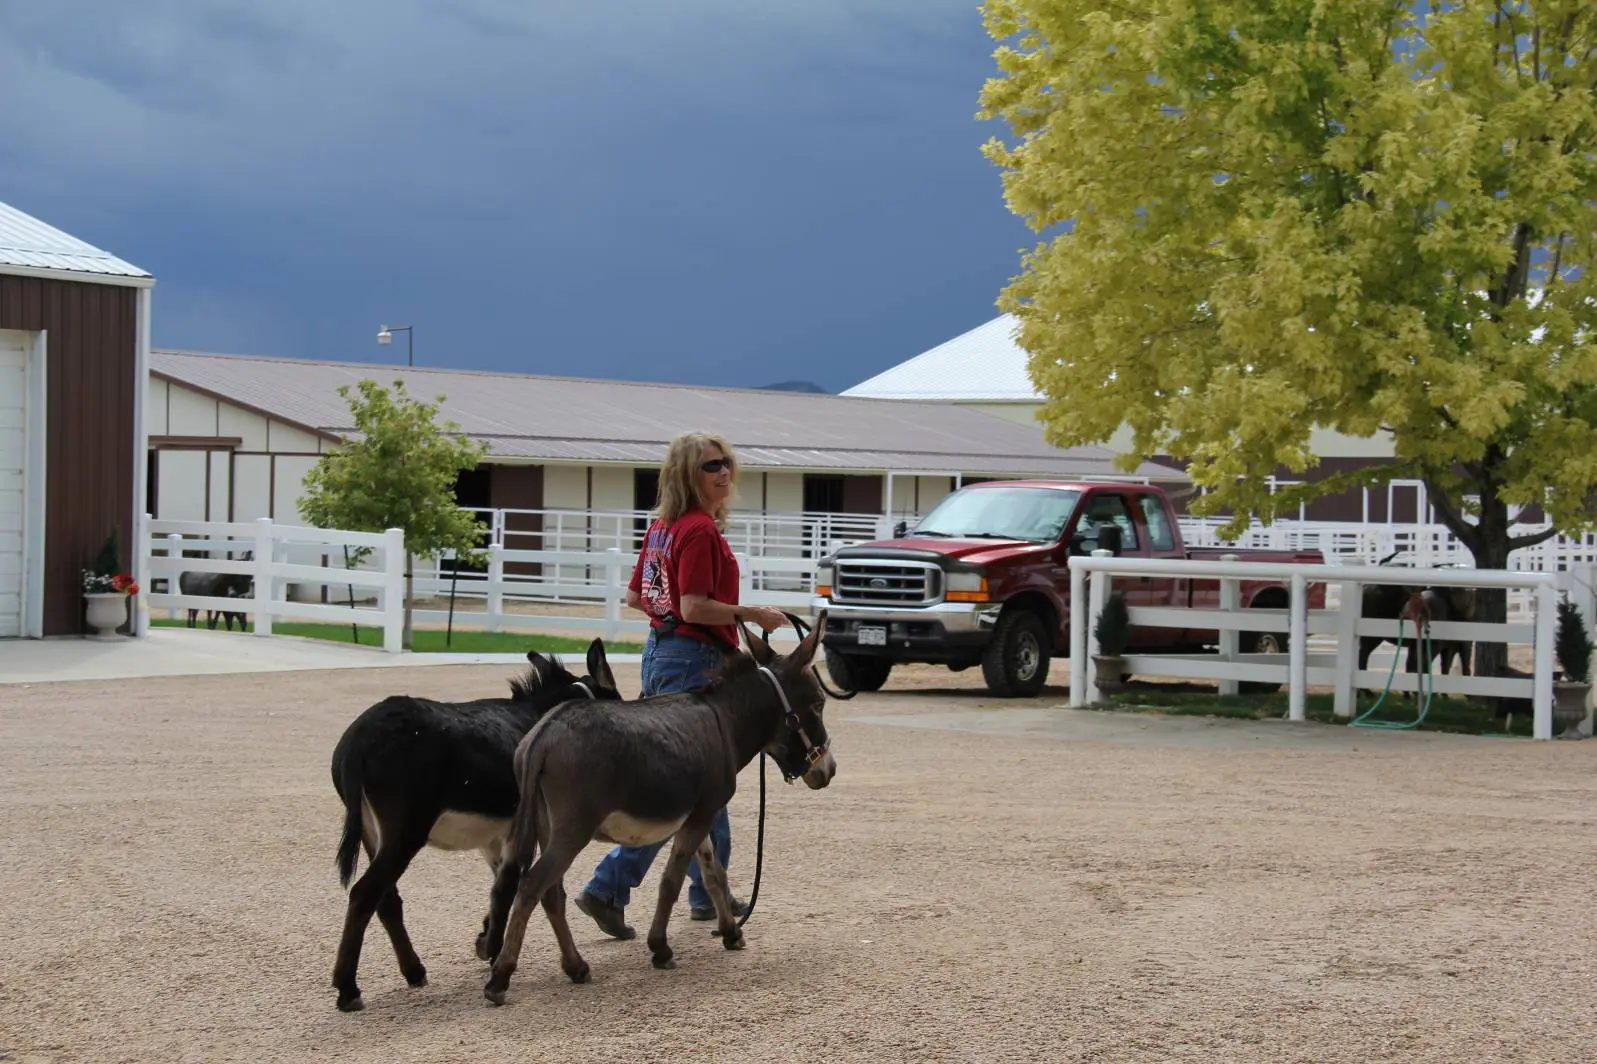
 By now you have taught your mini to follow on the lead while you both explore and have all kinds of adventures around your property, inspecting new things and having picnics everywhere imaginable. If your mini is to learn to be driven, he now needs to have the confidence to take the lead. When you begin this process, review (with your mini) leading together from the work station to the round pen. If you are training a team and dealing with two minis, tie their halters together at the side rings with about eighteen inches of 3/8-inch nylon rope with small snaps on each end between them, and use one lead rope snapped to the center of the tie rope between them. Begin by taking your position in the lead while carrying a dressage whip. Slowly work your way in beside them on the near (left) side, tap them each once gently on the hindquarters with the whip to let them know you expect them to continue forward and ahead of you (even though you are moving more slowly than they are on an angle to gradually work your way in behind them). Pretty soon, you should be directly behind them, encouraging them both forward if they do stop with a gentle tap of the dressage whip, but only one tap for each balky step.
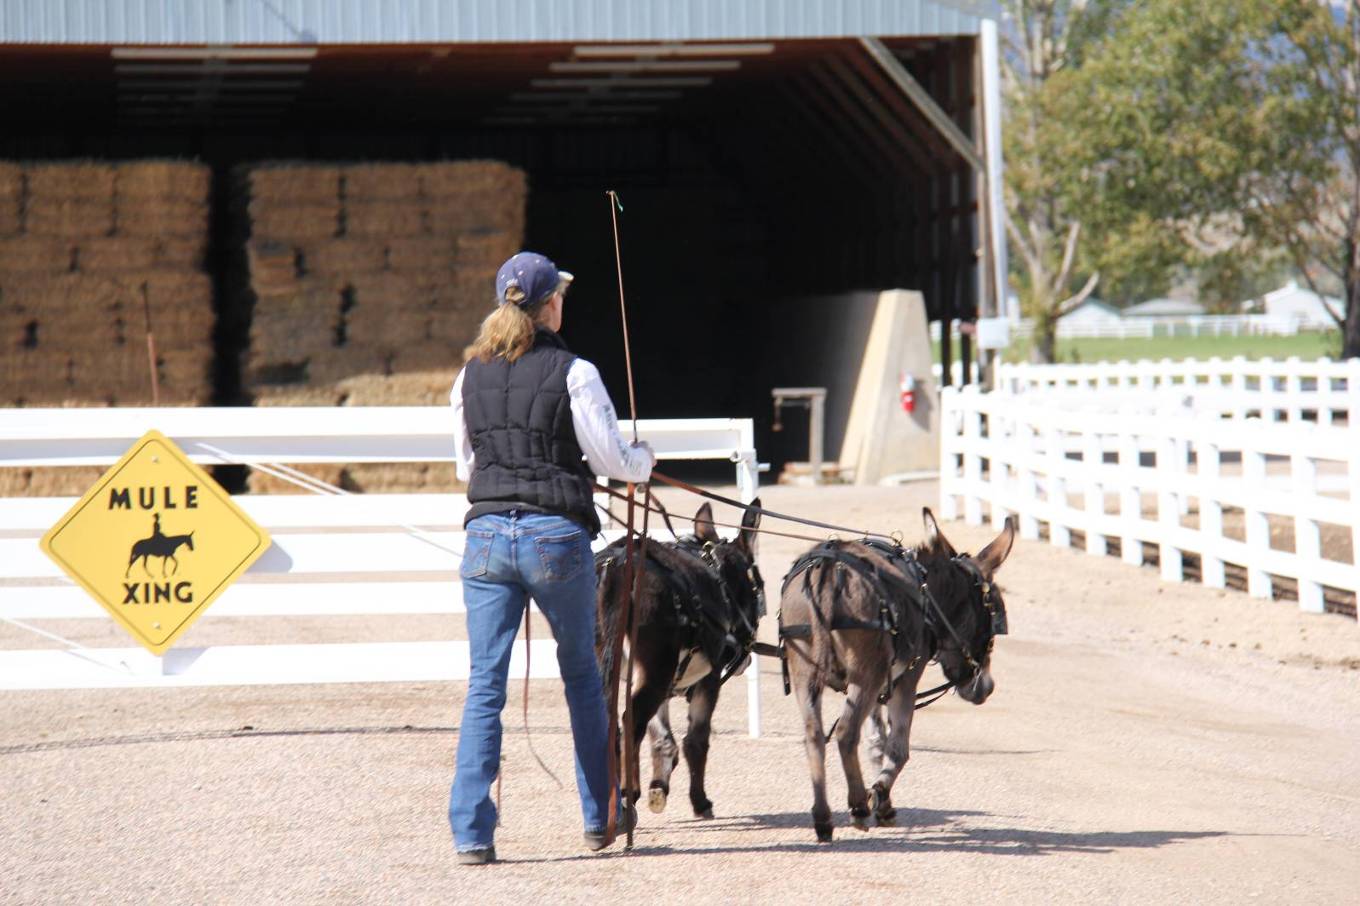
 In subsequent lessons going forward, the next steps are to attach the drive lines and ground-drive your mini in the round pen. Ground-drive around the rail in each direction at the walk and do smaller circles from the rail and back to the rail around the larger circle. Execute an “S” turn through the middle to change directions and do the same going in the opposite direction. End each lesson with a square halt and a back. If he does not do any of these moves with ease, just be happy with what he offers and stop the lesson there. This will give your mini a lesson in communication through the bit. It is imperative that he learns this. You always have the next lesson to continue forward and you want to avoid any confrontation that will cause resistant behavior. It is easier to prevent the behavior from occurring than to have to correct it later. If you are ground-driving two minis, work each mini alone first and then follow this exact same procedure with your team.
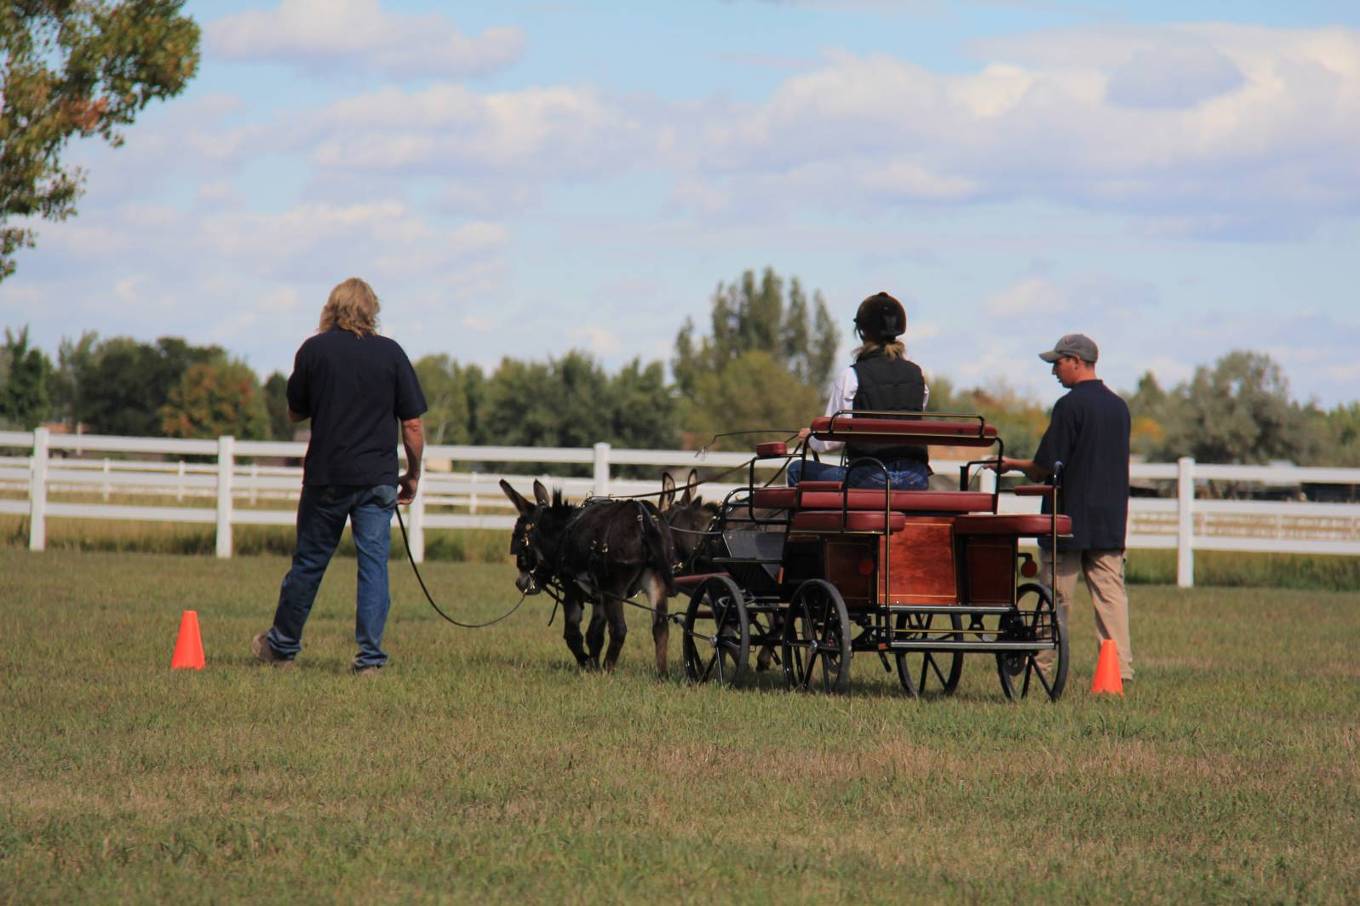
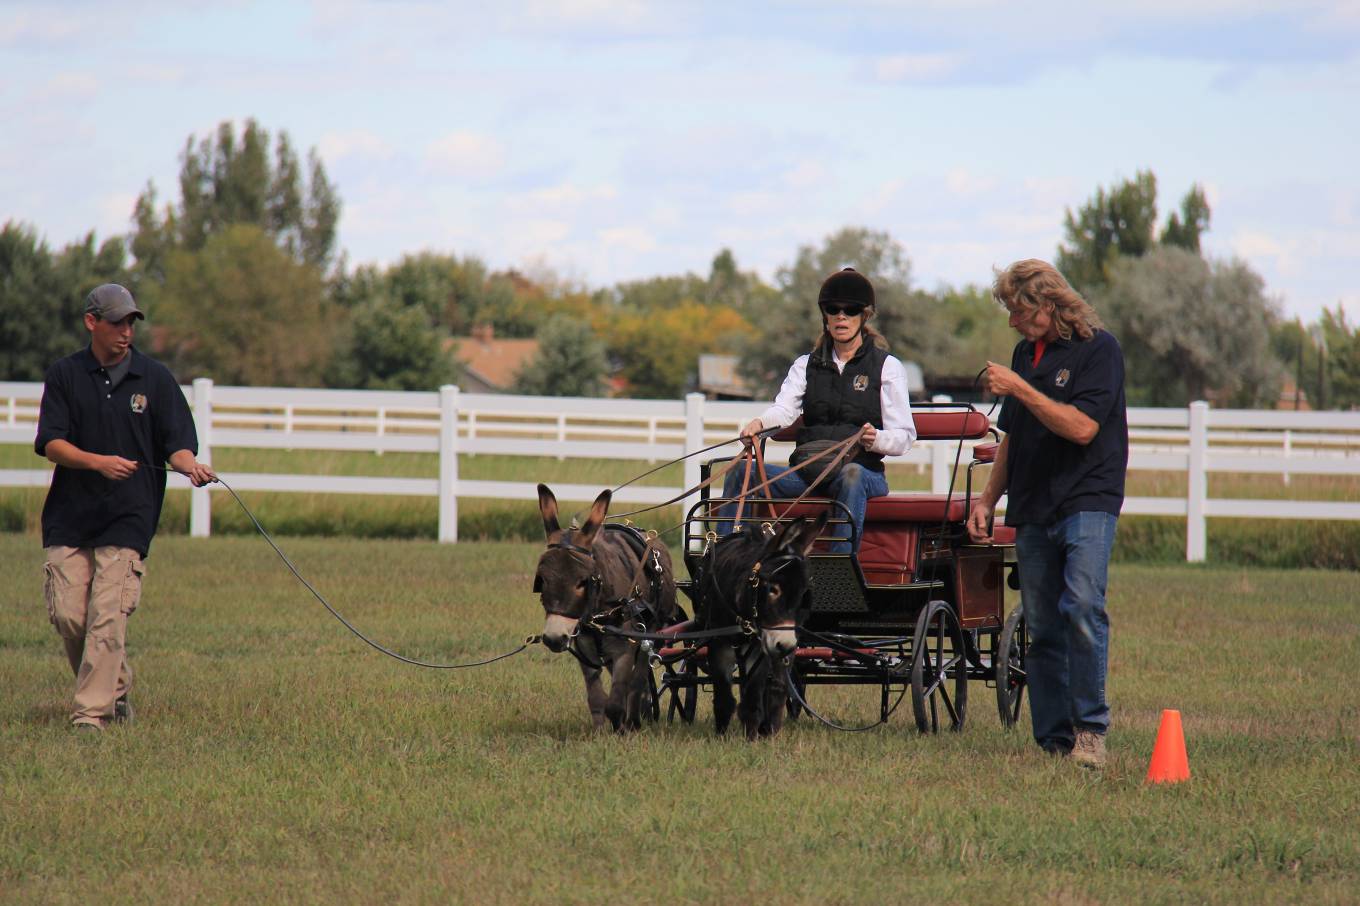
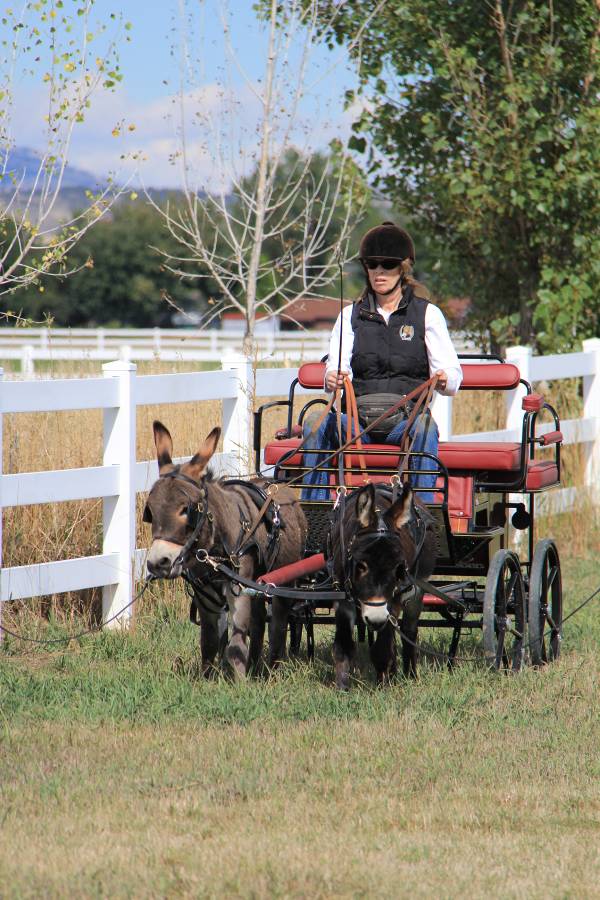
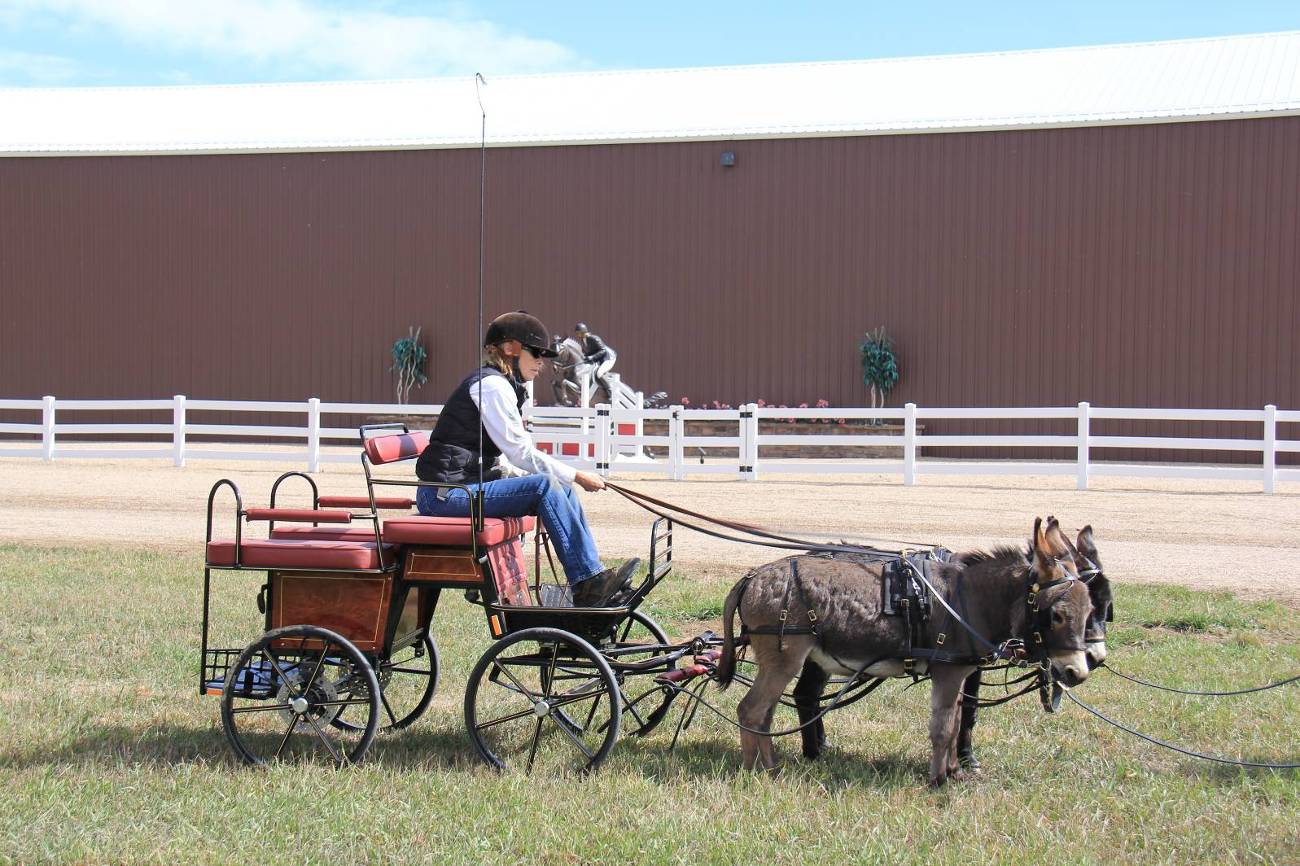
 Moving to an open arena changes your mini’s perception of space and he will often feel like playing, so set up the cones of the hourglass pattern for him. Ground-driving through the hourglass pattern will help to maintain his attention and give him a point of focus for his lessons. Ground-drive your mini as you did in the round pen, but now he will be driven through the hourglass pattern with random halts. If you have any balking, just stop, reward for stopping, regroup and try again. Remember to go slowly and use frequent halts and backs in order to reward your mini. This helps him to stay attentive to your hands. Remember to do a full halt yourself—in good posture—before you step forward to reward him. If you pay attention to your own posture and the quality of your walk and halts, he will pay attention to his.
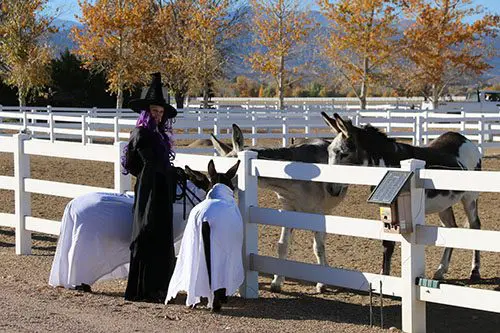
People ask what a miniature equine can possibly be good for besides being a pet or pasture ornament. Besides being dear, sweet companions, miniatures are able to do a lot of things.
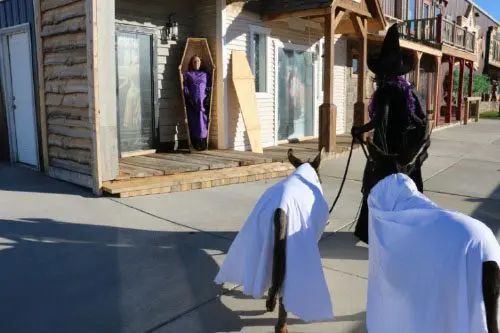
 There are classes at various shows (both open horse shows and miniature shows), where minis are not only driven in harness with a variety of carts and small carriages, but they also do trail courses and jumping on the lead line. Miniatures enjoy performing and have personality-plus, which audiences love! How well-trained your mini is will determine his willingness to do a multitude of fun activities, so make training fun and exciting for your mini. Enjoy the small victories along the way, use your creativity, reward lavishly and look forward to your adventures together.
To learn more about Meredith Hodges and her comprehensive all-breed equine training program, visit LuckyThreeRanch.com, MEREDITH HODGES PUBLIC FIGURE Facebook page, or call 1-800-816-7566. Check out her children’s website at JasperTheMule.com. Also, find Meredith on Pinterest, Instagram, MeWe, YouTube and Twitter.
Covered in TRAINING MULES & DONKEY: A LOGICAL APPROACH TO TRAINING, TRAINING WITHOUT RESISTANCE, EQUUS REVISITED and A GUIDE TO RAISING & SHOWING MULES at www.luckythreeranchstore.com.
© 2013, 2014, 2015, 2016, 2019, 2024 Lucky Three Ranch, Inc. All Rights Reserved.

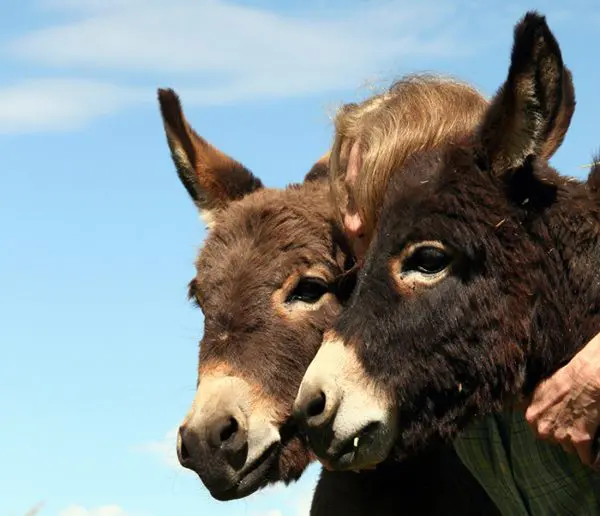
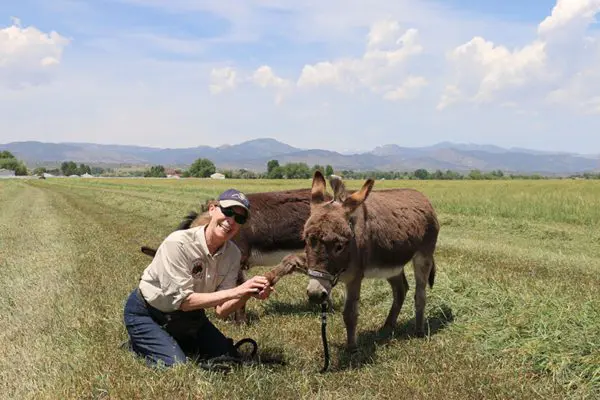
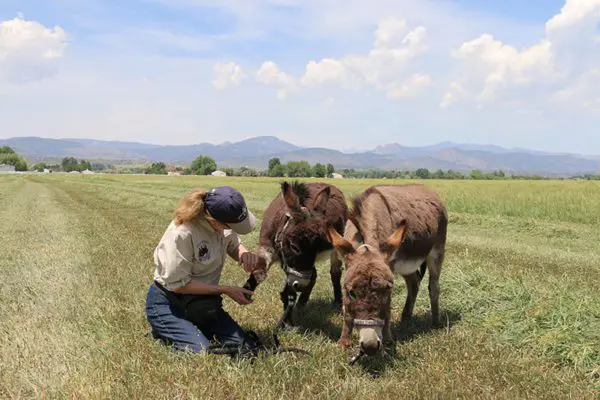
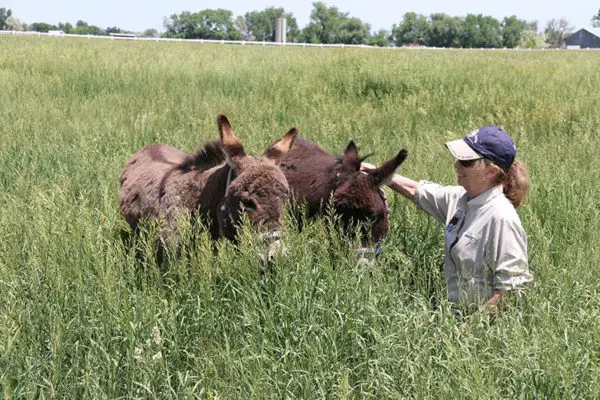
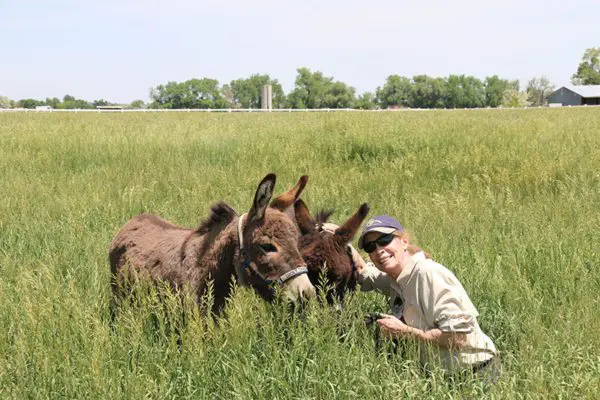
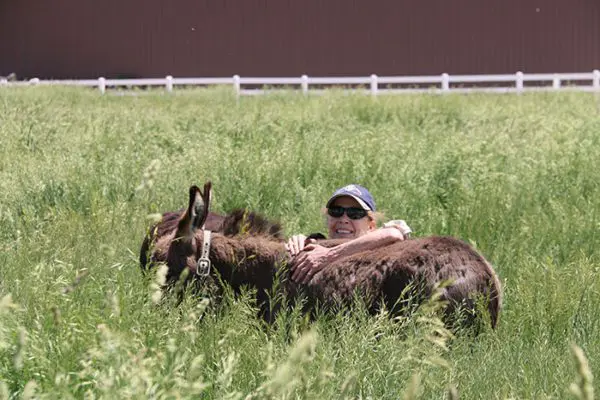
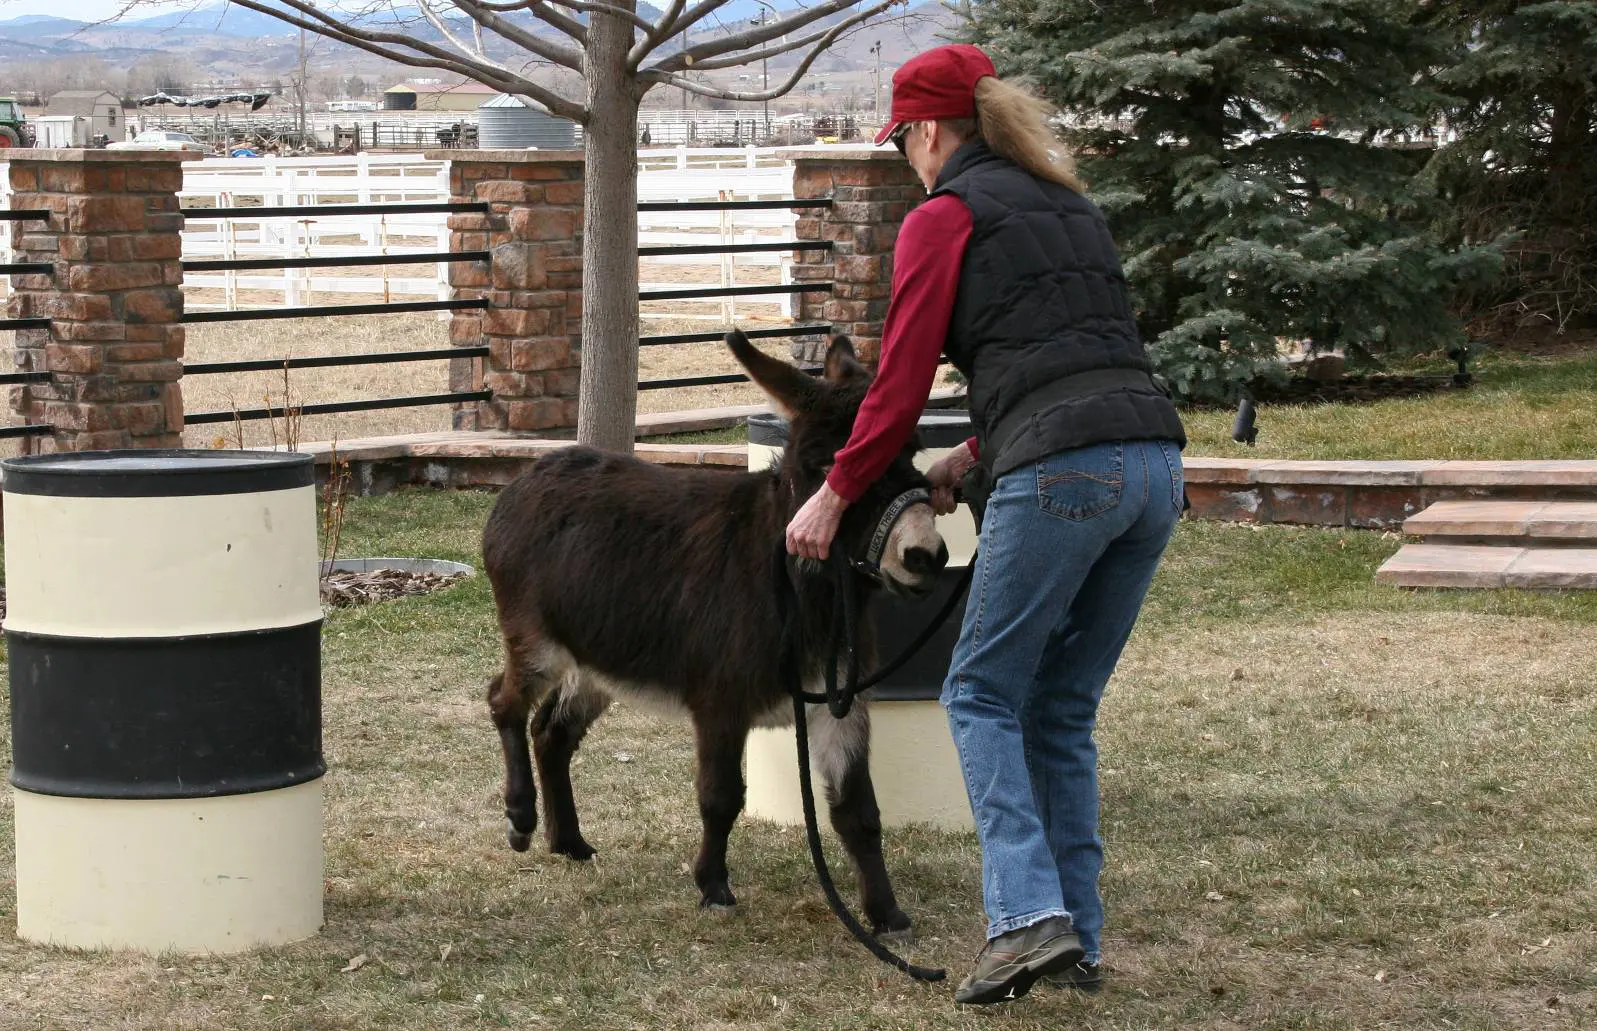
 Miniature horses, donkeys and mules all have one thing in common; everyone else is taller than they are! That makes eye contact with the trainer very difficult if not impossible for them. As the saying goes, the eyes are the window to the soul so it is understandable that they would become anxious if they are unable to look into a person’s eyes to decide whether they are friend or foe. I have five miniature equines: a mini horse named Mirage, a mini mule named Franklin, a mini molly mule named Francis, and two mini donkeys named Augie and Spuds. To help them all succeed and thrive, I’ve structured my training program for them based on the same one I use for all of my other equines, with one important modification. With safety always as my first priority, I work with my minis from a lower position whenever it’s safe to do so. That way, I can make eye contact with them, and I make certain they are always lavishly rewarded with an oats reward for their compliance. The results have been amazing! I’ve received total cooperation from them almost all of the time.
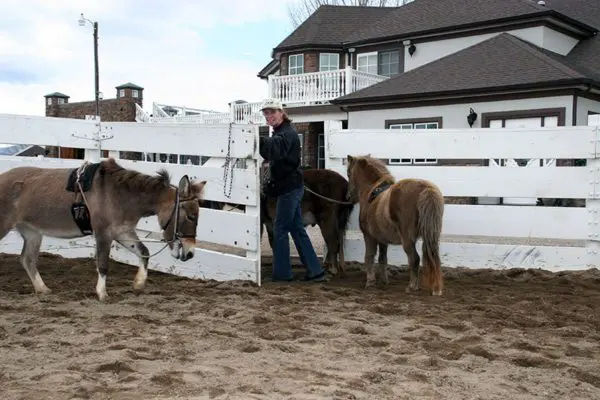 None of my minis were born at my ranch, so I knew that they would each first need to explore their surroundings a little at a time, and would also need ample time to get used to my staff and me. Mirage, the miniature horse, was my first mini. It wasn’t long after I acquired him that I acquired Franklin, the mini mule, who quickly became Mirage’s buddy. Since both Mirage and Franklin had previous training and because minis seem to accept training more willingly when done with a partner, we did all of Mirage’s and Franklin’s groundwork lessons together and, true to form, they learned very quickly because they were allowed to be together.
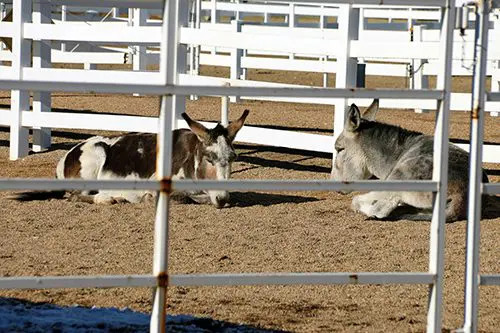
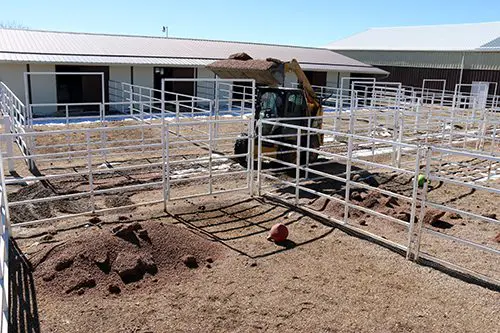
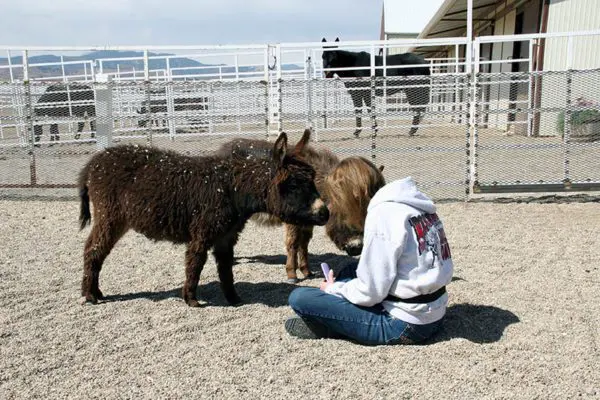 I think it is critically important that all equines have a space they can call their own—their personal oasis of comfort and privacy—so when I got my mini donkeys, Augie and Spuds, I decided that the first thing they would learn about was their living quarters or, as I like to call it, their “bedroom.”
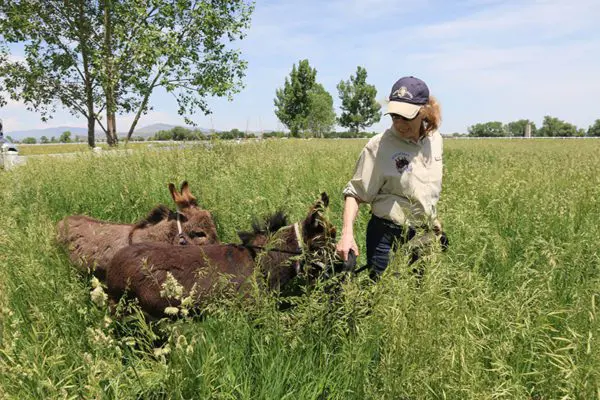
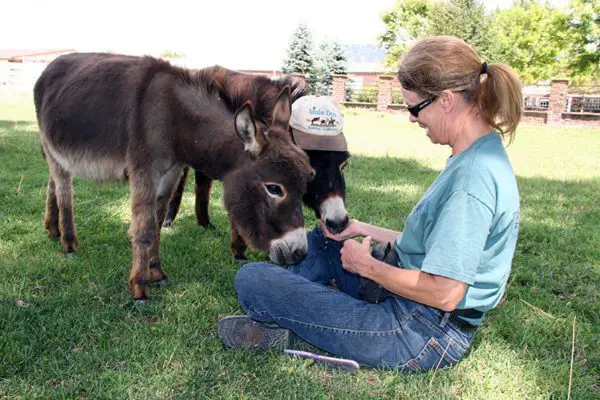 When your mini is comfortable with you coming into his pen and interacting with him, the next step is to ask him to go into a bigger turnout area, where you should repeat the same simple lessons. Now that your mini can be loose in a larger space, ask him to come to join you for another picnic. After a few times, bring a hairbrush with you (It’s the most efficient brush to use on donkey hair).
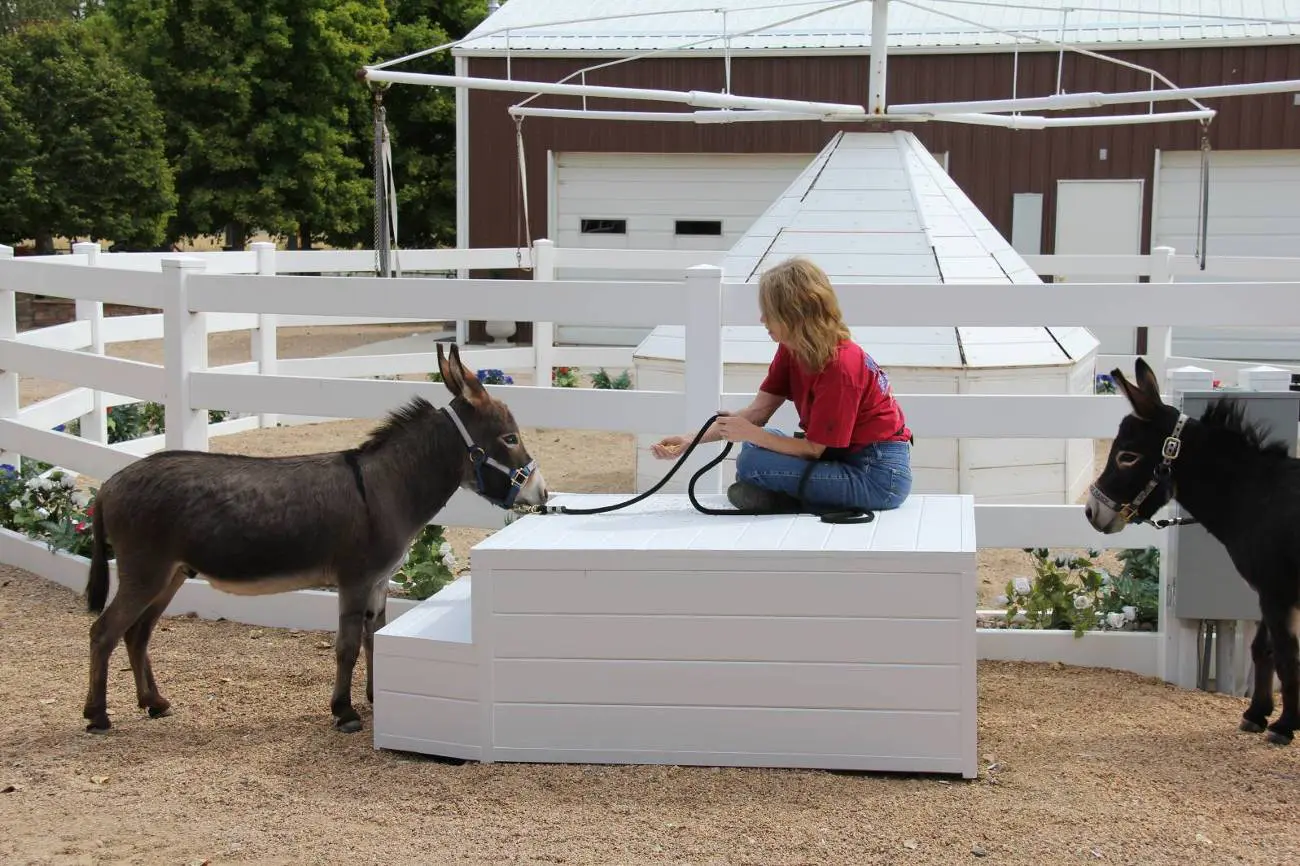
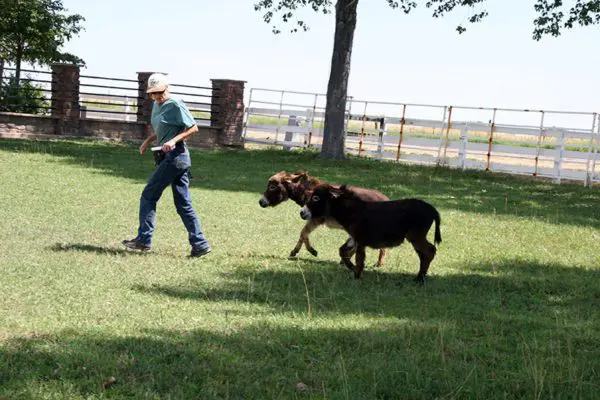 A halter doesn’t even come into play until after grooming in the pen is easily achieved and your mini will follow you to and from the pen without the halter. When it is time to introduce the halter, bring it with you into the pen for your picnic. Do the brushing and then show your mini the halter while you sit on the ground. When he sniffs the halter, he should be rewarded. Once he is unafraid of the halter, hold it on both sides of the noseband, feed your mini some oats, and then gently push the noseband of the halter over his nose and then take it off, rewarding him again. At this point you’ve got all kinds of oats in your lap and your mini’s got his head down, eating the oats, so when you put the noseband on again, just reach over his neck, grab the strap of his halter on the other side, bring it behind his ears and fasten it. If done correctly, this should not bother him. Then reward him with more oats, pet him as he complies and say, “Oh, how good is that?!” You can then take the halter off again and end the first lesson there.
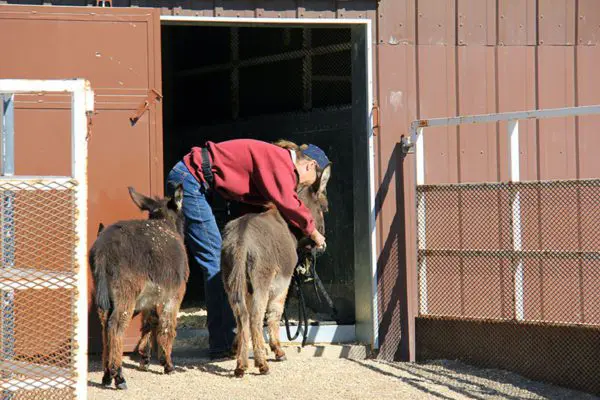 Once your mini is used to having his halter put on, let him graze while supervised in a larger pasture area with his halter on while he drags the lead rope behind him. When you want him to walk away from you, simply stand up and let him go off on his own. After a few minutes, approach him again, grab the end of his lead rope and sit down again. You can give a little tug, say his name and ask him to “Come.” He should come easily when you gently tug on his lead rope. This action makes him look at you and think, “Oh, my human is sitting down again, so I’m going to come over and get more oats!” As he comes toward you, take up the slack on his approach. Once he comes to you easily, you can stand up and ask him to come while you’re standing up and reward him for it. And that’s how to teach a mini to follow you.
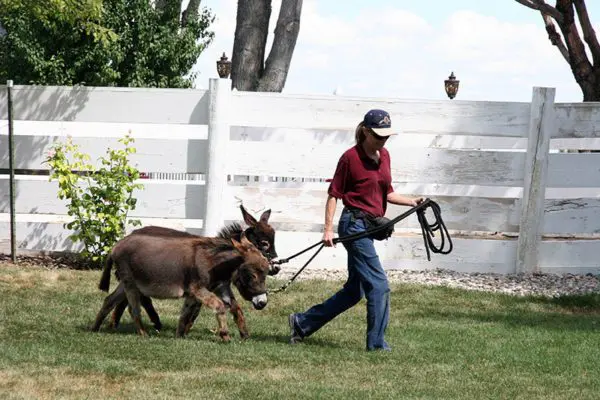 Breaking things down into little do-able steps seems like a long process in the beginning, but as your mini begins to understand the reasoning behind your approach, his reactions to tasks will become calmer, more automatic and more natural for him. When you allow your mini to learn to follow your lead without the halter in the beginning of each task, learning to follow you on the lead rope will be a lot easier for him, and when you finally move on to more specific tasks in training, he will oblige you much more willingly. In Part 2 of “Getting Down With Minis,” I will cover how to approach the tasks necessary for formal training.