MULE CROSSING: Making History with Mules, Part 3
By Meredith Hodges
There was a time before the industrial age when one-third of all fifteen million mules on earth were being utilized by the United States. Mules worked in the fields, carried our packs, pulled heavy barges on the canals, plodded through darkness in the mines, guided supply wagons and streetcars about the cities, carried tourists to exotic places like the Grand Canyon and transported army supplies and light artillery for the government. And to help with all the back-breaking labor he faced, man’s invention of the hybrid mule was truly a stroke of creative genius. “No cultural invention has served so many people in so many parts of the world for so many centuries with energy, power and transport as the mule.”
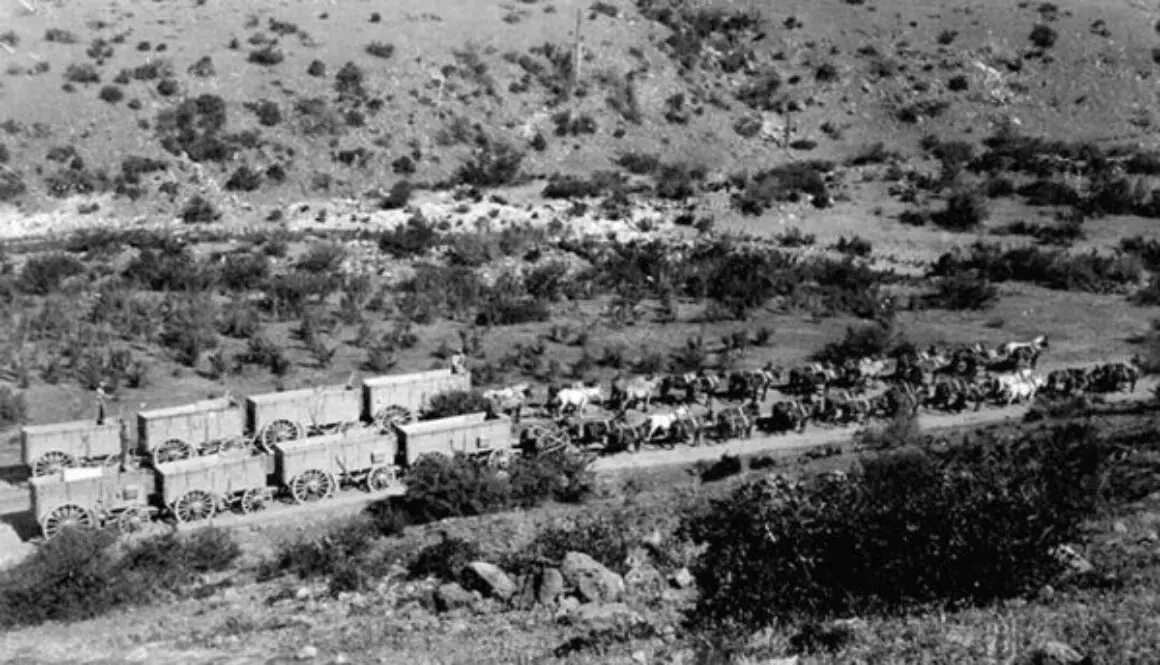
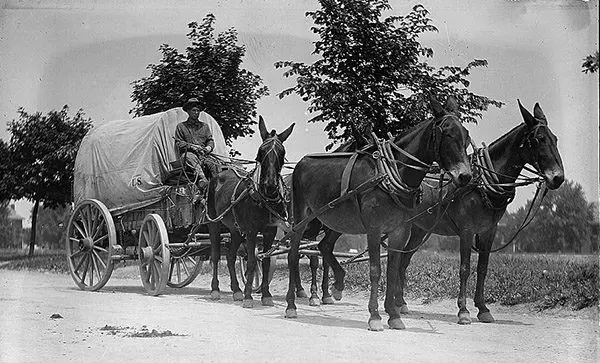 During the surge westward, heavy Conestoga wagons laden with all the possessions one could carry were often pulled by teams of mules that were either leased or owned by the early settlers. When cattlemen developed breeds like Texas Longhorns that could endure the harsh climate of the Great Plains, their mules pulled the chuck wagons that followed the large herds as they were driven the long distances to market. Improved farm equipment beckoned farmers to tame the West and what else could manage the vast land and long work hours save the mule? During these times, little thought was given to the possibility that this coveted land was already occupied by numerous Indian tribes.
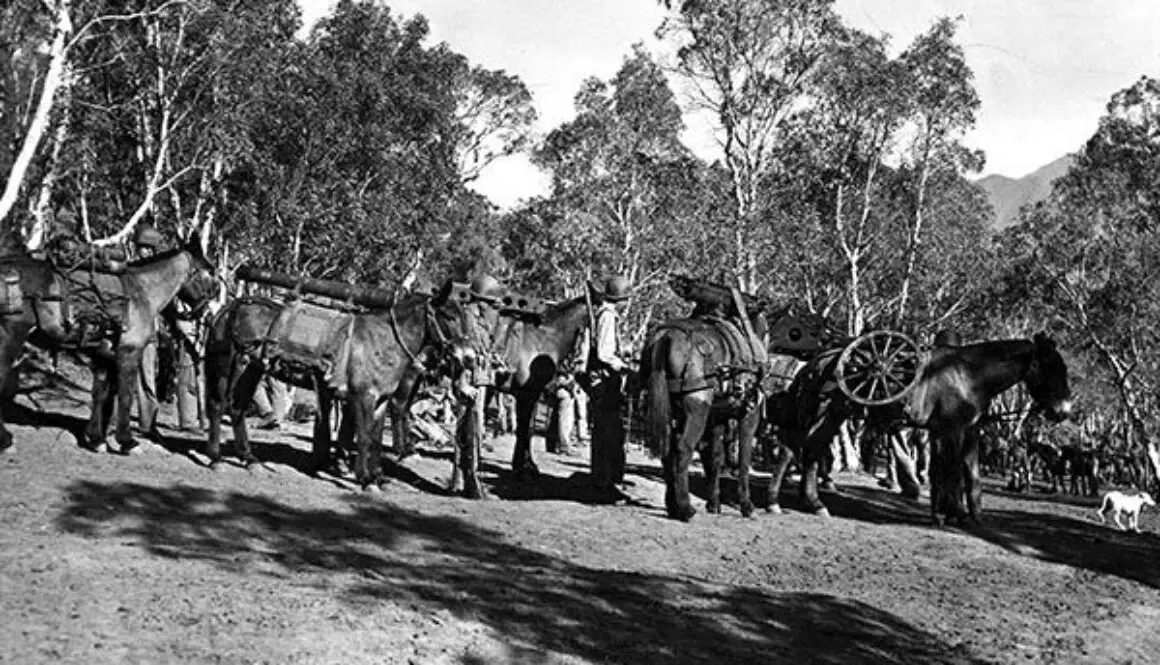
The soldiers were caught in an impossible situation. They were bound by duty to protect and serve the early ranchers, miners, farmers and their families, but were unable to derive any profit from their duty. Indian attacks raged at every turn and mules helped carry the artillery and supplies the army needed to protect its citizens. The armies had been used to fighting in an entirely different climate and, when faced with the gale winds, plunging temperatures and blizzards on the Great Plains like they had never seen, it was often the mule that provided the perseverance and determination to see it through. On rare occasions, the mule served as the only source of food, saving the lives of desperate families and often – hungry Indians.
People are generally surprised to learn of the loyal and affectionate nature of the mule. For some reason, they want to believe in a stubborn and vengeful character, but when one reads accounts from individuals, one finds mules to be quite the opposite. In the mid-1800s, the U.S. government, in its infinite wisdom, recognized the value of the mule, yet made foolish provisions for its soldiers in their regard. It was clear that they did not fully understand this animal that resembled the horse but acted nothing like it.
In training mules to harness, they often cut traces to the harness so short and hung so low that the mule’s heels would be clipped by the swingle trees when they walked forward. Not wanting to injure itself, the mule would stop when it became sore. This act was acknowledged as laziness. It was only through the good sense of the real mule teamsters that these kinds of errors were corrected. Swingle trees were hung higher between the hock and the heel to allow for a full stride, and traces were subsequently invented with larger chain links at the ends of the drawing-chains to allow for adjustments in length.
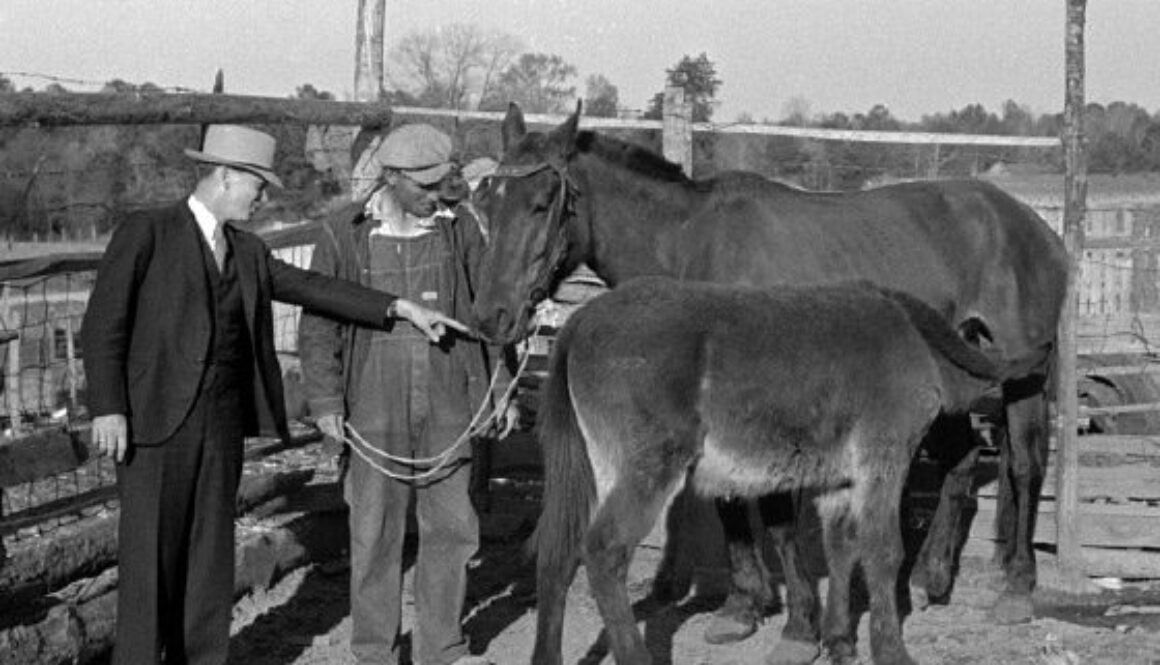
 The American government purchased many mules that were two and three years old—entirely too young for use. If they had purchased mules all over the age of four, it would have saved a lot of heartache and expense. Contractors and inspectors seemed to be more concerned with the numbers they could sell to the government than the quality and usefulness of the animals. When purchased for use, this invariably resulted in the mules being put onto a train with teamsters who knew nothing of their character. Those who know mules know the deep affection they develop for human beings with whom they spend much time. Thousands of young mules were rendered useless by the government’s incompetence and ignorance as to their maintenance and training.
Harvey Riley, author of The Mule, published in 1867, recounts, “While on the plains, I have known Kiowa and Comanche Indians to break into our pickets during the night and steal mules that had been pronounced completely broken down by white men. And these mules they have ridden sixty and sixty-five miles of a single night. How these Indians could do this, I never could tell.” Maybe it’s as simple as, “You can catch more flies with honey than you can with vinegar!”
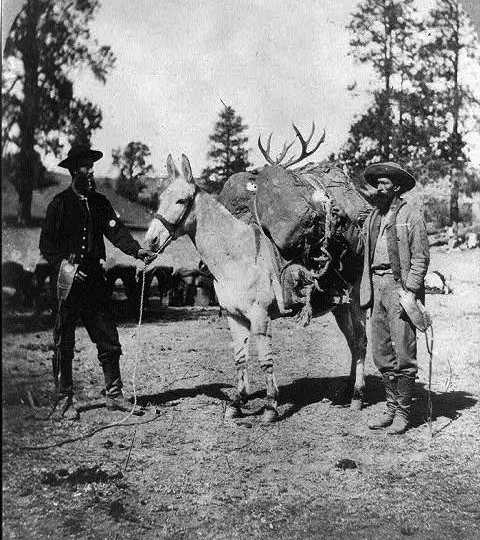
Packing was of great importance to government mules, as they were required to carry a wide variety of heavy items over treacherous terrain. In the Northern and Western territories and in Old and New Mexico, nearly all business was done with pack mules and pack donkeys.
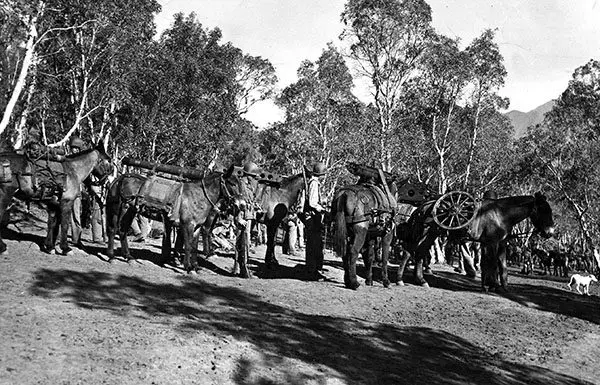 The Indians adopted the Spanish way of packing, as the Spaniards were noted experts. The Americans developed their own American pack saddle, but it was abandoned soon after its creation.
“While employed at the Quartermaster’s depot at Washington, D.C. as superintendent of the General Hospital Stables, we, at one time, received three hundred mules on which the experiment of packing with this saddle had been tried in the Army of the Potomac. It was said this was one of General Butterfield’s experiments. These animals presented no evidence of being packed more than once; but such was the terrible condition of their backs that the whole number required to be placed at once under medical treatment…yet, in spite of all his skill, and with the best of shelter, fifteen of these animals died from mortification of their wounds and injuries of the spine,” Harvey Riley remembers.
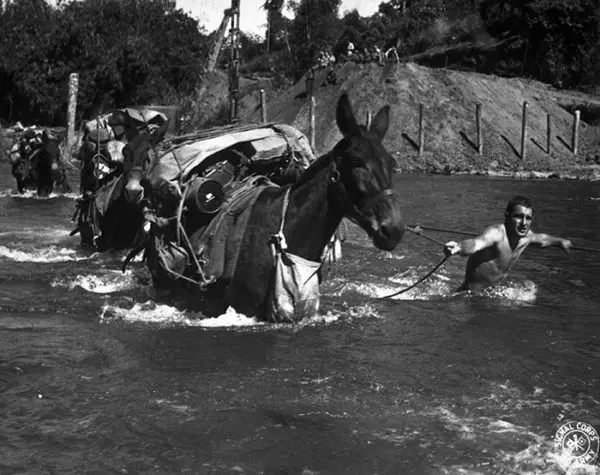 In 1942, while in the service of the U.S. Army, Art Beaman became familiar with mules in a most curious way. He was working as an Operations Sergeant for a Headquarters in Northern California that determined whether troops were ready for combat. The troops consisted of 204 enlisted men, two veterinarian officers, four horses and 200 mules. Being a non-rider, Art was on and off his horse three times in the first ten minutes of the trip into the mountains. The First Sergeant finally decided to put him on a mule and open his eyes to the redeeming qualities of his mount. The next day, Art was able to say, “That mule and I were really a team…by this time, I trusted my mule so completely that I could have stood up and sang the national anthem as we slipped and skidded along!”
The aftermath of this story is really funny. About a week before his pack troop was to be deployed to the South Pacific, some sideways thinker in the Quartermaster Corps sent 200 green-broke replacement mules for his troop. Not wishing to trade the now fully broke mules for the green-broke mules, Art left the 200 mules on the train overnight while he pondered this dilemma. When he returned the next day, he told the men in charge, “There are the old mules and we have the new ones! Evidently, they believed me, or they didn’t care one way or the other, and the green mules were on their way back to Washington!”
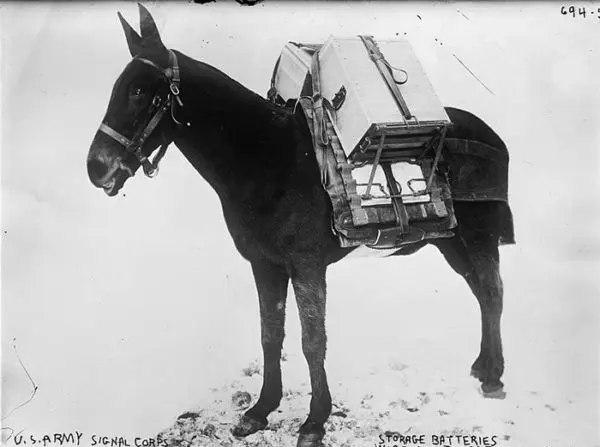 Those who have experienced the spiritual connection with mules all have their own individual stories to tell. From The Black Mule of Aveluy, by Charles G.D. Roberts, comes one of the most amazing World War I battlefield stories I’ve ever heard. It is the story of a man and a big black mule on a rain-scourged battlefield. “The mule lines of Aveluy were restless and unsteady under the tormented dark. All day long a six-inch high-velocity gun firing at irregular intervals from somewhere on the low ridge beyond the Ancre, had been feeling for them. Those terrible swift shells, which travel so fast on their flat trajectory that their bedlam shriek of warning and the rendering crash of their explosion seem to come in the same breathless instant, had tested the nerves of man and beast sufficiently during the daylight; but now, in the shifting obscurity of a young moon harrowed by driven cloudrack, their effect was yet more daunting.”
A second shell screamed down into the lines, scattering deadly splinters of shell ropes, tether-pegs and mules. When it was all said and done, one lone black mule stood back, still tied to the picket line, unable to free himself. With eyes wide in terror, he sought respite from the onslaught, but was unable to find any. Suddenly, a man with tousled, ginger-colored hair appeared at his nose and put his arms around the mule’s neck, as the mule coughed and sputtered, still stunned from the blast. The man quickly untied the black mule and another that was left from the blast and got them to safety.
After the attack at Aveluy, the black mule and his new driver were given the job of carrying up shells to the forward batteries. Early that next afternoon, they were plunging deep into rugged territory along a sunken road, muddy from perpetual rain showers, when suddenly the inexplicable happened and there was an array of star-showers that blinded the mule. “When he once more saw daylight, he was recovering his feet just below the rim of an old shell-hole. He gained the top, braced his legs, and shook himself vigorously.” His panniers were still heavily loaded and his driver was not in sight. He soon saw his driver clinging to the far edge of the shell-hole, sinking rapidly in the mud. “He reached down with his big yellow teeth, took hold of the shoulder of Jimmy Wright’s tunic, and held on. He braced himself and, with a loud, involuntary snort, began to pull.”
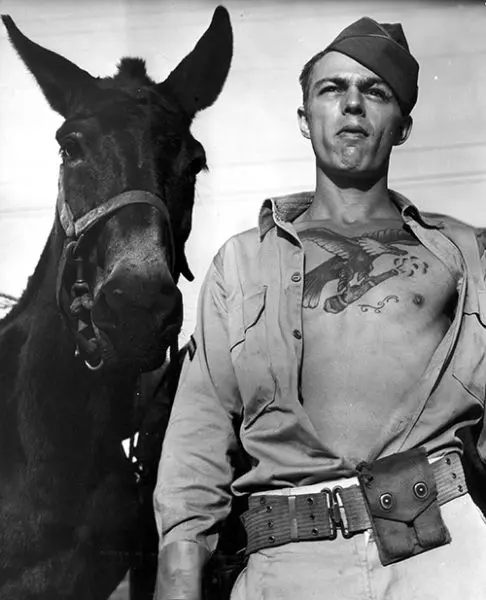 Jimmy Wright remembered the blast and saw where he was. He was afraid his shoulder had been blown off, yet he could move both arms and discovered something was pulling on him. “He reached up his right arm—it was the left shoulder that was being tugged at—and encountered the furry head and ears of his rescuer! Reassured at the sound of his master’s voice, the big mule took his teeth out of Wright’s shoulder and began nuzzling solicitously at his sandy head.”
For centuries the mule loyally traversed the course of history with man, though he was never given credit for his valuable contributions. In fact, men perpetrated stories to the opposite and the mule’s legacy became one of laziness, stubbornness and disobedience. Only those humans who were of a character to willingly explore the spirit of the mule were there for its redemption. We are thankful that their stories have withstood the test of time. Throughout history, man believed that he was making progress with each new age, but the blind farmer will tell you, “There’s no such thing as a seeing-eye tractor, and while I am farming with my mule, I can hear the birds sing. I never could with a tractor!” Perhaps we should take note and stop to smell the roses and give credit where credit is due.
To learn more about Meredith Hodges and her comprehensive all-breed equine training program, visit LuckyThreeRanch.com, MEREDITH HODGES PUBLIC FIGURE Facebook page, or call 1-800-816-7566. Check out her children’s website at JasperTheMule.com. Also, find Meredith on Pinterest, Instagram, MeWe, YouTube and Twitter.
© 2011, 2015, 2016, 2020, 2023 Lucky Three Ranch, Inc. All Rights Reserved.
 George Washington was a fairly well educated man and, “the copybook which he transcribed at fourteen years of age a set of moral precepts or Rules of Civility and Decent Behavior in Company and Conversation was preserved.” Practical experience was the foundation for his best training in outdoor occupations and not books. He was a successful tobacco and livestock farmer early in his teens and mastered the art of surveying to plot the fields he inherited. It is no accident that George Washington became not only the father of our country, but also, the first organized mule breeder in America.
 Respect for donkeys and mules is the only way to motivate them to action. Their rugged individualism will tolerate no less. The mule exemplifies the “All-American,” as set forth by the colonists. The colonists were thought to be stubborn in their quest for individual freedom by the British Crown that super-imposed itself upon their individual liberties. Like the colonists, mules will challenge anyone who challenges their individual liberties! It is only fitting that the mule would be fully revered and appreciated by a man of such distinction as George Washington.
 The Erie Canal was the longest canal built in the shortest amount of time for the least amount of money. It had continued success for many years because of the use of donkeys and mules to pull the barges along the tow path. “In the annals of the Erie Canal, we find little credit given to the mules; yet, by virtue of their strength and endurance and sagacity, the western wheat reached New York City in due time and industrial products moved west.”
 the canal, but it was quickly and safely guided back to shore by the lead around its neck. Where the walls of the canal were too steep to climb back out, the villagers installed ramps at intervals along the canal to serve as an easy escape from the water, should the mules fall in. These ramps were covered with a heavy planking containing thick slats, or “cheats,” where a mule could get traction coming up the ramp. In the off-season, the planking could be removed and held over for the next season.
 After the Civil War, farmers were again at a loss for man-power and mule-power. Tennessee joined Kentucky as another leader in the breeding of mules and donkeys. During the war, much of the stock had been destroyed or starved to death, so, from 1883 to the end of the 18th century, there was a surge of asses imported from Spain to replenish the stock. This all but depleted the good stock for sale left in Spain.
 Terrors of Death Valley seemed to arise from only three causes: extreme heat, excessive dryness of the atmosphere, and lack of water. The president of the Eagle Borax Company, Mr. I. Daunet, was forced to kill his animals so he could drink their blood to survive, as blood can replace water. After this devastating near-death experience, and finding the daunting heat unbearable, Mr. Daunet was happy to remain, thereafter, in his office.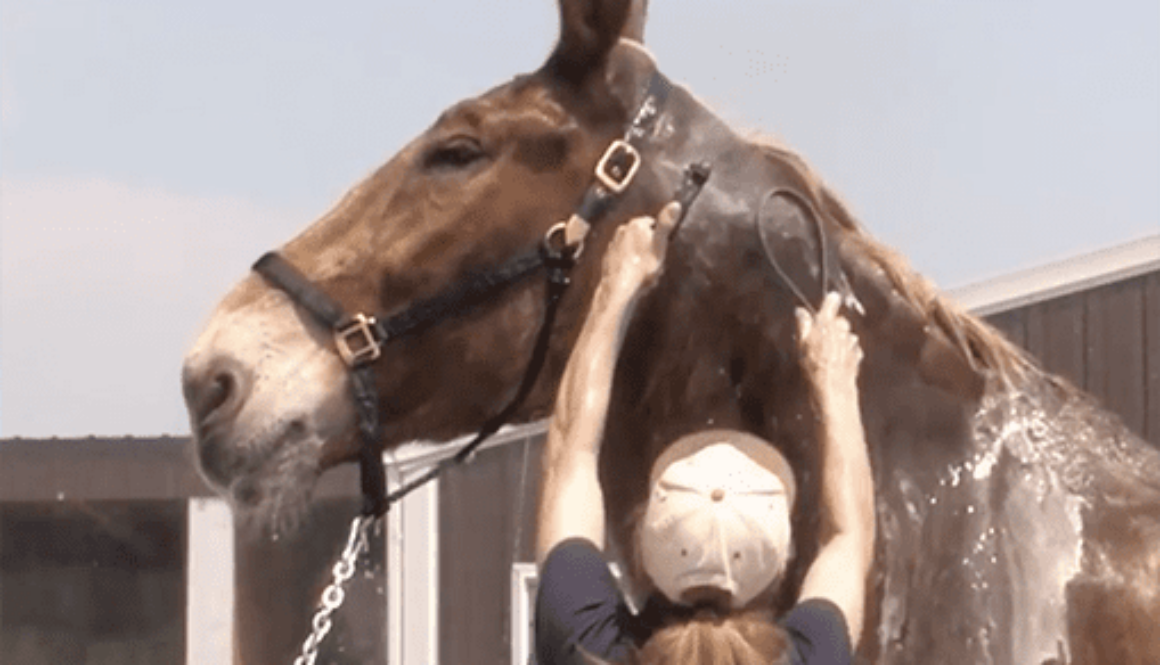
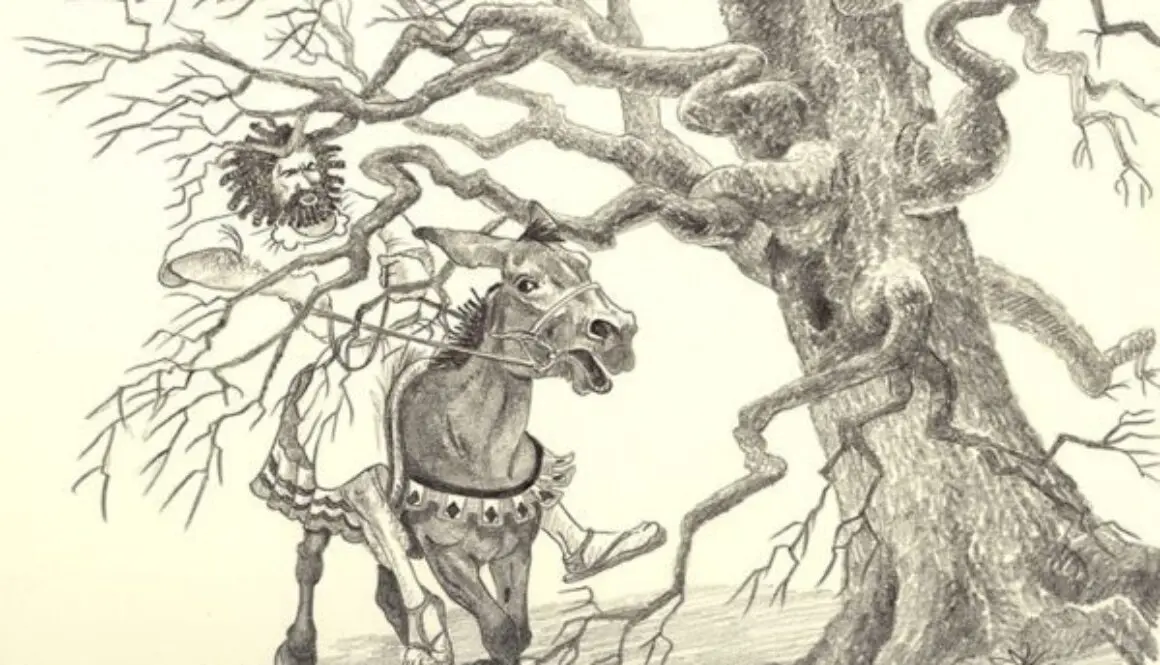
 Many people ask me when the first mules appeared on this earth. Historically, mules have their roots in the Bible. Contrary to the popular belief that mules are so lowly and stubborn that they would have to be the mount of serfs, they were—in the beginning—the mount of kings!
 “And Absolom met the servants of David. And Absolom rode upon a mule, and the mule went under the thick boughs of a great oak, and his head caught hold of the oak, and he was taken up between the Heavens and the earth, and the mule that was under him went away.” (II Samuel 18:9)
 The highest intelligence residing in animals is that of the mule. He inherits athletic ability and “horse sense” from his mother, the horse, and incredible wisdom and strength from his father, the jack. Perhaps the kings of yore finally tired of being publicly humiliated by their superior mules, or perhaps they just couldn’t muster the patience or humor to deal with them anymore, but mules were eventually replaced by horses as the mount of choice, and were subsequently used primarily for packing and draft work.
 There is a volunteer organization in Israel called HAI-BAR, (an Israeli word meaning “wildlife”). This organization was established to protect animals that had thrived in the Holy Land during the Old Testament years, but that are now dangerously close to extinction, due to reckless use of land resources. HAI-BAR South, established in 1964, opened 3000 acres to the general public in 1977 for the express purpose of protecting herds of wild species from Biblical times. A second reserve, HAI-BAR Carmel, was established in the center of Israel near Haifa on Mount Carmel, where 2000 acres were fenced off to accommodate and protect even more Biblical animals. These reserves are still in operation today.
 The unique personality traits of the mule come from the ass. Unlike horses, mules are naturally curious, but are also suspicious and require time to size up a situation before acting. For this reason, it usually takes time for people to warm up to mules and time for mules to warm up to people. Because their judgment of people is unmatched, it is wise when buying a mule to allow him to pick you! A lot of the mule’s so-called“stubbornness” is really a sense of self-preservation. If he has a negative experience, he is not likely to repeat it. His memory serves him well and he never makes the same mistake twice. For this reason, it is important that the personality of the mule and his handler are compatible and that they actually like each other.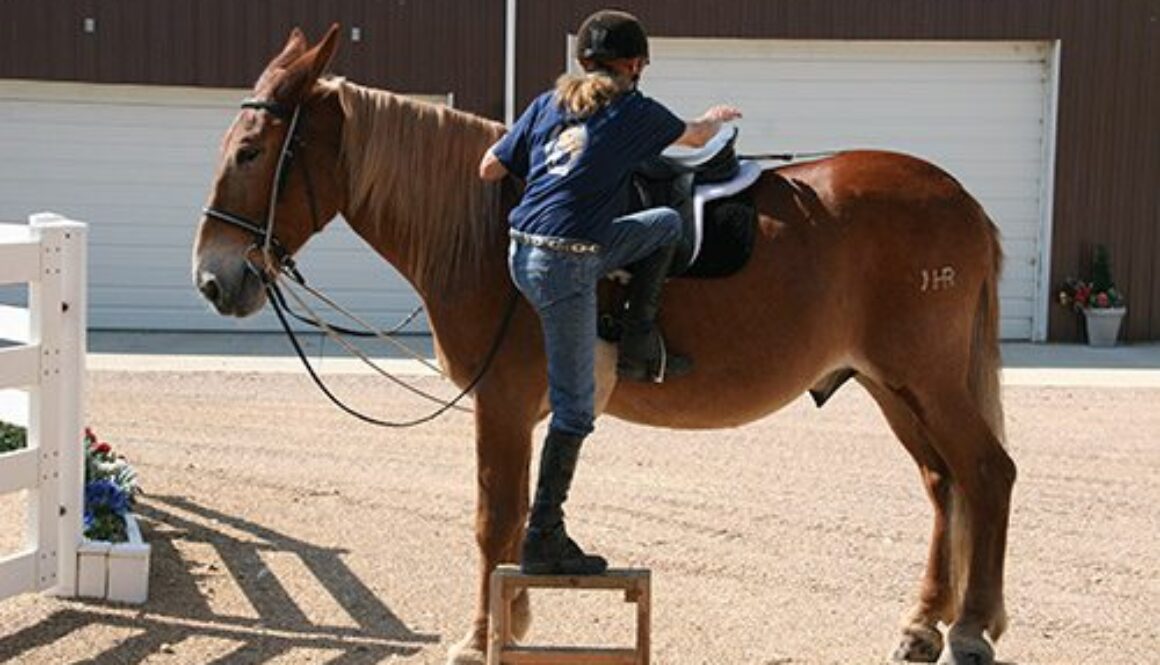
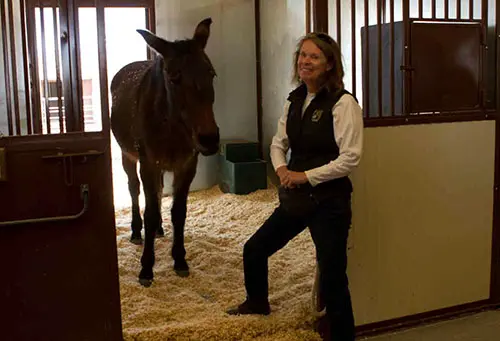 Training begins with nutrition and the way your equine is fed. An equine that is fed at a specific time each day is far less stressed than those with inconsistent feeding times and will learn easier. What you feed and how is critical. The equine should ALWAYS be asked to stand still with a verbal WHOA and required to remain back when you open a door, or a gate, until they are asked to WALK ON.
 The Lucky Three mules willingly come off the grass pasture at any time of the day when they are beckoned. This is the result of routine management, humane training practices, with a prompt and generous reward system. Not one of our equines is herd-bound as we do not play favorites, we reward everyone for good behavior and we do not ask more than they are physically able to give. We have slowly built deep friendships with them that exceed their relationships with their equine buddies!
 We begin training with Leading Exercises in our postural aid we call the Elbow Pull executed in the Hourglass Pattern. The pattern has designated places where they are asked to halt, square up and are given a crimped oats reward. We wait until they finish chewing the oats before we ask for another movement. This will alleviate any anxiety and is their first real introduction to learning how to stand absolutely still upon request. They are grateful for this personal consideration which greatly improves their mental attitude. Each animal is continually assessed throughout training and the approach is modified according to their individual needs. Being fair, respectful, clear and consistent in handling practices with a carefully planned REWARD system –without bribery or indiscriminant treats – will enhance the pleasure and safety that you will experience during interaction with your equine! Anxiety and resistance is always kept to the bare minimum!
 The next introduction to standing still will take place during their Ground Driving exercises. At first, they will again be driven through the Hourglass Pattern in the Elbow Pull postural aid with the verbal command to WHOA for all the designated halts and squaring up. You will put the lines across their rump, walk to the front, and give them their crimped oats reward. Then resume your position behind them and stand absolutely still while they chew their oats. Only allow them to go forward when you give the verbal command to WALK ON.
 with periodic halts, again squaring them up, rewarding and waiting for them to finish chewing before giving the command to WALK ON. Then, repeat the obstacle lessons with strategic halts in the middle of the obstacles while asking them to stand absolutely still. You will eventually be able to phase out the Elbow Pull postural aid.
 Ask your equine to stand quietly while you grasp the saddle at the horn 9Or mane at the withers) and cantle. Put your foot in the stirrup and boost yourself to a standing position at his side. Carefully, lean over his back, talking and petting him until he gets used to your new position. Be sure to reward him from his back on each side.
 Slowly get down, go to the other side and repeat the exercise. Initially, you may mount your mule, or donkey, at the work station. First mount horses in the Round Pen where there is no ceiling overhead. Your goal is to get your equine to be at ease with you putting your foot in the stirrup, and lifting yourself over his back. Get him used to weight in the stirrups, the feel of the saddle and some weight on his back.
 When he’s calm with this exercise, go to the Round Pen. I prefer to do this preliminary work in an English saddle. It is lighter, easier to handle and less intimidating to the animal.
 the Round Pen. The stirrups are larger, it’s more stable and the saddle horn might come in handy. Choose the saddle in which you feel most secure.
 Your assistant will stand by for safety only and will give the illusion to your animal that he is still just to be lunged, only now with a rider.
 rein so you don’t lose him. Have your assistant allow him slack with the line she (or he) is holding. Quietly, and firmly, ask him to “Whoa,” get organized and try it again.
 body. Do this on both sides. Add swinging your leg over his back. Stay low with your upper body, leaning forward on both sides. Make him pay attention to you by offering the oats reward from each side.
 Rock your weight from side to side and let him feel how the saddle moves on his back. Continually reassure him during this procedure by firmly, but gently, touching him all over his body (See IMPRINTING BEYOND BIRTH under TRAINING/MULE CROSSING on my website at
  Do only as much of this in any one lesson as he can easily tolerate. Always try to end your lessons on a positive note, and do not get in too much of a hurry—that’s usually where the trouble begins.
 In order to keep your equine calm, and for the sake of safety, to avoid getting your foot caught in a stirrup and run the risk of having your mule drag you, each time you dismount always take both of your feet out of the stirrups.
 By the time your equine is ready for the open arena or the trail, he will clearly know the meaning of WHOA and will learn to be patient and wait for your command to WALK ON. You will be able to halt him at any time with confidence about his absolute obedience. Too many of us get in a hurry to just get on and go.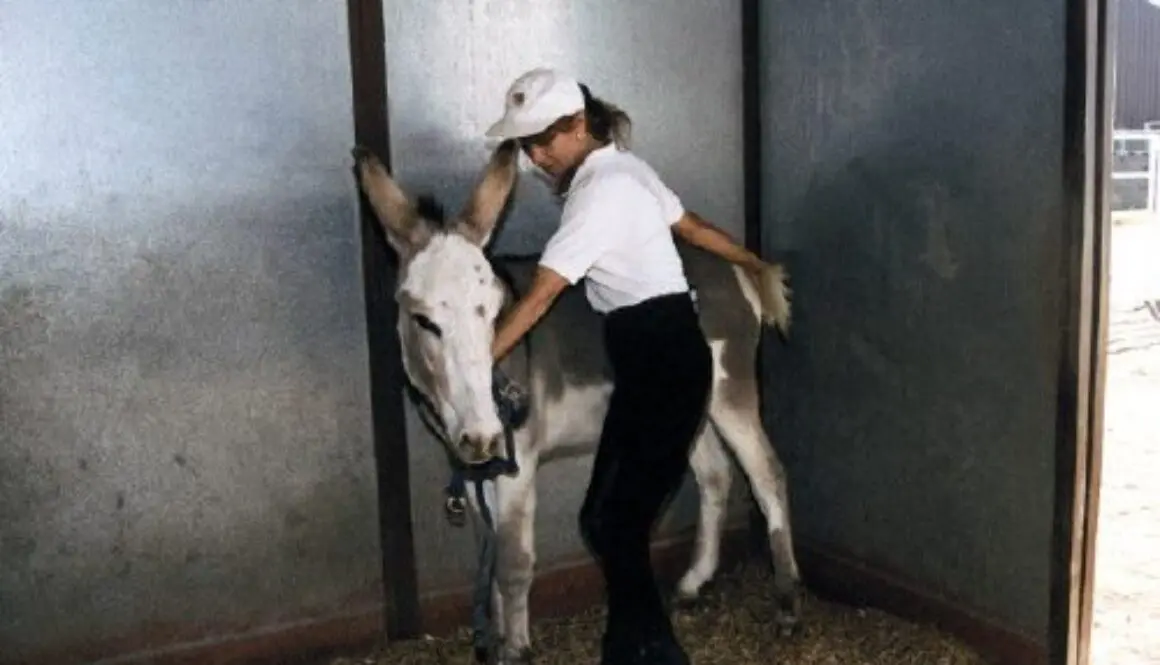


 For better or worse, an equine inherits his hooves through his genes. If your mule has inherited good feet—black, oily-looking, and with good shape—then you are fortunate and hoof care and maintenance should be relatively simple. If he has inherited a softer or misshapen foot, you will need to discuss more specialized care with your farrier.
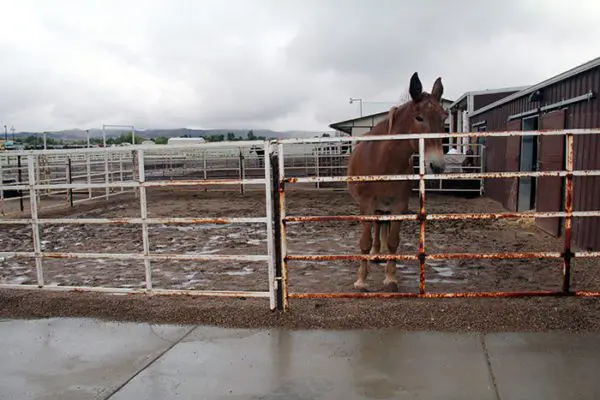 lubricate your mule’s hooves as needed with one of the commercial products available. But before you use an artificial hoof lubricant, first check with your farrier to make sure that it is actually needed. Many people use hoof products too frequently, which can cause hooves to become too soft. When this begins to happen, you will see horizontal rings appear around the hoof wall, and sometimes, vertical lines. Try not to let the hoof get to this point by using lubricants sparingly, but if you see that these rings are beginning to appear, immediately discontinue use of the lubricant and allow the hoof to harden. Then check with your vet to make sure it is not a founder condition. It does not take much to adequately soften the hooves of an animal with rock-hard feet. During the really dry seasons, lubricant application once a week is usually sufficient.
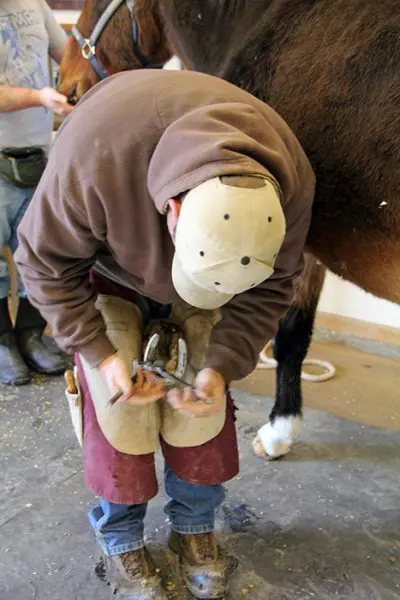
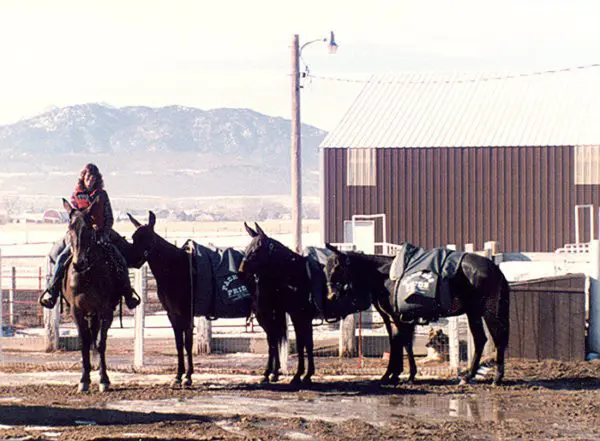 Assuming that your mule has a normal set of dark, healthy hooves, he will probably not need to be shod, as long as he is used strictly for pleasure or only sporadically. However, if you are going to use your mule on excessively rocky or hard ground, you might want to look into getting shoes for him. Mules that repetitively participate in more stressful and demanding activities (such as parades, showing and endurance events) should be shod to protect their feet and to keep them healthy. Prevention of bruising or cracking and maintenance of good foot and leg posture is critical to the equine athlete.
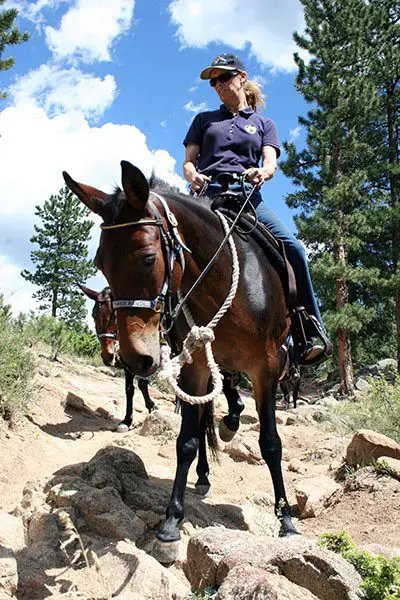 I believe that horses and mules, doing what they would naturally do alone—on terrain that is neither hard nor rocky—do not need to be shod. But mules that are asked to repetitively perform with a human on-board in varying surface situations should be fitted with the proper kind of shoes to help protect them from the additional weight and other demands that will be put upon their bodies. For example, my trail mules wear regular shoes on all four feet when they are being regularly used for trail riding and a variety of other activities, lessening the potential for injury. Then, when there is an occasional misstep on hard ground or rocks or when we trail-ride in the more challenging mountains, the shoes help to absorb some of the shock that would otherwise be absorbed by the hoof itself. It is my experience that young mules (and horses from two to four years of age) bear most of their weight on their front legs until their bodies are carefully and properly conditioned, and this is when you will see the most wear and tear on their feet. Because of this, my young mules that are just beginning saddle training wear regular shoes on the fronts only until their bodies are balanced and their activities clearly defined. Our broodstock, youngsters (under three
 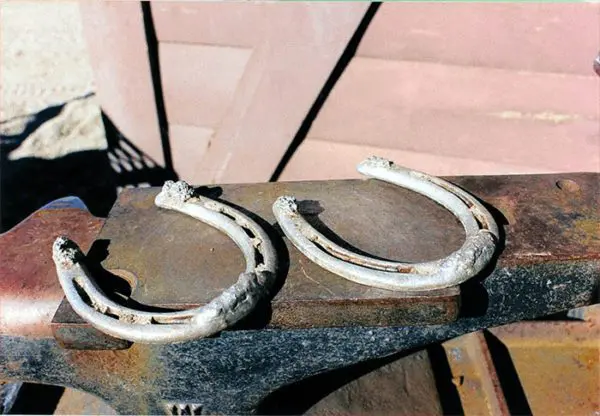 years of age) and equines that are not used under demanding conditions can go barefooted year-round, but they all still get regular trims every six to eight weeks.
 Granted, there are a lot of mules that may not need to be shod, but there are also many that do need shoes, so each individual mule’s feet must be evaluated on a case-by-case basis. Because of this fact, the generalizations that “mules don’t need to be shod” and “all equines should go barefoot” are not always correct. You must take into consideration how your particular mule’s genetics affect his hooves, what he will be used for and how harsh the demands put on him will be on his feet. These important factors will determine whether or not he needs shoes, and if he does need shoes, what kind of shoes will best suit him. And don’t forget to check your mule’s shoes on a regular basis to make sure that all is well and that his shoes are staying on tight, but most of all, that he is comfortable and happy.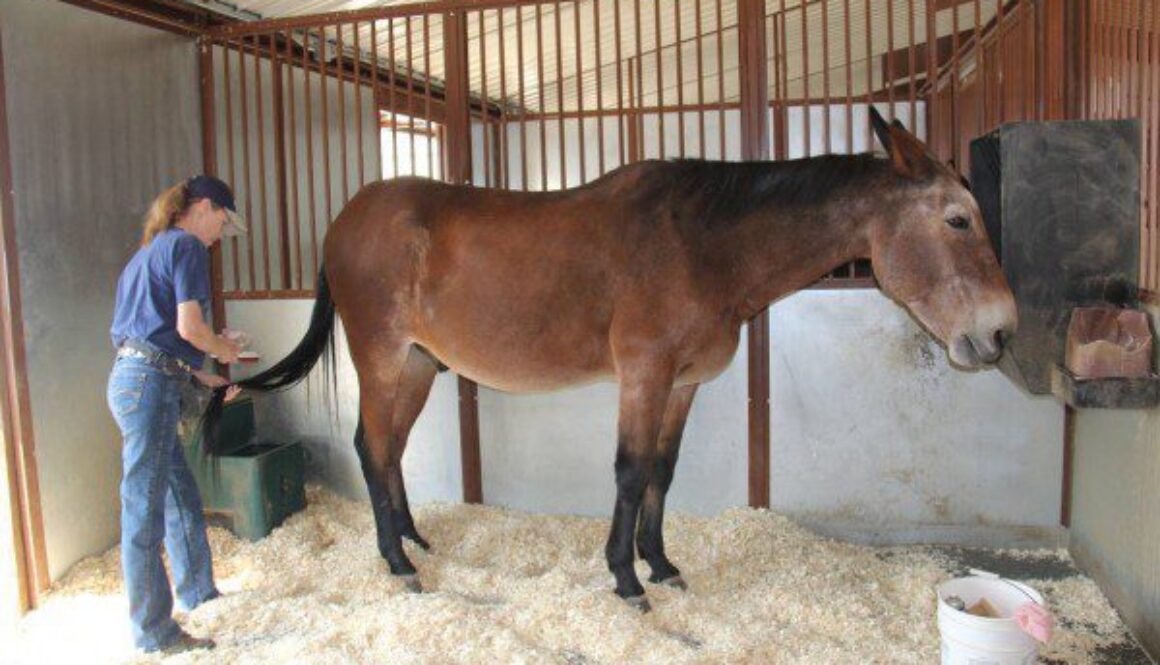

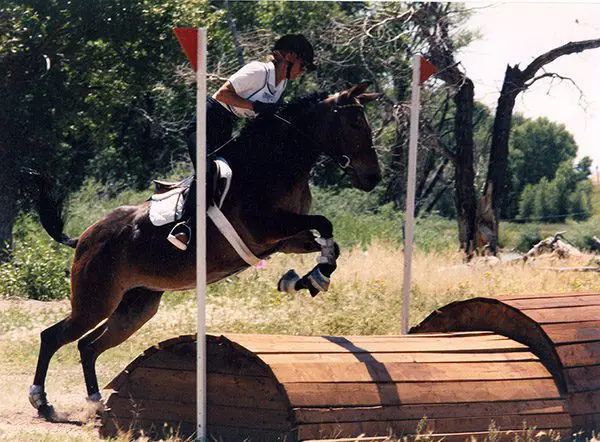
 In 1986, when I first began using my mules in Dressage, you would never have convinced me that I would follow it up with jumping. I was fearful of jumping because of a few bad experiences I had with horses. However, once I took the time to learn to ride and train properly with Dressage and experienced the overall stability of a mule, my fear disappeared.
 If you speak to mule owners all over the world, you will hear at least one tale in ten about a mule jumping out of his pen. If they have the inclination, most mules have the ability to easily clear a fence up to and even over six feet high. The capability is certainly there, but in general, mules lack the motivation to expend the energy to actually jump out, especially when they are well managed.
 of a ballet dancer and that of a a weight lifter. A mule’s muscle structure (like that of a ballet dancer’s) is comprised of longer, smoother muscle with less bulky areas, a trait inherited from the donkey. This gives him a slightly more
  streamlined appearance than that of a horse. And like a ballet dancer, a mule can spring his body effortlessly into the air using the muscles in his hindquarters, giving him the ability to jump either from a standstill or while in motion. For the weight lifter or the horse, this maneuver is not as easy due to their particular muscle structure. So when selecting a horse for advanced jumping, it is wise to select a breed or type of horse that has less bulk muscle and more smooth muscle, like the mule., and both need the thickness o bone to absorb the concussion on the landings.
 Regardless of the mule’s inherent strength and endurance, in the beginning of jumping training, he will lack the muscle development and stamina required to negotiate a course of jumps effortlessly and in stride. Like any other living creature, he can only strengthen the muscles that he uses, so it is up to you to make sure he is doing specific exercises that pinpoint the correct sets of muscles so he can do his job over the jumps, between the jumps, before and after the jumps.
 These three tasks require different postures that need to be supported by different muscle groups, so work on training and strengthening the specific exercises as outlined in DVD #7 of my Training Mules and Donkeys series. A proper conditioning program of exercises for your mule ro donkey will strengthen the muscles needed for jumping and will prepare him for a more polished performance. This is also a good opportunity to fine-tune all the muscles in your own body as you fine-tune those of your mule or any other equine.
 While training your equine to jump, you must ask yourself some very important questions. Does my animal possess the strength of body to carry him from the hindquarters with sufficient impulsion, rhythm and balance? Can he readily lengthen or shorten his stride to accommodate the distance to his fences? Are these adjustments easily made, or does my equine tend to throw his weight onto his forehand during transitions between gaits and over fences? Remember, the animal that is well schooled in jumping will carry his body with ease and make smooth transitions from an uphill balance.
 There are a series of exercises that will help to build your prospect into a beautiful, stylish and exciting jumper, but it will take time and patience— there just aren’t any shortcuts. Taking the time and exercising your patience will produce not only an animal that jumps properly, but one that is also strong and confident in his abilities. This can come in mighty handy later on when you find yourself in more demanding jumping situations. Having taught your equine to jump safely, you will have a more pleasurable and stress-free ride.
 more sure and stable. To me, a mule seems more balanced and stronger throughout than does a horse, and so the chance of taking a misstep or crashing a jump is lessened. Should a loss of balance or error occur, the mule is usually able to more quickly recover than the horse, making for a safer ride.
 Today, mules are jumped in all kinds of events, from Combined Training to Hunter/Jumper classes. Jumping mules adds excitement and variety to training events and events where mules jump in competition under saddle against each other, and even against horses. Coon hunters often display the mule’s natural ability to jump from a standstill by jumping them in-hand over fences, either on hunts or at shows, and some mule owners even try their luck at Fox Hunting.
 other side of the fence and ask the mule to jump it. When this is a class at a show, it is staged very much the same way, but you will see more larger mules on display. By any standards, the mule’s capacity to jump is unquestionable, and there is no doubt he will continue to climb the ladder of equine success. The mule will often exceed people’s expectations, but in most cases he will out-perform his horse counterparts. Hambone proved this to be true when he jumped so well, won against the competition and got mules banned from competing against the horses again!
 Consider, for instance, the bridle, which is such an important communication device. Do not select a harsh bit for control. Control comes from logical and sequential practices during training and not from force. The bit should be comfortable and be fitted correctly to facilitate good communication from your hands to the corners of your equine’s mouth. The bit should also be a comfortable width, leaving a half-inch from the hinge on both sides of his mouth. If the bit is placed too high or too low in the animal’s mouth, his fussing while he tries to get comfortable will override his ability to receive clear communication from your hands. NOTE: Be sure the chin chain on a curb bit lies flat and allows for two fingers to fit easily between the chain and his jaw.
 Although the mule is a tough and durable animal, there are places on his body where his skin is particularly sensitive and easily chafed, so when fitting a harness or saddle you must pay special attention to these parts of his body. The collar on a harness, for example, needs to fit snugly and smoothly in front of the shoulders, allowing your hand to slip easily between the collar and the base of your mule’s throat and chest. A collar that is either too tight or too loose can rub and cause soreness, inhibiting maximum performance. When improperly adjusted, a breast collar harness can also cause rubbing at the points of the shoulders.
 material is used for the girth on your harness or saddle. This may also be true in the case of the breeching and the crupper. The cleanliness, correct adjustment and comfort of the harness, saddle and other equipment can actually be a matter of safety for both you and your animal.
 In the past, saddles were constructed to accommodate the physiques of the horses of that time. Over the years, as training programs for mules have evolved and begun to correctly build muscle for equine activities. Saddle makers have also evolved, and now specialize in the construction of saddles that are tailored to the physical differences of individual equines. Saddle trees are now made with different widths and lengths of the bars in the tree, and even different materials are being used to make the trees, allowing for more flexibility and a better fit. Since the mule is structurally different from any horse, it is even more important to carefully consider your choice of saddle for your mule. Saddle makers now make custom saddles with specially designed trees with “mule bars,” but these are not standard and should be fitted to the conformation of the individual mule, with consideration given to the activity for which he will be used. Although they may appear more comfortable, beware of saddles with trees that may be too flexible, as they do not offer the solid foundation to support an unbalanced rider on a poorly conditioned animal. Often, a saddle can be found that will closely fit your animal, and can be made to fit even better with the addition of extra and/or specialized pads, breast collars, breeching or cruppers. However, with extended use, you may find that these simple modifications are inadequate. An equine’s shape will change with physical conditioning and, as the level of performance is increased, it becomes increasingly more important to have equipment that fits properly, affords comfort and lends support.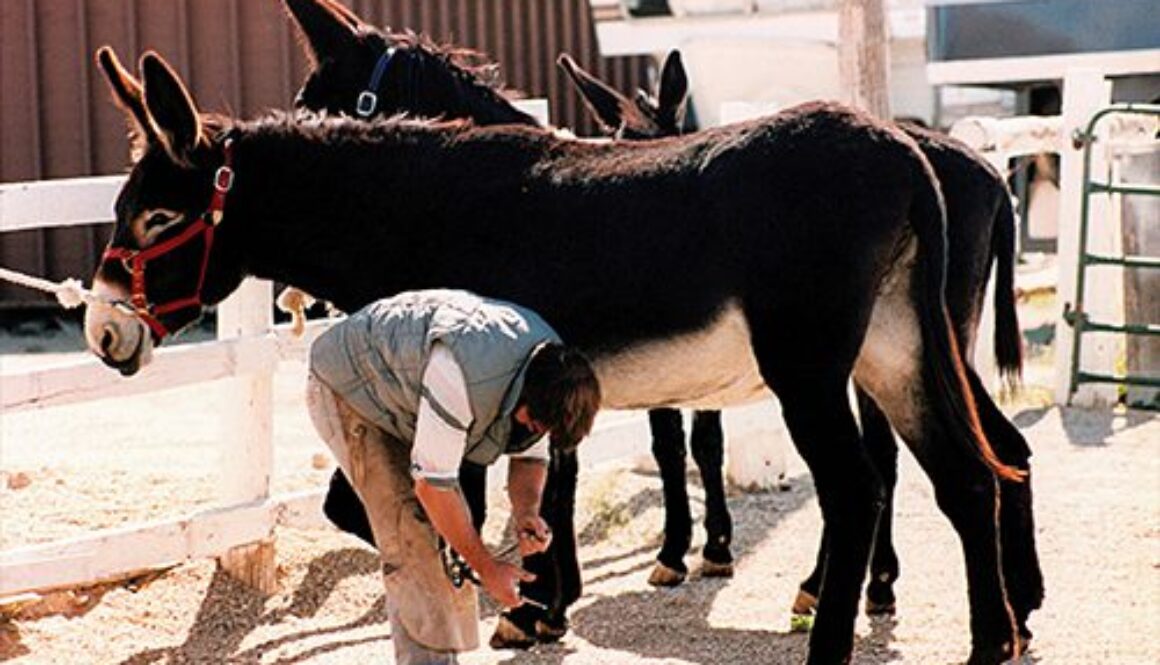

 Cindy and I talked about the “Good Old Days” when we used to live on a ranch, had horses and could be gone all day riding with our friends! Today, our lives are so easy and require no experience to have the knowledge that you can now hold in your hand! The value of EXPERIENCE is diminished until you get hurt! There were so many things that we learned by having the full responsibility of cleaning pens, feeding, grooming, tacking up our own horses and then riding in so many different situations. One really LEARNED how to make decisions and analyze the knowledge that we gleaned. We soon learned the approaches and things that we could do SAFELY, and that kept our experiences happy and joyful! We KNEW it would cost a minimum of $5000.00/year to maintain and train our equines! Our relationships with our equines were good and they were able to teach us WELL!
 If the last resort is putting them in an auction…BEWARE! You might get stopped with your truck and trailer in the parking lot and a dealer that offers to take them off your hands right there! If you are tight for cash and looking for a convenient fix to your problem, you might think this is a great deal, but this is what KILLER BUYERS do!!!
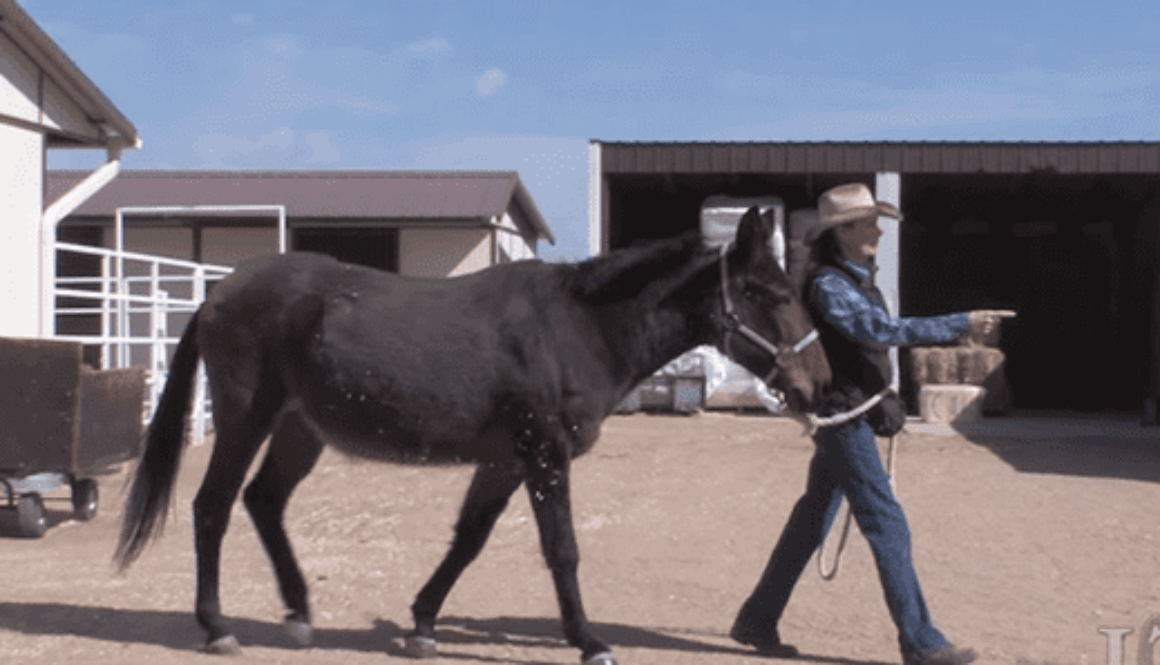
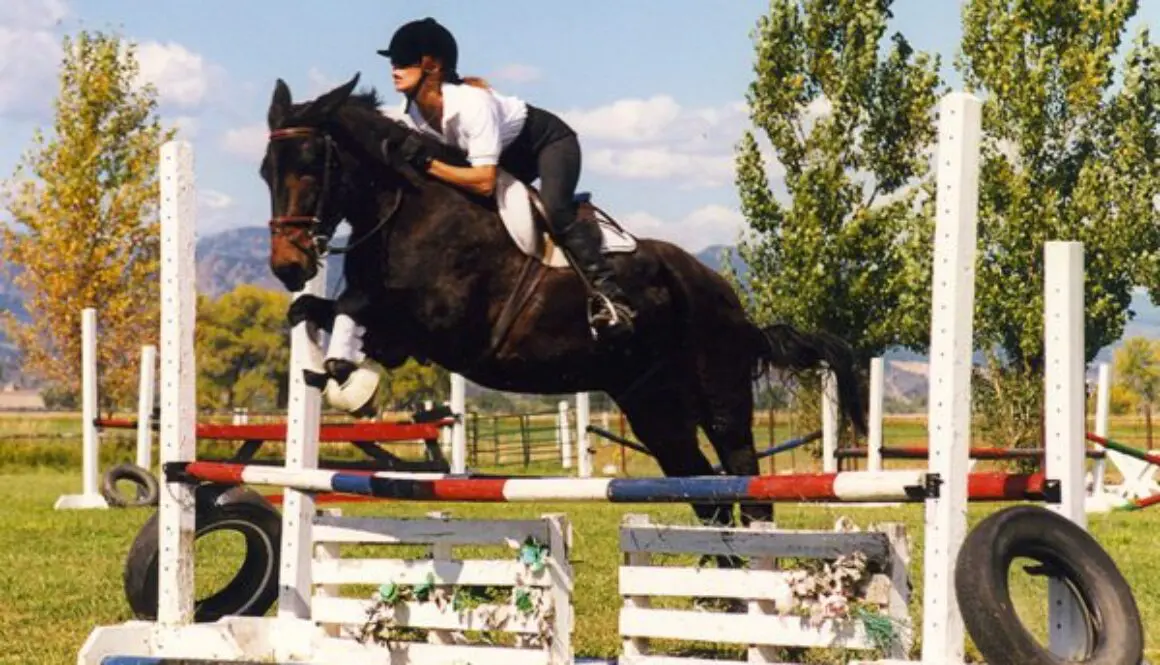

 When proper attention is given to the development of balanced, postural core muscle strength from the very beginning, the equine develops strength symmetrically throughout his body as he grows. Muscles are stressed and relaxed at critical intervals, allowing for healthy mental, physical and emotional growth. When the equine feels good in his body, it clears his mind to concentrate on his performance. The result is an equine that is happy in his work and in his world.
 Dressage training has evolved from a useful tool to strengthen and balance a useful horse to just another name in Big Business. Today, equines are thought of as economic commodity, or a breeding investment, and are used in events such as Reining, Cutting, Stadium Jumping, Racing, Steeplechase, Eventing, Hunting, Dressage and just-for-pleasure riding. Monetary investment is high, and never was the old adage of “horse poor” more prevalent than now!
 Owners can expect to spend thousands of dollars in a year for no more than a pleasure riding equine, and the cost increases with the status of the activities. The cost of supporting an equine provides economic success to a multitude of businesses such as feed stores, tack and equipment, truck and trailer sales, drug companies, motels, gas stations, county fairgrounds, breed registries, brand inspection, clothing stores, veterinarians, farriers, and the list goes on.
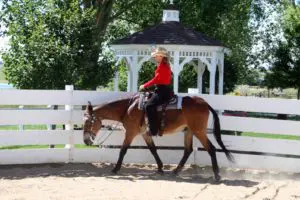 Breeding for bigger, better and faster equines, has given people the false idea that these horses perform almost solely from their heredity. This has changed how they are being trained and judged. Today, many equine competitions are no longer judged by an expert who really knows the definition of correct movement. We are inundated with terminology from the Masters that is most often misunderstood and distorted.
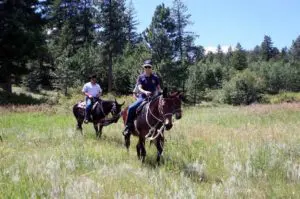 To those who are not schooled in Dressage, collection can mean a lot of things that are contrary to the actual definition, including the belief that it means to merely break at the poll and arc the head and neck. People also believe that an equine is on the bit if he arcs his head and neck and flexes at the poll. What this actually means is that the equine has taken contact with the bit, and can feel the hands of the rider through the reins, and respond lightly and obediently whether his head and neck are arched or not. Vertical flexion is the result of correct collection that involves the entire body of the equine, when the equine is flexible from head to tail with the hindquarters properly engaged. It is not the act of bringing the equine’s chin to his chest. Lateral flexion is when the equine bends his whole body through his rib cage to the arc of a circle, and is not just bending his head and neck to your knee.
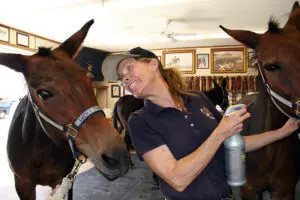 You would teach him to lunge on the lunge line in the Round Pen first with enough slack in the line so it drags on the ground as he circles. Keep a slightly open fist on the line and close your first as the outside front leg comes forward into suspension. He will feel this pressure and bring that front leg onto the circle instead of going straight forward with it. This is the cue you will use when lunging him on the line in the open arena.
 In Part 1 of Equine Behavior: Look Who’s Talking, we discussed the evolution of man’s self-discovery and how he applied this to his approach to equines. If we want to manage our equines in a healthy way and accomplish even the most basic performance with them, there is much to consider during the training process. In the not-so-distant past, the prevalent belief was that, if you had a reasonably large patch of grass with a fence around it, you could have a horse. We now know it takes much more than this!
 Born in Athens, Greece in 431 BC and referred to today as the original “Horse Whisperer,” Xenophon is considered to be the founder of military Horsemanship. He is credited with the beginning of structured, classical equine training over 1,000 years ago, when equines were trained with military defense in mind.1 The equine’s training was critical to the defense of his rider, and this meant that the animal had to be strong, healthy and obedient. Man discovered that when he paid attention to the mental and physical needs of the equine, he got a more willing and obedient response, and the result was a healthier and more protective companion than one that was forced into submission. Harnessing the defense mechanisms of the horse was not only awe-inspiring but effective.
 As man’s environment changed, he changed with it. However, when dealing with equines, he neglected to realize that he had changed the equine’s natural habitat forever and had begun a compression of space and freedom that would ultimately result in anxious and nervous behaviors in the equine. The equine’s negative response to this environment was most obvious when he was subjugated by man. Man misperceived the equine’s adverse behaviors as deliberate disobedience.
 The learned behaviors coming from other sources such as environment do not replace but, rather, become yet another integral part of the whole equine. It is easy to believe that if you reward good behavior it will be repeated, but not so easy to identify all good behaviors and reward them promptly. It is even more difficult to learn to identify bad behaviors, punish them accordingly and re-route behavior to the positive again. This requires the handler to move away from an observational post and become involved and engaged with the equine on a whole new level.
 The sum total of the effect an individual has on others is referred to as his “social stimulus value.” The social stimulus value of a human being takes into account his or her height, hair color, general physique, vitality and so forth. It includes distinctive behavior patterns such as habits and mannerisms. The sum total of the effect an individual equine has on other equines is referred to as his “status in the pecking order.” It also includes distinctive behavior patterns such as habits and mannerisms.
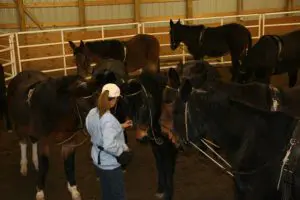 At first, it disturbed me when I could not turn my much older animals out with the adult male mules. I thought they should be able to get along, until I began to think of them in terms of rebellious teenagers who did not appreciate the sage advice of their elders. The “guidance” of the elder equines was not appreciated at all, so I separated the groups during turnout and later integrated them during training, after they had learned to be polite and considerate to the other equines.
 As they proceed through the training program, their expressions soften with acceptance. They then begin to show interest that ultimately results in an animal that is confident and trusting. You can see the soul emanating from their eyes and watch their overall carriage change to one of confidence and trust. These are simply behavioral manifestations of the equine’s introspection, or the way he perceives himself in his world. Change his world in a kind and understanding way and so will his perceptions change. The equine whose personality develops in a healthy way will exhibit more courage and less fear in the face of stressful situations and extreme weather conditions. The bond and trust in the handler is stronger than his sense of fear and you can see it in his face.
 Learning to be polite and considerate and giving pleasure with concrete reasons that are physical, mental and emotional in nature yield true health, and not just a perverse image. Be careful of arrogance. Arrogance stems from a masterful or Godlike approach, devoid of humility, that may elevate one’s ego, but invariably creates a “victim” equine instead of a willing and grateful partner and companion.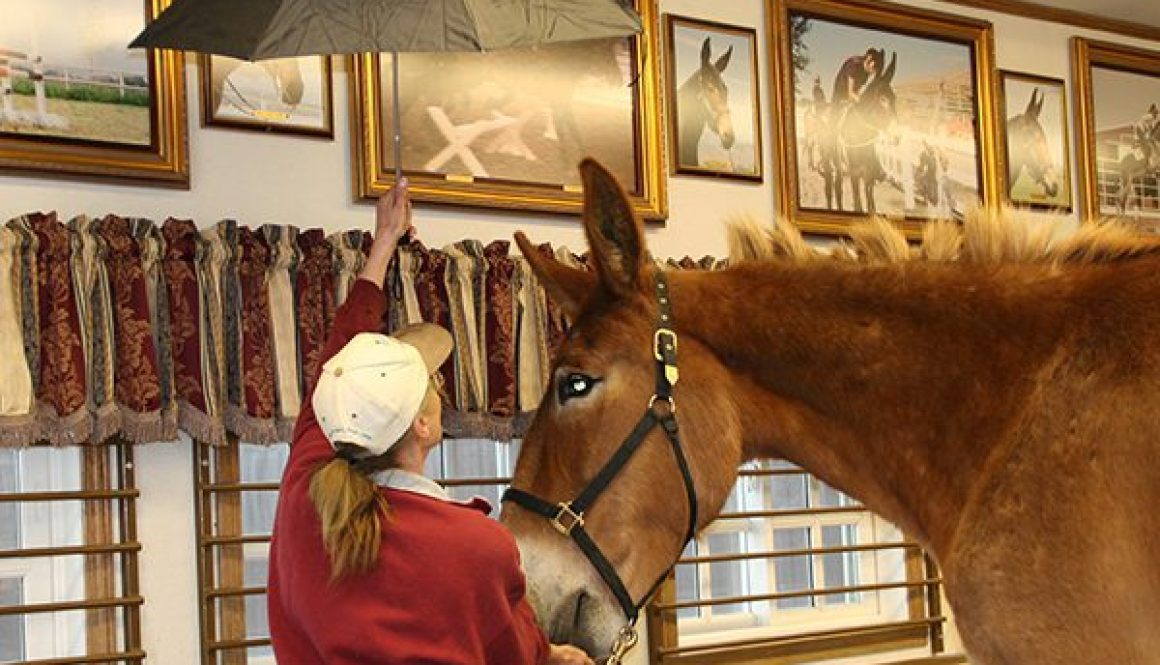

 What kind of equine handler are you? When interacting with your Longears or any equine, are you an observer or a participant? Are you fully aware of the reasons for your equine’s behaviors? Behavior in general is most often motivated by a stimulus that elicits a response, yet the early years of physiological development are most dependent on heredity. Heredity includes not only physical characteristics, but mental, emotional and instinctual behaviors as well. We are taught that if an equine’s knees are beginning to fuse, he is ready for training. Is the animal really ready for training just because his knees are beginning to fuse? Physical development is called maturation, and we often determine the equine’s capabilities by maturation alone, with no consideration for the whole animal.
 When the stallion signals danger, it is this mare that will lead the herd, while the stallion generally brings up the rear. During estrus, the mare cycles every 21 days during the warmer months of the year. The mare accepts the stallion for only seven days out of the 21-day cycle. The stallion may cover her several times during that period and will do the same with the other mares in the herd. Not all mares will accept the advances of the stallion at certain times and, because they are as different as people are in their genetic makeup, not all of them will become pregnant every time.
 A mule will pin its ears when it is concentrating very hard and when it is following you and wants attention. Mules and donkeys are basically very friendly and rarely lay their ears flat back in pure anger like a horse will. When they are angry, you will know it. Scratching in different areas will produce different results. If you scratch their jowls, for instance, they may perk their ears forward, but when you rub their forehead, they will lay their ears back. If you scratch the insides of the ears, some will like it and tilt the head sideways with quivering eyebrows while others will jerk away at your impolite intrusion.
 At first, Arabian horses were thought to be silly and difficult—not the ideal mount for the common man. Later, the intelligence of the Arabian was discovered and explained by saying that, because the Arabian’s eyes are set lower in the head and the forehead is broader than most other equines, there is more brain space in the skull. This is also true of most mules and, particularly, Arabian mules. Once man believed in the equine’s intelligence and had a scientific reason for it, training was modified and approached a little differently. Man was then able to learn even more about the horses he was training. It wasn’t long before man discovered that this didn’t always hold true and there had to be more to consider when assessing the whole human being and, consequently, the whole horse.