

MULE CROSSING: Good Basic Training Includes Common Sense, Part 3
By Meredith Hodges
In Part Two of this article, your equine was introduced to the ground rails, cavalletti and bridge obstacles. This helped develop his confidence and trust in you, his handler, while focusing on your animal just getting through each obstacle with true forward movement without hesitation. First, he learned the basics of negotiating these obstacles in Stage One. During Stage Two, when he went back through same the obstacles, he learned to do them in good posture and balance. Now, in order to continue your equine’s mental and physical conditioning, you are ready to proceed to more challenging obstacles.
 The Tarp: The Tarp will dramatically affect your equine’s balance and coordination. Its uneven surface and the noise it makes when stepped on will typically put your equine off-balance and may cause him to veer from side to side as he crosses it. You can use the same “Stage One Obstacle” approach, as described in Part 2 of this article, to change his fear into curiosity. Again, as you did with the bridge, break this exercise down into small steps; stopping at the edge of the tarp, stopping with the front feet on the tarp, then all fours, then fronts off and hinds on, and then finally walking off the tarp to a complete halt and squaring up. Just learning to get through the obstacle will diminish your equine’s fear and replace it with curiosity and confidence. Then assume the showmanship position and do all obstacles again with Stage Two strength and balance, and with good posture in mind for both of you. You will know that your equine is ready to move on to the next stage of training in the round pen when you can toss the lead rope over his neck and he will negotiate all obstacles correctly, keeping his head at your shoulder and is showing no visible signs of a loss of balance, or any inability to obey your commands. He will then be placing his feet so that his balance is evenly distributed over all four feet and his foot placement is coordinated and deliberate. At this point, the obstacles in general should be an effortless task.
The Trailer: The Trailer should be considered just another obstacle, requiring the same basic approach as the bridge. Mules and donkeys are no-nonsense kinds of guys and become suspicious of intimidating techniques such as feeding them in the trailer. This would be bribing and it is quite different from rewarding for a task well done. The equine learns instead to distrust due to the sneaky approach that is used to get them in there. We would rather teach our equines to be trusting and willing by developing  their confidence in the handler. When we begin leading training, the equine is introduced to all kinds of obstacles. In Stage One of obstacle training, we first approach the obstacle and encourage them to investigate, changing their fear into curiosity and instilling confidence in them and in their handler. When they are compliant, they are rewarded with crimped oats and praised for being so brave. By the time they have learned to confidently negotiate other obstacles, the trailer is no longer a threat to them. They will most often just follow you right in, knowing (since they have never been trapped into complying) that there is a crimped oats reward waiting for them. For those animals that are still hesitant about the trailer and just won’t follow, we use a second method that restricts backward movement and this is explained in detail in DVD #1 of my series, Training Mules and Donkeys. When your equine willingly enters the trailer, you can employ Stage Two and ask your equine to step to the entrance of the trailer and square up, then enter with the front feet and leave the back feet on the ground and square up again, then all four feet in the trailer, square up, and, finally, when tied off inside the trailer, square up yet again. Backing out is also broken down into the same small steps to rebalance the same way on the way back out. This builds muscle correctly and enhances your equine’s proprioception (body awareness).
 Jumps: Jumps are a good exercise to do on the lead line, but you must be careful not to over-jump your animal in the beginning. Because they are large, they must have great strength in the hindquarters to boost their heavy bodies over a jump, and if they are not strong enough, they can easily pull a muscle or worse. Jumping should be done only after all other obstacles have been thoroughly mastered. In Stage One, approach the jump the same way you would any other obstacle, building confidence and trust. Then use Stage Two to finesse your equine’s movements. Mules have the ability to jump from a standstill, so you can still use the stop, square up, wait for the command to jump, jump, stop and square up again on the other side. This ability allows you to maintain control of your mule when on the ground with the lead line or in the drivelines. If you are training a horse or a donkey, use a longer lead rope, so after squaring up about four feet in front of the jump, he can get a trotting start to the jump. Whatever equine you are training, be sure to keep the jumps very low in the beginning.
If you want your equine to jump on the lead line, you must go over the jump yourself for the first few sessions, or he will not really understand what you want and may start dodging the jump. Ask him to stand still while you cross the jump to the other side, and then ask him to come. (Remember that a mule can stand closer to the jump, but a horse or a donkey will need some trotting space in order to make the jump). Once your equine takes the jump with no problem, you can teach him to go over the jump ahead of you on a longer lead line. Start off with very small jumps and understand that an equine will jump higher than he needs to jump the first few times. When he is finally tucking his knees under and just barely clearing the top, he is then ready for the jump to be slightly raised. Raise your jumps in three-inch increments and repeat the exercise until your equine is properly clearing each height and not over-jumping before you raise the height again. The lead line stop-and-jump procedure will help strengthen and develop your animal’s hindquarters and will begin to teach him to lengthen and compress his body as needed to control his stride.
 The Back Through “L”: The Back Through “L” will fine-tune your equine’s response to “Whoa,” and he will learn to allow you to adjust the different quarters of his body and move each of them independently. First, walk forward through the obstacle, then stop at the end and turn around to face backward. Then, slowly and steadily, back through the entire obstacle. Once he has gotten this down fairly well, you can then go back to the beginning, and back one step (but only one!). Then proceed forward to the middle of the first straightaway, stop, back up two steps and square up. Go forward again to the angled rails where they begin the turn, halt, and then move his front feet one or two steps sideways with gentle pulls on your lead line at the halter, into the middle of the second straightaway, and halt. Then ask for one or two steps forward into the second straightaway and halt. His back feet will be cutting the corner into the 90-degree turn, so after he halts, tap him lightly on the hip with the end of your lead rope to move the hindquarters over one or two steps to straighten him into the center of the second straightaway, halt and square up again. Finish the obstacle by walking to the end of the straightaway, halt and square up again. Now do the same series of steps in reverse. This exercise teaches him to maintain his focus and balance throughout the obstacle and to learn to wait for you to move his front and rear quarters into any position required, taking only as many steps as you request. This will improve his negotiation of forward and backward movement, as well as beginning to strengthen the hard-to-condition inside forearm, gaskin and stifle muscles.
Five or Six Tires on the Ground: Five or Six Tires on the Ground (3×2 or 3×3) is an obstacle which is used to help develop proprioception (deliberate and balanced foot placement) and coordination, as equines have so many different places to put their feet when walking through tires. Although they will want to waver and step out of the sides, you want them to maintain deliberate foot placement, so carefully plan each step. With each step, stop for a moment and then reward after the completed step. This will break the task down into doable stages and will help to keep your animal in a straight line while you both move through the tires. You can stagger the tires in a number of different ways, giving your equine multiple options for foot placement. He needn’t place his feet in the middle of each tire, but he must move straight forward in balance, correctly and in good posture. This exercise keeps him alert and careful about foot placement while it fine-tunes his proprioception and balancing capabilities.
The Tractor Tire: The Tractor Tire is a wonderful advanced exercise in coordination. The first task (Stage One) is to ask your equine to adjust his stride and simply walk through the middle of the tractor  tire. After he is comfortable walking through it, break it down into smaller steps in Stage Two: stop before the tire, then one foot in the tire, then two front feet in the tire, then allow the front feet out and the back feet in and then exit.
When he is calm with this, you can add to the exercise by stopping him when his front feet are in the middle of the tire and asking him to do a turn on the forehand. While watching his legs, make sure he is properly executing the turn by crossing his near hind in front of the far hind, as he turns without stepping his front feet out of the center of the tire. Allow him to adjust his front feet back to the center of the tire if they get too close to the edge. Just stop moving the hindquarters, halt, adjust the front legs, halt and begin moving the hindquarters again—only one step at a time. In the beginning, be sure to reward every step. As he understands and complies more easily, he can be rewarded less often within the task.
When he can easily do this exercise, you can then put his hind feet in the middle of the tire and do the turn on the haunches, crossing over in front of the hind pivot foot and the inside front foot as he makes the turn. Again, if the hind legs need to be adjusted back to the center of the tire, stop, correct the hind legs, stop again and then continue. In order to maintain his attentiveness and control, always teach general negotiation first for curiosity and confidence (Stage One), followed by breaking the obstacle down into small and doable steps to be rewarded in good posture and balance, and with coordination (Stage Two). The Tractor Tire is a great coordination exercise because it not only addresses forward motion, but simple lateral motion as well. These exercises will begin to strengthen the hard-to-condition inside forearm, gaskin and stifle muscles.
 Side Passing the “T”: Because Side Passing the “T” is a complicated and advanced obstacle, it is important that your equine execute the straight forward obstacles and lateral Tractor Tire obstacles before attempting to do the “T.” The “T” is a great way to fine-tune truly sideways lateral motion, where both front and back feet are crossing over diagonally and simultaneously in a balanced fashion, moving the equine laterally to the right and to the left as he negotiates the three different rails in the obstacle. In the same obstacle, you will be breaking the simultaneous motion into a turn on the forehand and a turn on the haunches in the middle of the obstacle, in order to make the turns into the next lateral motion down the next rail. This obstacle uses all the elements that have been taught in previous obstacles. It also lays the groundwork for perfect communication between you and your equine. In order to correctly execute this obstacle, he must pay attention to you at every step.
In the beginning, you will need to teach your equine to side pass by moving first the front quarters, then the hindquarters at each step to maintain straightness of the body throughout the obstacle. But as he gains more balance and coordination, he will be able to move the feet—both front and back—simultaneously along the side pass rails. This is where the inside forearm, gaskin and stifle muscles will begin to develop properly.
Again, you will know when you have spent adequate time on “Stage Two Obstacle Training” for your equine’s best conditioning when you can throw the lead rope over his neck and without you touching him and with his head at your shoulder, he will easily follow your hands and body language through all obstacles, displaying strength, coordination and balance in good posture and will stay focused throughout.
To learn more about Meredith Hodges and her comprehensive all-breed equine training program, visit LuckyThreeRanch.com, MEREDITH HODGES PUBLIC FIGURE Facebook page, or call 1-800-816-7566. Check out her children’s website at JasperTheMule.com. Also, find Meredith on Pinterest, Instagram, MeWe, YouTube and Twitter.
Covered in TRAINING MULES & DONKEY: A LOGICAL APPROACH TO TRAINING, TRAINING WITHOUT RESISTANCE, EQUUS REVISITED and A GUIDE TO RAISING & SHOWING MULES at www.luckythreeranchstore.com.
© 2015, 2016, 2020, 2024 Lucky Three Ranch, Inc. All Rights Reserved.

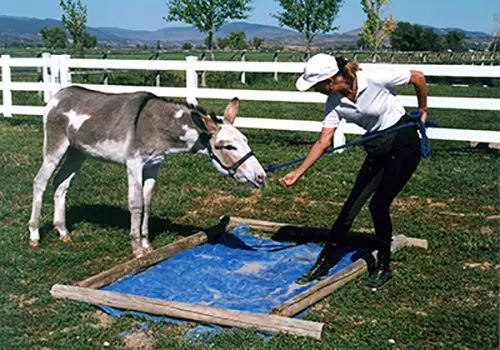 lead line, keep in mind that you are not only teaching your equine to negotiate an obstacle, you are also conditioning the muscles (especially the ones that are closest to the bones) while, at the same time, teaching balance, coordination and self control. In showmanship training, you focused on strength and balance on the flat ground. While working with obstacles on the lead line, you will now begin to add coordination during this second phase of obstacle training. Remember: Do not put obstacles in your equine’s stable area and/or living quarters, in an attempt to make him “live” with the obstacle. This only serves to create insensitivity and in some cases, cause greater fear. The stable area should always be your animal’s resting place, just as our bedrooms are for us—a place of rest, relaxation and privacy.
 When your equine is more willing to come through the obstacle, you can regain your showmanship position, with your left hand carrying the lead line and your right arm extended in front of you, pointing toward the direction in which you will be going. When he is finally listening and will follow at your shoulder over or through the obstacle and stop or back up at any point during the negotiation of the obstacle, you can then turn your attention to whether he is actually traveling forward and backing up in a straight line, and whether or not he is stopping squarely. Do this the same way first on the lead line, then much later in the drivelines and, lastly, under saddle. How he negotiates the obstacles will have a direct bearing on how his muscles are being conditioned and how his balance and coordination are being affected so don’t be afraid to ask for more precision going forward.
 Ground Rails and Cavalletti: Four ground rails and four cavalletti are good tools for straight, forward exercises that will promote stretching of the body in true and correct forward motion. These exercises will also develop rhythm, balance, cadence and suspension within the gaits, first on the lead line, and then later during ground driving and under saddle. Ground rails and cavalletti are also great for enhancing your ability to stay in stride with your animal. You should first do the exercises over the ground rails. Then, for jumping training, you can graduate to the 6″ cavalletti setting, then the 12″ cavalletti setting and, finally, the 18″ cavalletti setting. Your equine will learn to suspend and place his feet in a balanced and deliberate fashion while you learn to do the same. Getting in rhythm with your animal’s stride will improve your equine training experience and make things a lot easier and safer.
 stop at the base, square up your equine and stand for a few seconds. Then ask him to put his two front feet on the bridge, square up and, again, stand for a few seconds. Next, ask him to put all four feet on the middle of the bridge, square up and stand still for a few seconds. Now ask him to take his two front feet off the bridge and leave the two back feet on it and square up again. Most equines can do the first few positions pretty easily, but when the front feet go off the bridge, the equine’s balance is often thrown forward and they find it very difficult to stop in this position. If he is able to sustain this position for several seconds before you give the command to continue forward, he has completed the bridge work.

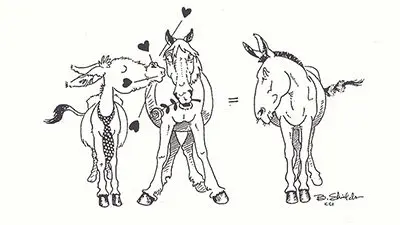 Many times I have been asked, “Is training a mule any different than training horses?”
 Showmanship training is not just for the showmanship class at a show. Perfecting your showmanship technique every time you have your equine on a lead line will command his attention to detail, build his confidence in you and insure that he is strengthening his muscles properly throughout his body at the most basic level.
 When you ask for a halt, stop with your feet balanced, your weight distributed equally over both legs and still facing forward. Give your equine a second or two to settle and then turn to face his shoulder. If his legs are already square, you can then give the crimped oats reward for stopping. If they are not square, take a moment to square up his legs and then give the reward. Praise him for standing quietly for a few seconds and allow him to settle. You can then face forward again, point in the direction of travel, give the command to “Walk on” and walk a few more steps before halting again. Add more steps each time before halting. Whenever you practice turning, always turn the equine away from you—never into you. To insure optimum balance, practice leading him through these exercises from BOTH sides.
 When executing a turn to the right, assume your leading position and then point in the direction of travel, asking your equine to take one step forward with the right front foot then cross the left front foot over the right to make the turn. Your own legs should execute the turn in sync with your equine’s front legs, giving him a good example to follow. Although you will rarely have an occasion to actually lead from the right side, be sure to practice from both sides to insure symmetrical muscle development. Dispense rewards, but only after he has completed what you have requested.
 Once he has learned to follow and to do the “moves,” you then need to help him fine-tune these moves, making them as steady, balanced and coordinated as possible. He should learn to walk, trot and back up in straight lines, to stop squarely and to execute smooth, properly arched turns. Remember that your equine will follow your lead, so always pay close attention to your good own posture and “way of going.” Equines and humans have corresponding body parts, so if you are stiff or off-balance in any part of your body, your animal will exhibit the same problem in his body.
 Maintain your own balance and rhythm, and ease into transitions from walk to trot and trot to walk smoothly and in rhythm and cadence—and so will your equine. Ask him to stand squarely each and every time he stops. Set up his back feet first by pushing on the lead rope with your hand directly under his chin in a diagonal motion toward the back foot that is forward. Push and release (in a diagonal motion only) the lead rope toward the forward foot as much as it takes to move it into line with the other back foot. Once the back feet are in line, set his front feet by pulling and releasing gently forward (again, in a diagonal motion only) to align the front legs.
 As your equine gains strength, you will notice that he now carries his body differently. He is more balanced, solid and steady, and is able to stop squarely at every “whoa,” regardless of the gait. As he frolics in the field, notice the dramatic change in his play patterns. He will be much less awkward.

 In the past, when equines ran free, they were unencumbered by human interaction and could build and condition their muscles naturally. Today, with increased population but reduced open lands, their activity is often restricted. It then becomes our responsibility to not only train them, but to prepare them physically to perform and keep them happy in their environment. This responsibility becomes even more important when we ask them to exert more energy than normal, in activities like long trail rides, endurance events, showing and equine-related work. Proper preparation for this modern-day lifestyle will help to minimize your equine’s stress, both physically and mentally.
 Understanding the prey-predator responses can help to guide us in the training of our equines, but because of the change in the environment, it shouldn’t completely define our training methods. The prey animal that is uncomfortable with making direct eye contact with the human “predator,” for instance, is virtually trapped in a confined environment in which he has no control and can therefore become anxious and difficult to handle. We are taught not to make eye contact with him until he is willing to face us. We are taught to “chase” him in a round pen until he does.
 instance, the equine that is “trapped” on a lunge line and asked to reverse toward the handler will inadvertently be improperly set up to take the new trotting diagonal, or the new lead at canter, from a position that actually “tangles” his hind legs and causes him to fumble into the new diagonal or lead. This mistake can become painful and even detrimental to the stifles as he jumps out of the entanglement and can cause resistant behaviors which are often punished on top of the physical pain he is already experiencing.
 his body symmetrically in good equine posture. Once he has established good equine posture and balance over a long period of time doing appropriate exercises, he will then be better able to efficiently reverse towards you on the lunge line by changing direction from a position of balance rather than an awkward imbalance.
 Be a true leader and learn to set boundaries for your equine with appropriate corrections for bad behaviors (which can be found on our website and in our products). Make these corrections quickly and then immediately return to a clear definition of what you expect and make sure that it is easily doable for your equine at each step. Every animal on the planet will correct another’s misbehaving with a very clear and undeniable gesture that will stop the abuser promptly in their tracks. Take note. This is not abusive, but rather a very clear communication of what’s right and what’s clearly wrong. In fact, in the case of the mule attacking the puma that has circulated the internet for the past few years, it was clearly a case of the mule engaging in the hunt with his human “friend.” So, who is really prey and who is predator in this particular scenario? Sometimes we just need to change our perception or understanding of things and deny all-encompassing generalizations and stereotypes.
 being. In the practice of true Behavior Modification, all five senses should be employed: sight, hearing (voice), smell, touch and taste. These are all innate ways to communicate effectively. Any distractions should be eliminated when communicating with your equine—put away the electronic devices, clickers and loud whips, and avoid abrupt noises.

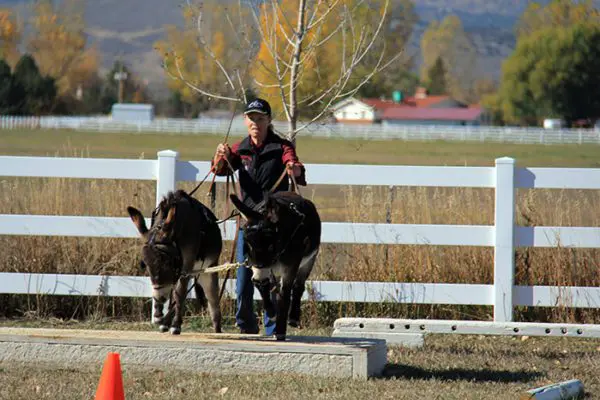 In Part 1 of Getting Down with Minis, you learned how to begin the relationship with your miniature equine in a positive and natural way that fosters good behavior and a solid relationship between you. You also learned the importance of getting down to your mini’s eye level so that he can make eye contact with you, which discourages striking, jumping on you and other bad behaviors that are common when working with miniature equines. In Part 2, I discussed how important it is to successfully complete the tasks in Part 1 before moving on to Part 2 and explained why it is advisable to work minis in groups, as they perform better when they are with their friends. You also learned how to train minis to go over and around various obstacles. Remember that all of this is to be done with no expectations that may overwhelm your mini—it is better if you maintain an attitude of fun and games. In Part 3, we got down to some serious groundwork training so your mini can be used for the purpose of driving and showing in hand. He learned to lunge and to be ground driven in the round pen and in the open arena through the hourglass pattern and if part of a team, how to do these things as a team. In Part 4, you worked on obstacle exercises on the drive lines to increase strength and coordination.
 Spend as many tire drag lessons as it takes in the round pen to be sure your mini is driving easily and smoothly before graduating him to the open arena with the tire. Just as you did with simple ground driving, once he is ready, let your mini drag the tire while ground driving him through two rotations of the hourglass pattern, and then cross the long diagonal and do two more rotations in the opposite direction. Make halts often so rewards can be dispensed for a job well done. Do not make any abrupt turns or try to add speed before you are completely competent with the lines and your mini is responding obediently. Ground driving is as much for you to learn good Reinsmanship as it is for your mini to learn to drive correctly. If training more than one mini, just tie whichever mini you’re not working with at the moment off to the side and have him wait his turn before ground driving the two as a team. The frequent halts with rewards will teach him to stay clam and remain still when asked.
 Before actually hitching your mini to the vehicle, be sure to check all harness straps and make sure they are correctly adjusted. While you do this, you will also be teaching your mini (or minis if a team) to stand still in the cross ties, which will make hitching much easier. Checking all harness straps can be done anywhere that your fences or hitch rails are close enough together to accommodate the cross ties and still allow enough room for a single mini (or team) and the vehicle. During this lesson, all you need to do is put on and adjust the harness, hitch to your vehicle, have your mini (or team) stand quietly while being rewarded and then take everything back off. Before leading your mini(s) away from the vehicle, spend some time rewarding again for standing still and staying in position.
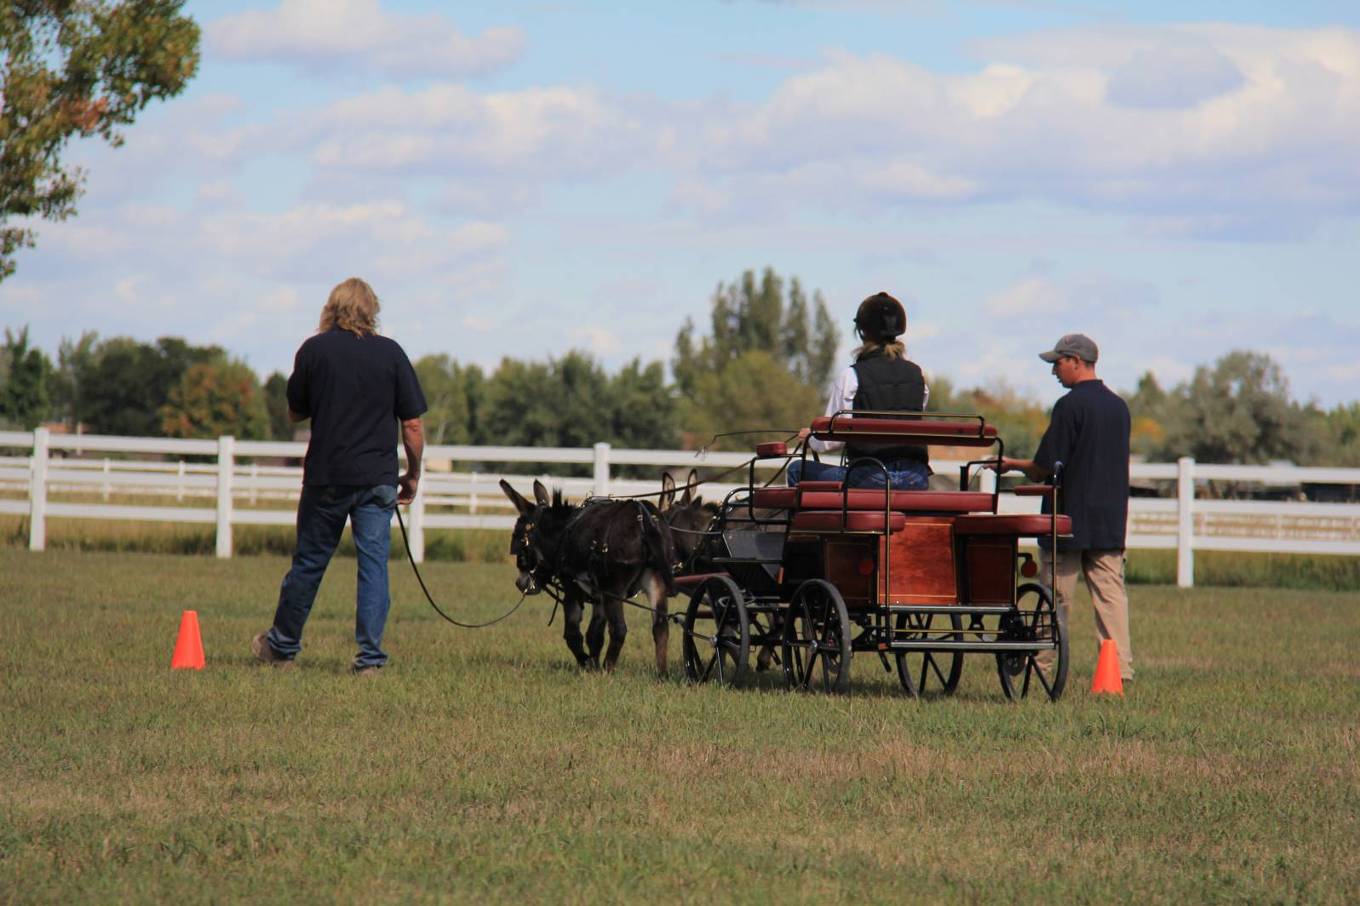
 your assistant to stand in front and to the side of your mini with a lead rope attached to a ring on the noseband (not the bit) of your mini’s harness bridle. When ground driving a team, you will need to use two assistants. Ask each assistant to stand on either side of the team. Once your mini is harnessed, and when you are seated in the vehicle and ready to go forward, ask your assistant to unsnap the cross ties and release your mini while your assistant stands at his head. Now ask your mini to “walk on.” Let him go just a few steps and then ask him to “Whoa.” If your mini does not stop promptly, your assistant can help by pulling back on the lead rope with a pull/release motion while, at the same time, you pull back on the drive lines with a pull/release motion. When he does stop, have your assistant give him his oats reward. Let your mini settle before asking him to back a couple of steps and halt again. Reward him for halting and end the lesson there. The object is to allow your mini enough time to understand what you are trying to teach him and respond accordingly so he can be rewarded without spending so much time that he gets bored and sucks you into a confrontation.
 When your mini is hitched to a vehicle, make a very large hourglass pattern to accommodate your vehicle. His familiarity with this pattern will help him to feel calm and gain confidence while being driven. Every time you end a lesson, keep your assistant at your mini’s head until your mini is fully unhitched from the vehicle. NOTE: Always remove the harness bridle last. Once he is unhitched, make your mini stand where he is while you come to him, then reward him and lead him away. This is how he will learn to wait for you and will not become antsy and uncontrollable. Routinely practicing good manners, setting up an environment for success and approaching your mini with a calm and deliberate attitude will all help him to become a quiet, safe and reliable driving animal.

 In Part 1, you learned how to begin the relationship with your miniature equine in a positive and natural way that fosters good behavior and a good relationship between you. You also learned the importance of getting down to your mini’s eye level so that he can make eye contact with you, which discourages striking, jumping on you and other bad behaviors that are common when working with miniature equines. In Part 2, I discussed how important it is to successfully complete the tasks in Part 1 before moving on to Part 2, and I explained why it is advisable to work minis in groups, as they perform better when they are with their friends. You also learned how to train minis to go over and around various obstacles. Remember that all of this is to be done with no expectations that may overwhelm your mini—it is better if you maintain an attitude of fun and games. In Part 3, we got down to some serious groundwork training so that your mini can be used for driving and showing in hand. He learned to lunge and to be ground driven in the round pen and in the open arena through the hourglass pattern and, if part of a team, how to do these things as a pair.
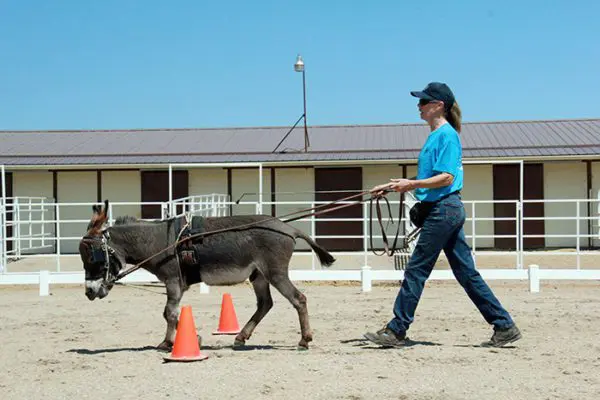 The “Elbow Pull” supports good equine postural balance and acts much like the balance bar that is used by a ballet dancer until she or he is strong enough to hold any postural position in the middle of the room without support. This becomes very important when your mini is in draught (pulling an obstacle or vehicle) in order to make sure he will pull correctly, and symmetrically condition his body’s muscles to avoid future injury to the internal structures within his body.
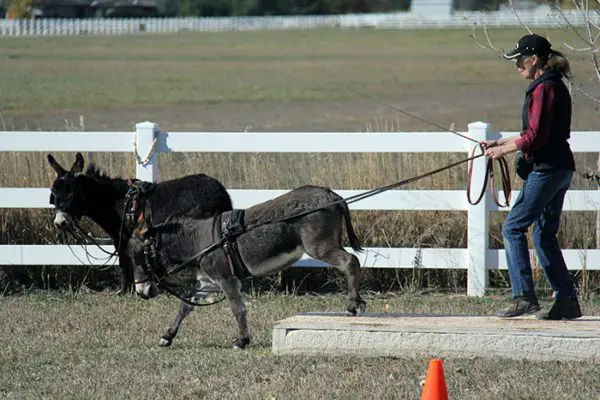 By now your mini has already learned to ground-drive the hourglass pattern and has negotiated the obstacle course on the lead line. There are still more obstacle exercises you can do to strengthen your mini and improve his strength and coordination to prepare him for driving before he is ever hitched to a cart or carriage. Now he is ready to learn to ground-drive the obstacle course. The obstacle course exercises will increase his confidence in being in the lead and help him to go bravely ahead of you upon command.
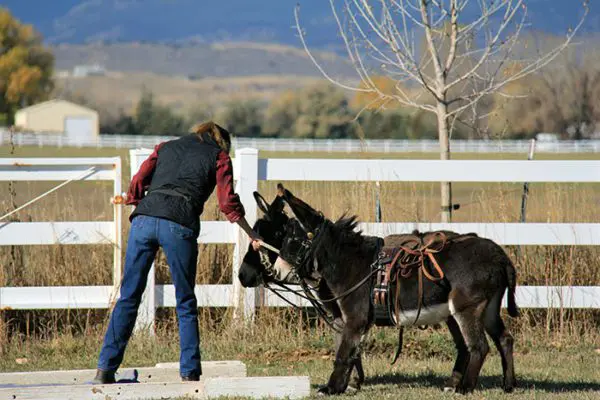 Approach each obstacle on the drive lines and if he balks and refuses to go forward, just stop, gently lay the lines over his back and then lead him through. Then go back and try again on the drive lines. In order to alleviate any fear or confusion your mini may feel, remember to “get down” to his eye level whenever possible. NOTE: Don’t forget to always reward him with his favorite crimped oats for compliance.
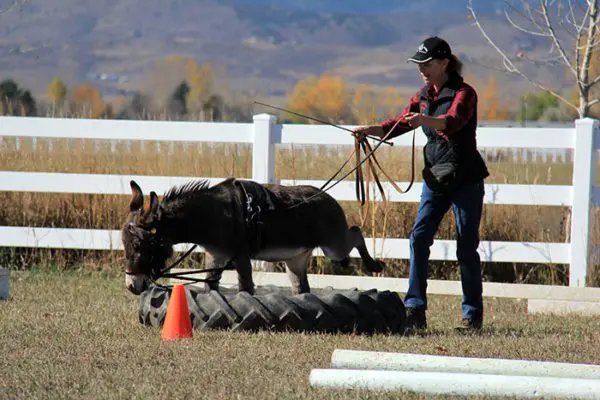 Once your mini is willing to go straight through the obstacle with a calm attitude and no balking, you can then begin to break each obstacle down into smaller, easier steps, rewarding and praising him for each success. If he is apprehensive about any obstacle, you should lead him through these smaller steps with frequent halts before attempting to ground-drive him through. He may need these detailed “explanations” before he is willing to “take the lead.”
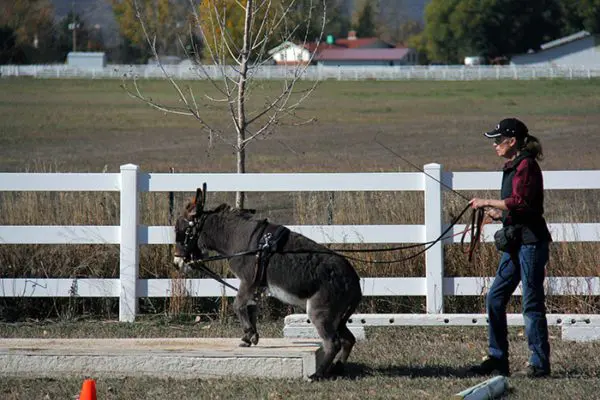 If you are training him on the bridge obstacle, go to the landing, stop, square up, put the lines up and reward, then resume your position and drive him up onto the bridge, but with only his front feet on the bridge, and then stop again. Put up the lines, walk forward and reward. Then drive him completely onto the bridge, stop, square up, put up the lines and reward. If he is having problems squaring up on the lines, then just square him up when you get to his head before you reward him.
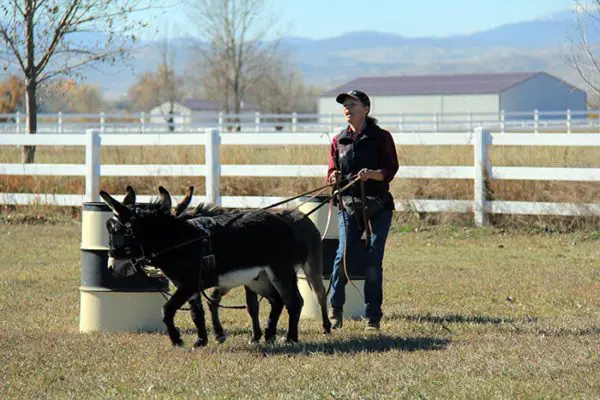 You can ask him to take full responsibility for perfect balance and negotiation of the obstacle later. For now, your primary task is to help him get through the obstacles successfully and with as little help as possible. Breaking obstacles down into smaller steps will increase his balance, coordination, agility and self-confidence. Even after he has become competent while hitched to the vehicle, you can use ground-driving obstacle exercises in the “Elbow Pull” to finesse his movements during future lessons. It will add variety to your mini’s lessons and continue to promote health, coordination and good equine posture.

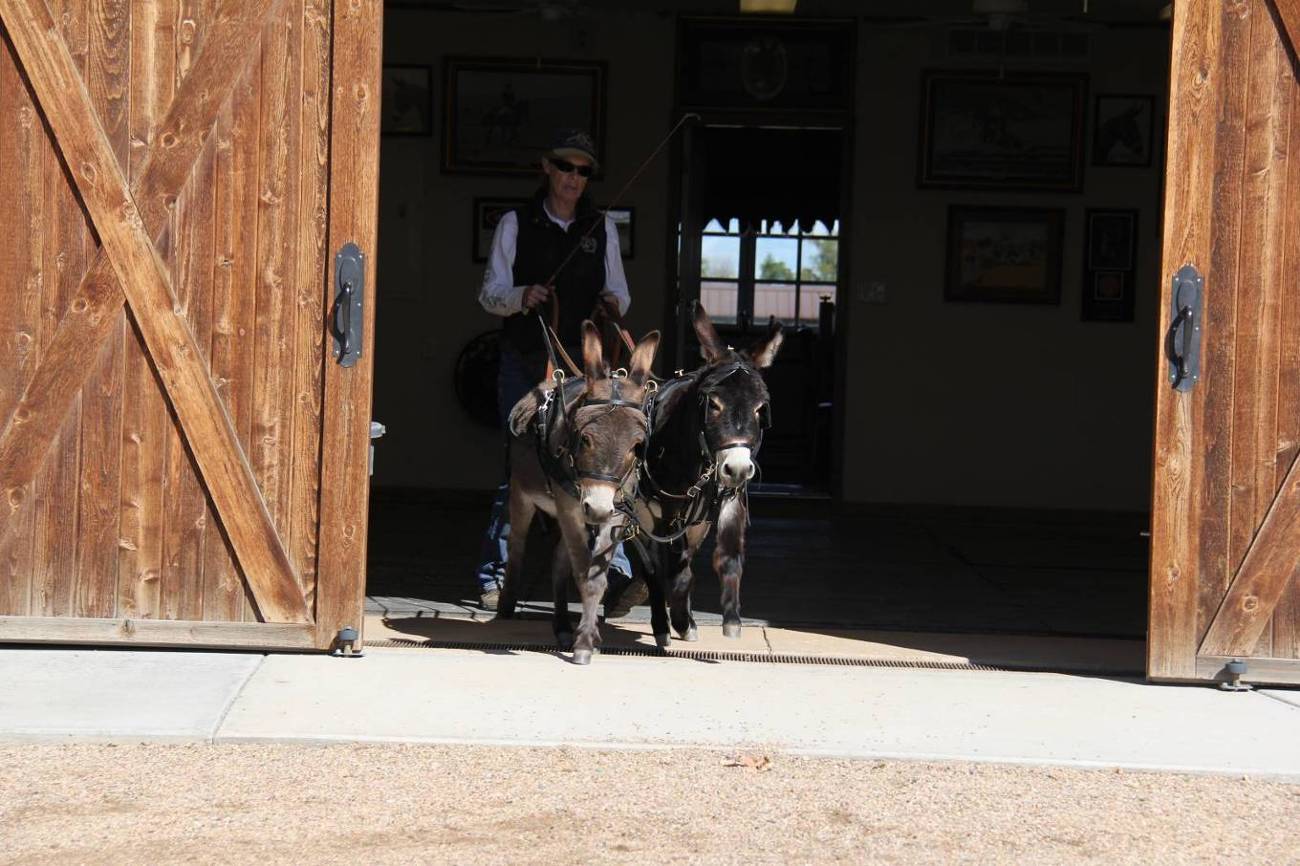
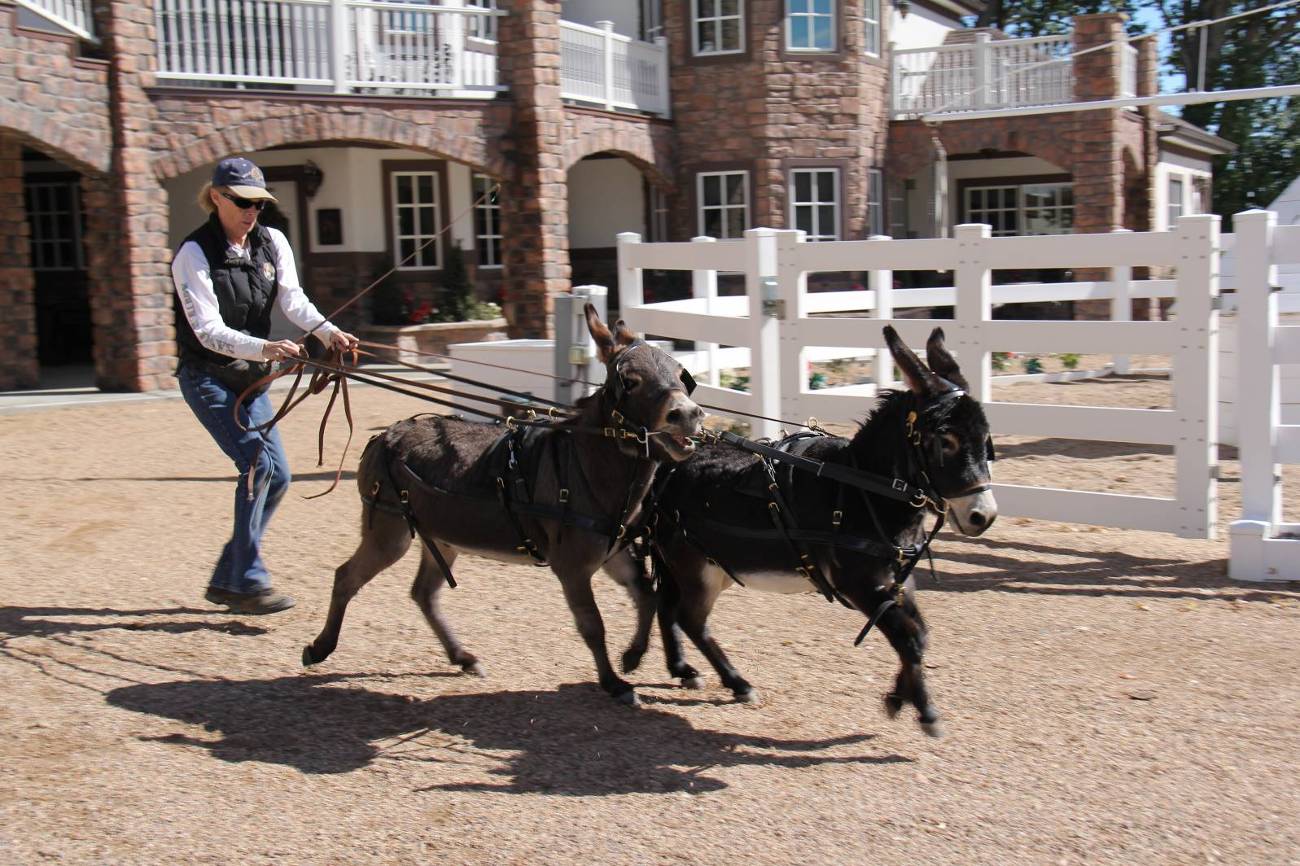
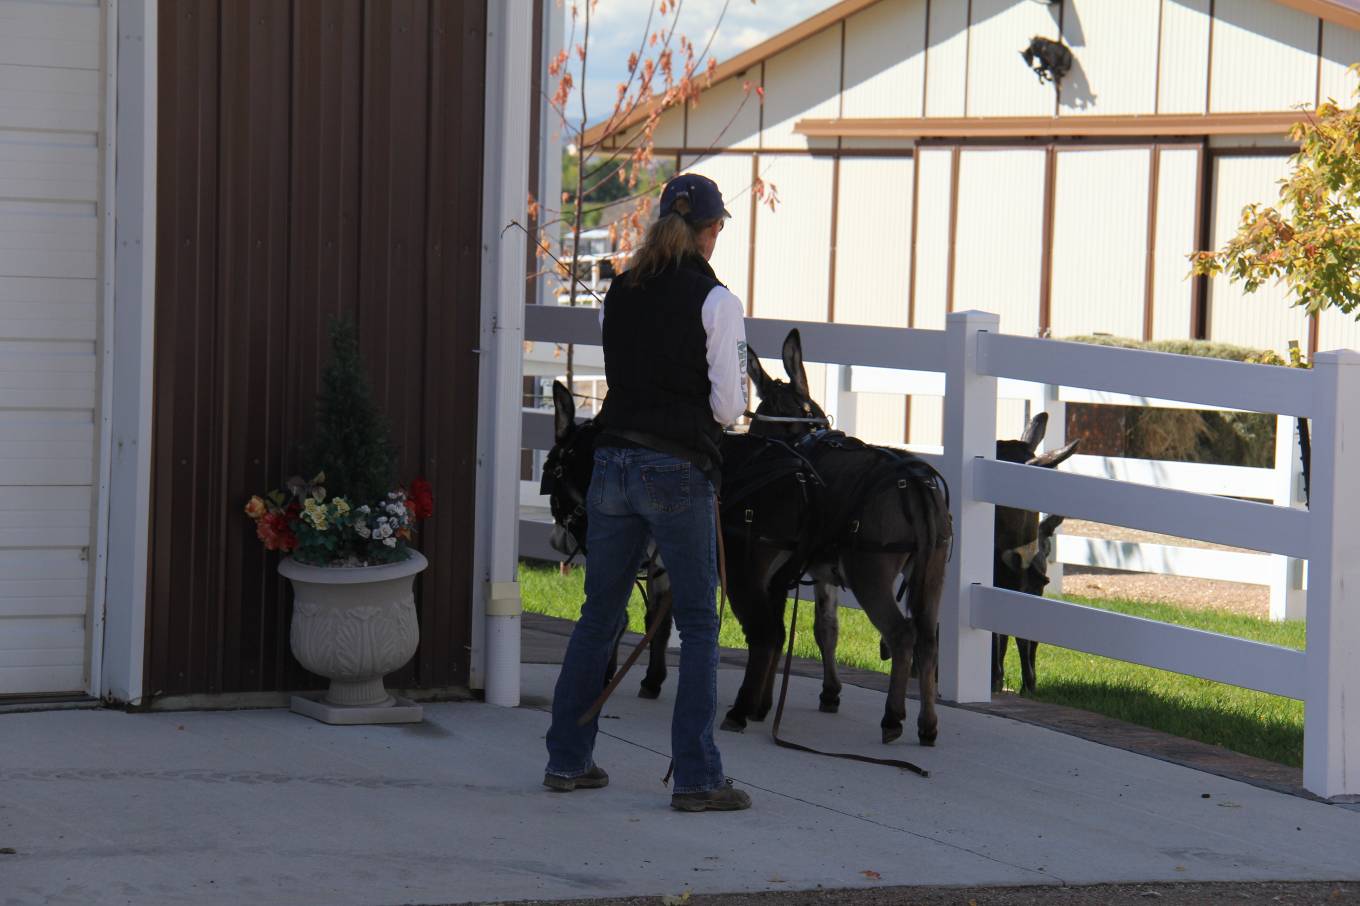
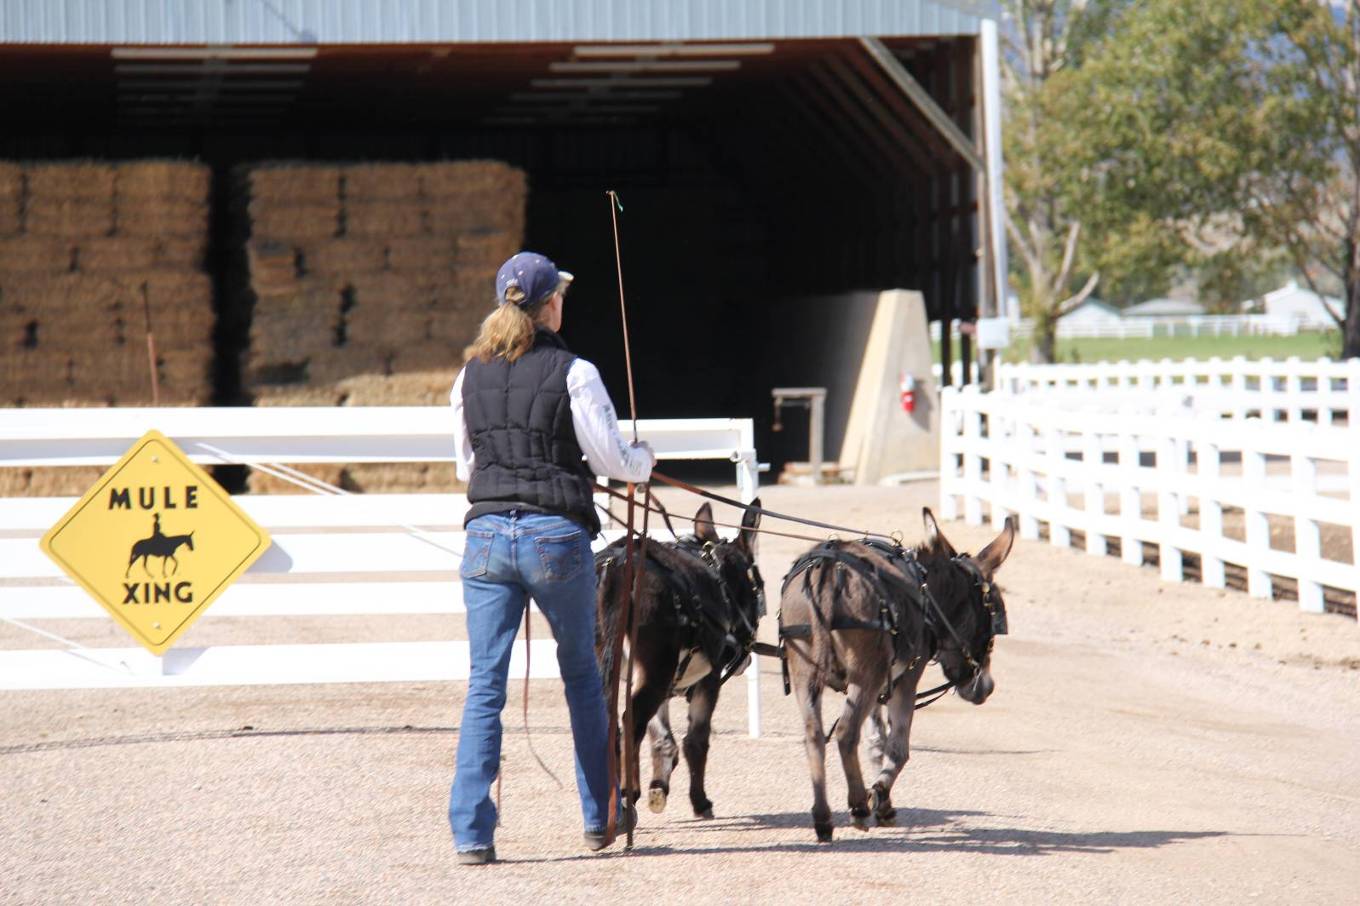
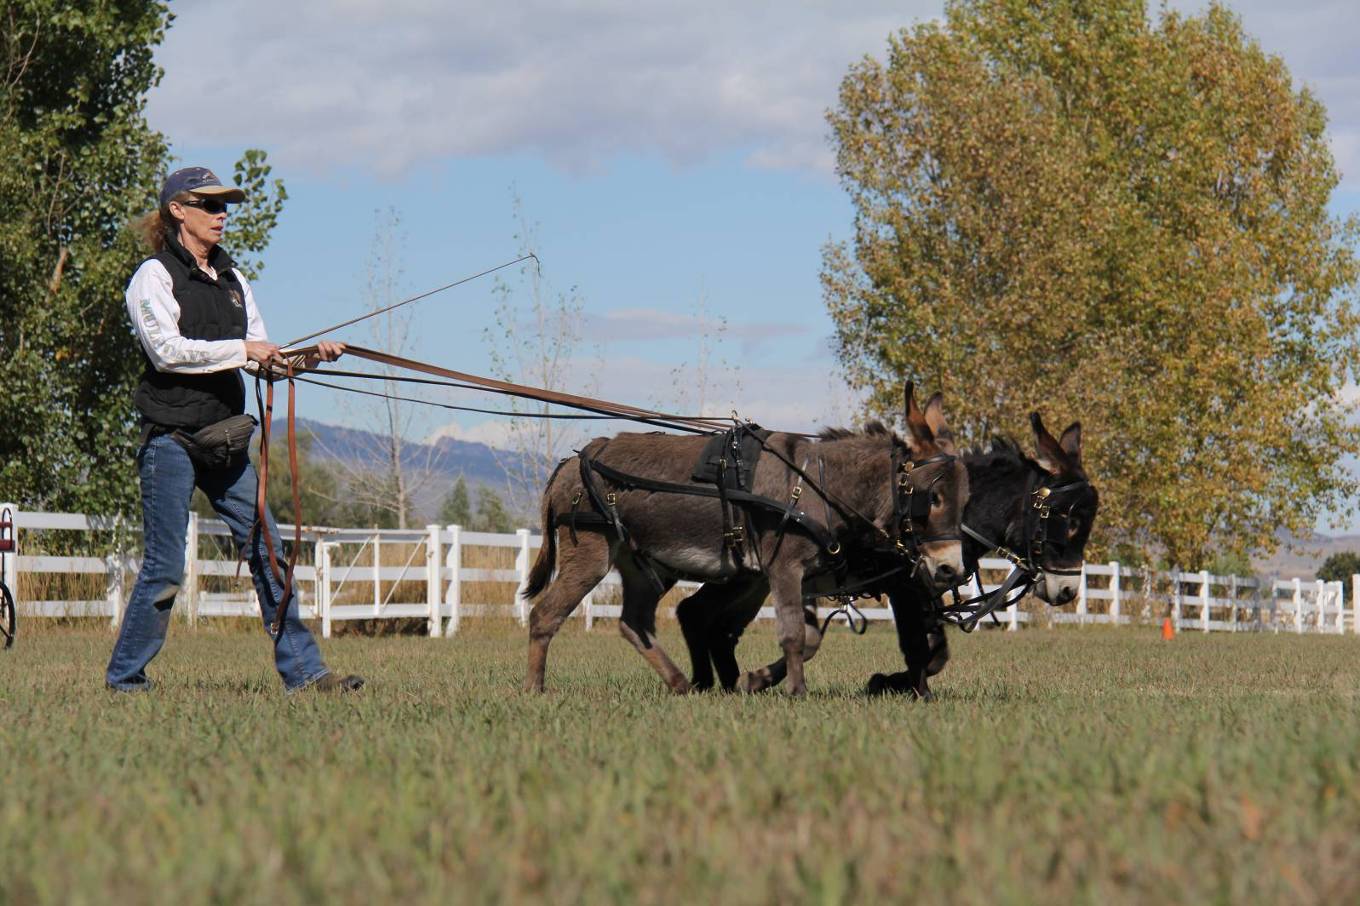
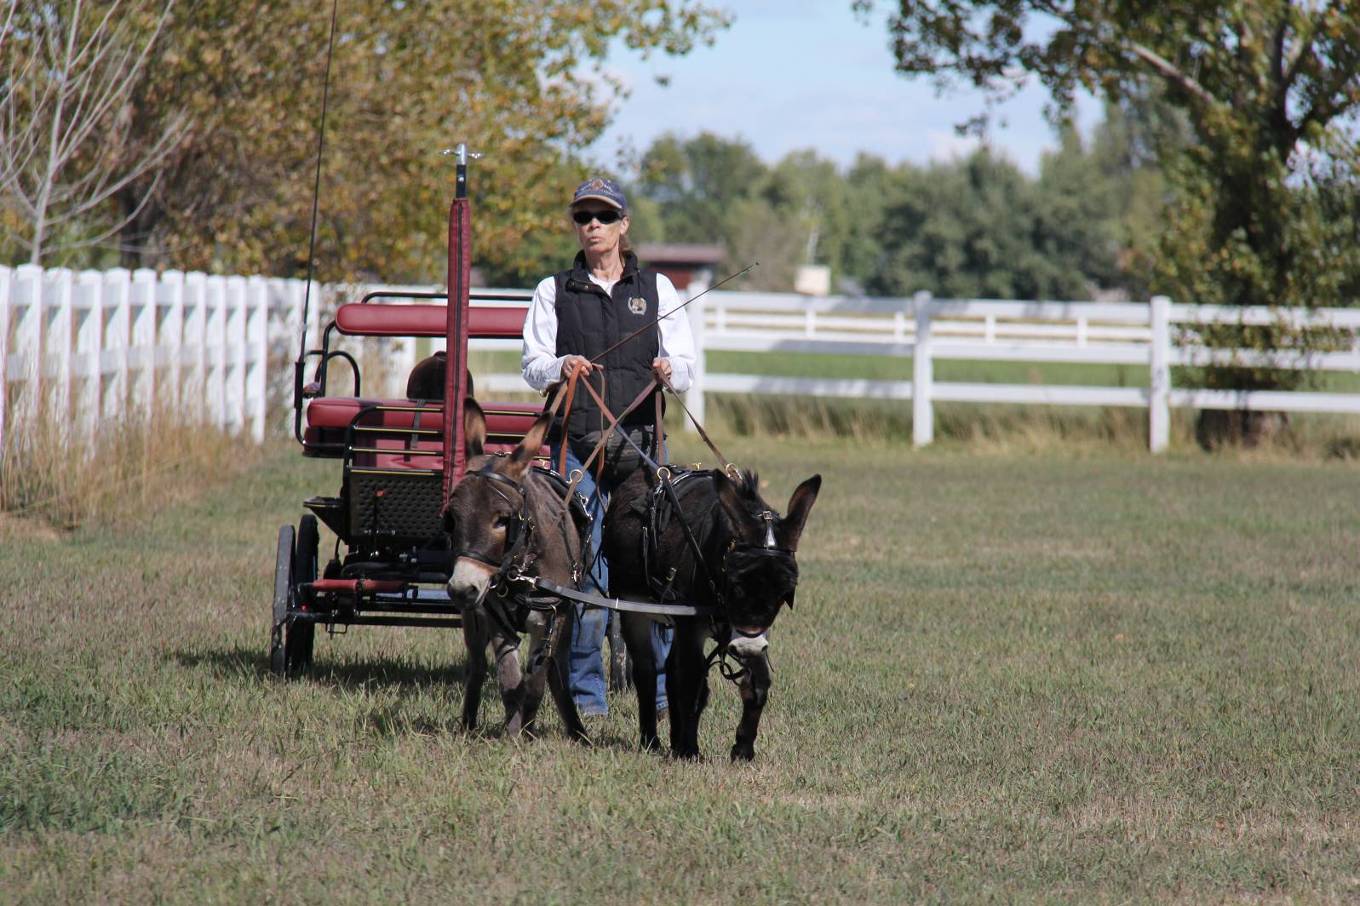
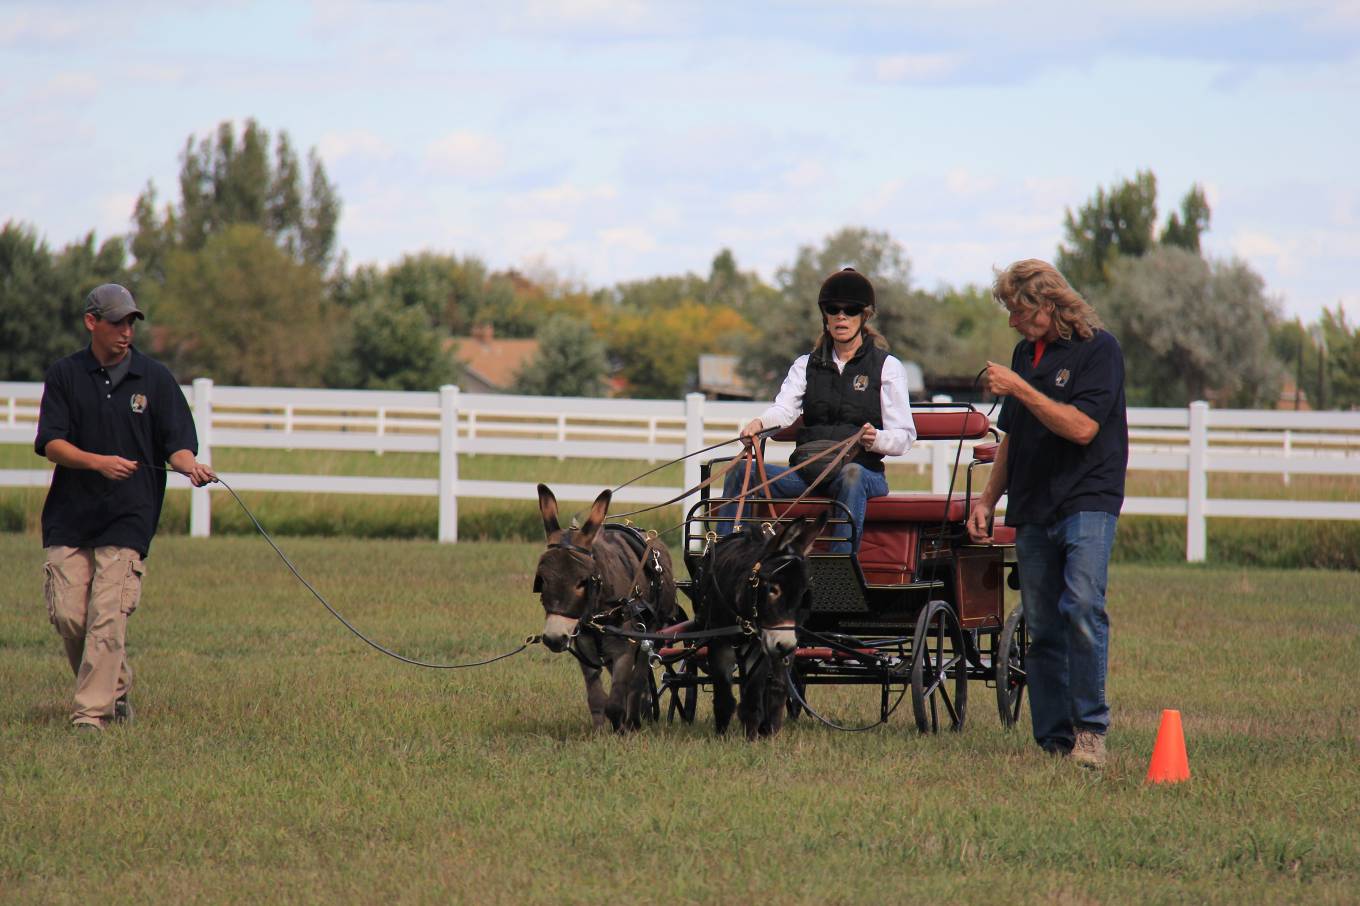
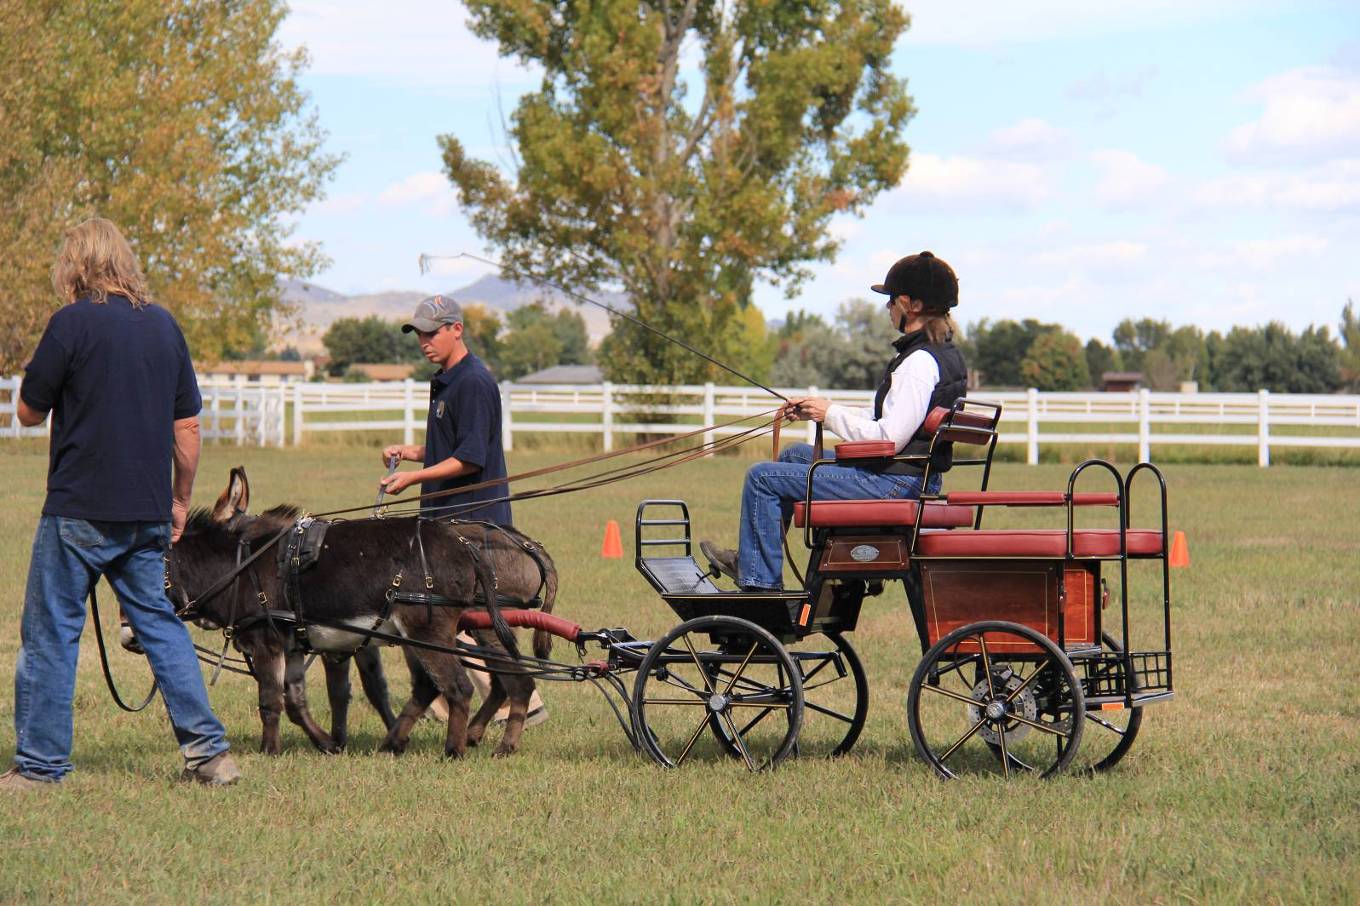
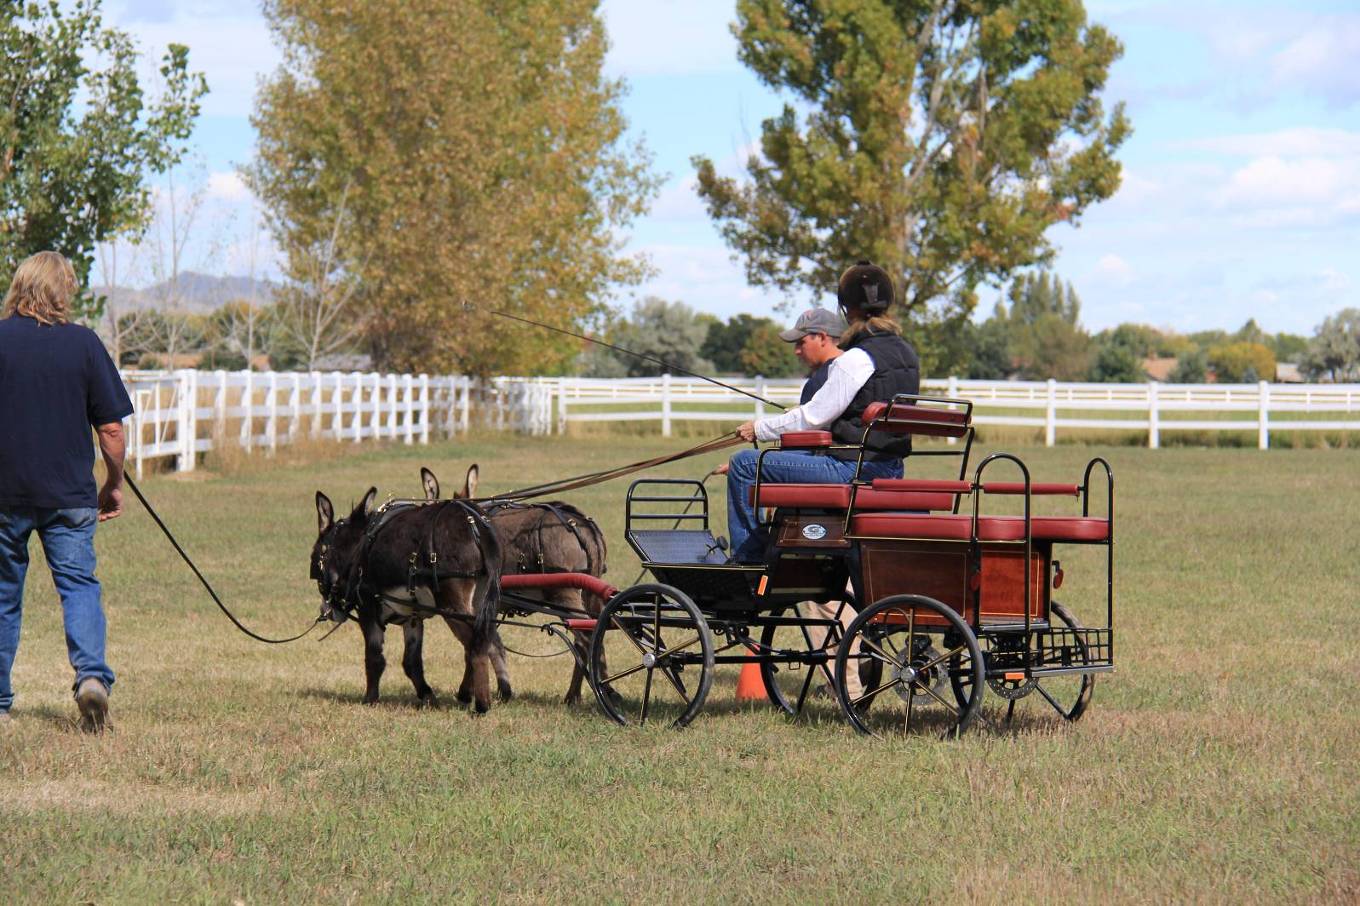
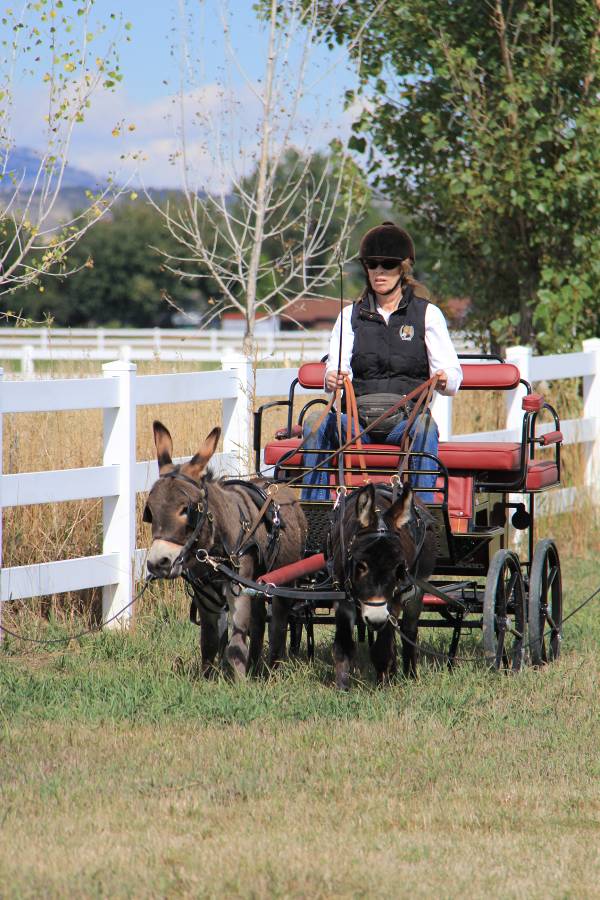
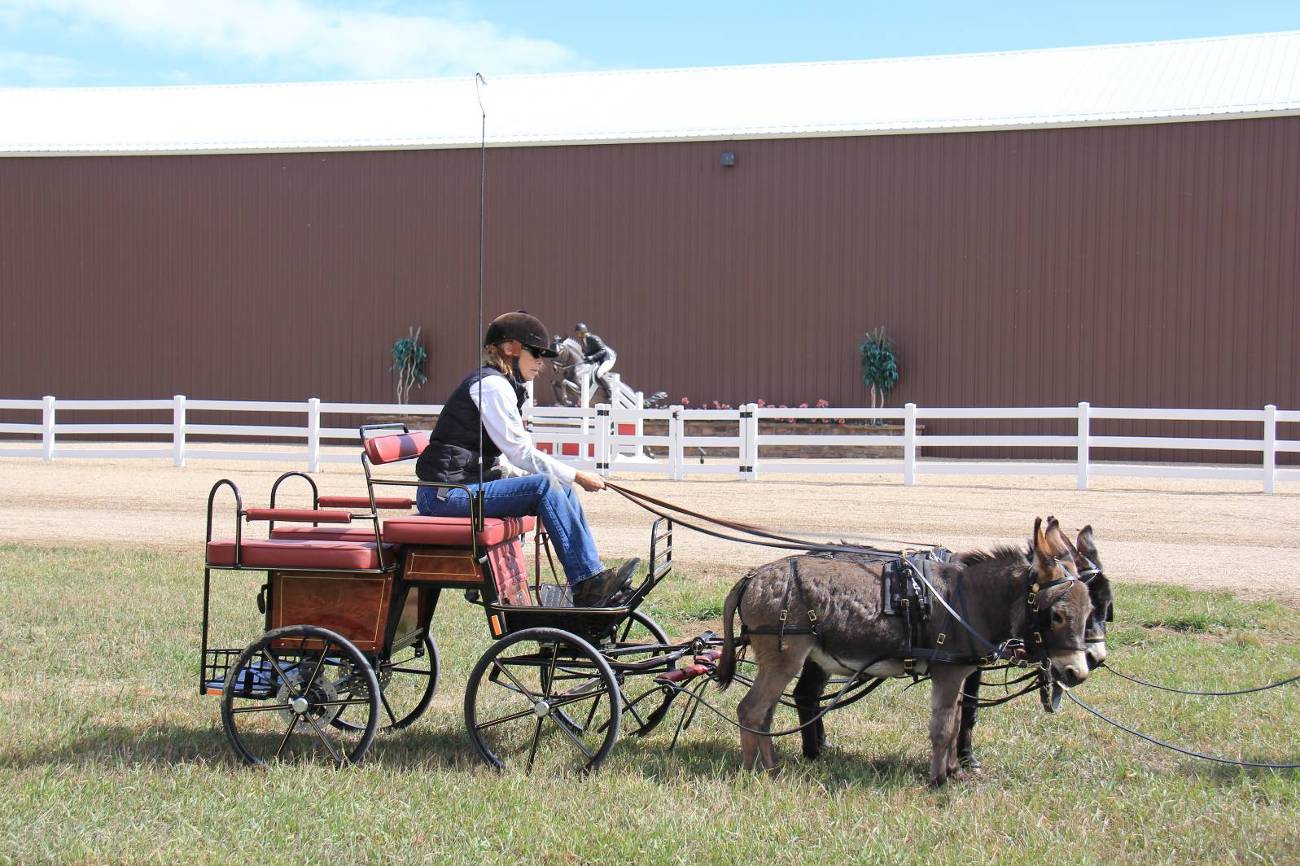
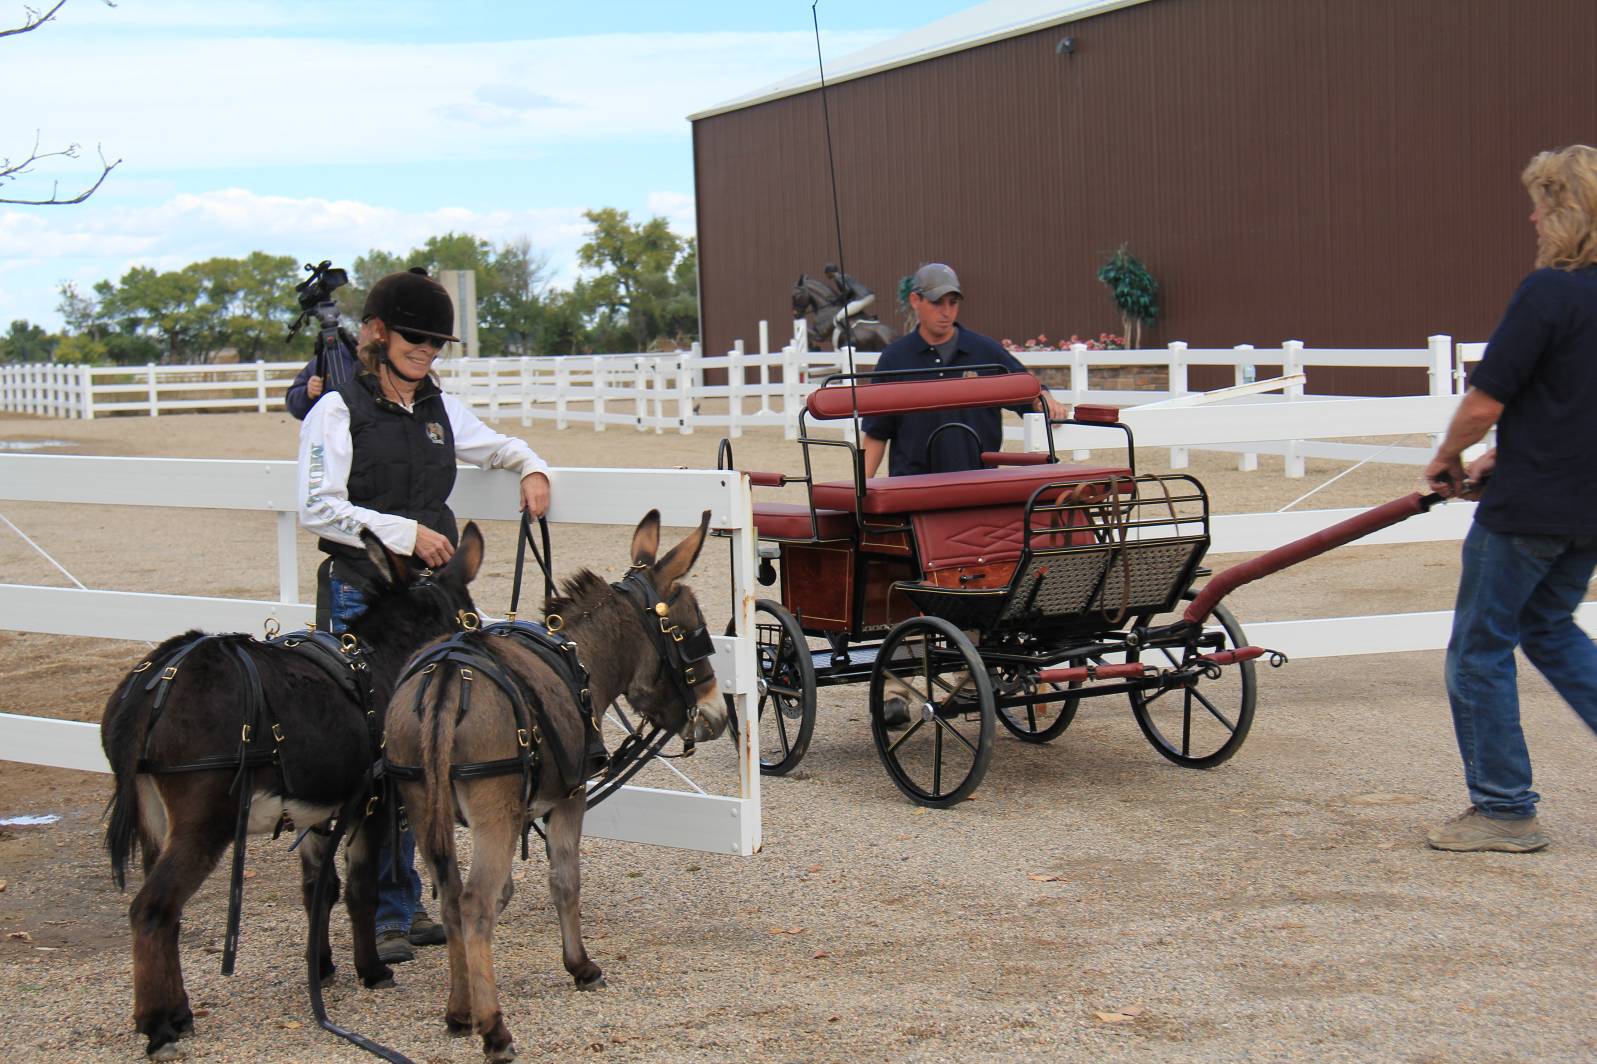

 In Part 1 of this article, you learned how to begin your relationship with your miniature equine in a positive and natural way, and how “getting down” to their eye level so they can make eye contact with you discourages striking, jumping on you and other bad behaviors that are common when working with miniature equines. Be sure you have successfully completed the lessons in Part 1 before moving on to the lessons in Part 2 or training may not yield the desired positive results. Also, if possible, it is best to work minis in groups if they are used to being with other equines, as they perform better when they are with their “friends” and it doesn’t hurt to train their friends in the same way.
 in Part 1), but this time you will be in the work station and you will have a guest…the farrier. Before the farrier attempts to pick up the first foot, ask him to sit down beside your mini in front of the shoulder on the left side and offer a handful of oats as a way of introducing himself. Next, while you sit at your mini’s head and offer the oats reward for good behavior, have the farrier begin with the near side (left) front foot and work his way around from front to back, and then from back to front on the other side (right). While the farrier is working, talk calmly and encouragingly to your mini, and as long as he is doing what is asked of him, offer rewards generously. He should yield his feet easily, but if he does not don’t offer the reward until he complies.
 Don’t shove your mini when you want him to move over. Rather, give him some oats and use your index finger to tap or poke him on the side of his ribcage. If he doesn’t move over, use your whole hand to give him a slight push, always using a “push and release” movement, which is non-confrontational. You don’t want to keep steadily pushing up against him, because as soon as you give him anything to push against, he will and you could find yourself in a pushing match or, worse, a confrontation with him. As soon as he complies and moves, give him the oats reward and slide your body in next to him to help hold him in position for the farrier as he works with each foot. Don’t be afraid and always stay on the same side as the farrier. If the mini decides to make an abrupt move, he will try to slide around you because equines really don’t like stepping on, or running over, soft, squishy things like our bodies, so if your mini can get out of your way, he will. Even if he was to jump up in the air, he would more than likely jump over or around you, taking the path of least resistance. Trust your mini, stay calm and avoid becoming tense or exhibiting fear and things should go smoothly.
 This approach becomes particularly important when negotiating something like a dock or a bridge where you are not only dealing with an obstacle, but an obstacle that makes you substantially taller than you already appear to your mini. This is another instance when you can “get down” on your mini’s eye level the way you did in the pen and at the work station. Remember to do things in small steps. When you walk onto the surface of the dock or bridge or any other large, flat surface, leave enough room for your mini to come up. When you get to the end of the lead rope, take up the slack and then sit down and offer the reward. Then, once your mini has negotiated the obstacle, give him the oats reward and just have another picnic. If a companion equine is accompanying you, be sure to tie the companion animal in front of the obstacle so your mini can always see him. If you tie him behind, your mini will worry and want to go back instead of forward.
 When you are ready to step down off the dock or bridge, it would be unsafe to be lower than your mini, so at this point you should stand up, go to the end of the obstacle and ask him to come forward off the raised obstacle, making sure he has plenty of room to come off the obstacle without you having to move. Stand quietly and keep the lead rope taut as you verbally encourage him and invite him to come down off the bridge. As soon as he jumps down, ask for a halt and reward him for jumping down and stopping right in front of you. (He will learn to negotiate the obstacle more slowly with practice.) Once he has finished negotiating the obstacle and halted and is chewing on his reward, you can then proceed to the next obstacle. Having definite, purposeful and timely pauses will help alleviate anxiety and resistance in your mini.
 longer he must go without making eye contact with you, the greater the chance of resistance, but eye contact on his level will give him confidence in your judgment and will help to facilitate a real bond between you. If negotiating an obstacle such as a tractor tire or six tires, just extend the lead rope over the tire or tires, sit on that side, keep the rope taut and proceed as you did with the bridge obstacle.
 I call this technique “OATS.” (Observe, Approach, Touch and Sigh). It allows your mini time to observe each situation, then approach and touch the obstacle, finally giving a sigh as a signal that he is relaxed and not afraid. Always reward him for his efforts so he can begin to gain confidence and trust in you. By following the OATS technique you are turning your mini’s fear into curiosity, which will serve to keep him calm in future situations.
 By Meredith Hodges
 The show secretary is responsible for taking minutes of all show committee meetings and often acts as liaison to the show manager. It is the secretary’s duty to see to it that mailing lists are complete and potential exhibitors are notified of the impending show and are kept up to date. The secretary checks the public relations work done on the show by the public relations person, and in some cases, assumes this duty himself. The secretary records entries and receives funds sent in by exhibitors. Any program changes, protests, etc. are recorded by the secretary. The secretary is responsible for recording show results and mailing them to appropriate recipients, and to see that the results are released to the public in a timely fashion. The treasurer is responsible for handling and depositing funds used for the show and often aids the secretary in his duties. It is the treasurer’s duty to see to it that all expenses for the show are accounted for and paid and that a detailed report of such is given to the secretary.
 Judges are selected by the show committee and are paid for their expert opinion. Judges should be briefed by the show secretary as to the duties they will be expected to perform which sometimes may include designing courses for the competitions. A set of rules should be sent to the judge well in advance of the competition to allow for any questions that might need to be answered. The judge should not be asked to interpret the rules. Rules should be made clear enough that he can make his decisions easily, which are in turn deemed final. Judges are given the power to combine, or split classes where appropriate. The judge should not socialize with exhibitors until the competition is over to preserve his objectivity and integrity. When time permits, the judge should give reasons for his decisions to give credence to his choices and to help exhibitors learn. The judge should be knowledgeable, congenial and professional about his duties.
 The ring steward, or judge’s aid, has many varied duties. First and foremost, it is his duty to see to it that exhibitors adhere to the rules of the competition. It is his duty to interpret the use of the rules and not the duty of the judge. The ring steward is responsible for listening to and reporting complaints or protests. Although he has no authority in connection with the management or the judging of a competition, he should point out in a diplomatic manner any instance where rules are not being adhered to and report any violations to officials.
 He needs to be available to judges, officials and exhibitors at all times. He is to supervise and record any timeouts for tack changes or equipment breakage, and to measure animals where required. He is to conduct the breaking of ties in classes and to deliver the judge’s decisions to reporting officials. The ring steward is responsible for all medication forms, reports, and testing, with the aid of the secretary and the veterinarian. He is responsible for the accuracy of competition lists of entries and their class placements as reported by the judge and is to see to it that completed lists are given to the show secretary. The ring steward should protect the interests of the exhibitors as well as the integrity of the show. The ring steward should see that the competition moves along in a timely fashion. He, with his various duties, is a key entity for the success of the show.
 Scorekeepers and timers are used to record scores and times for specific classes and should be equipped with the proper tools to facilitate their jobs. Flags, stopwatches, time sheets, calculators, and writing utensils are necessary items. Scorekeepers should be prepared to keep times and scores updated continually so that championship classes can be announced quickly and easily.
 provided by the Ring Steward. It really helps if he has that “announcer’s voice” and is an animated character!
 Parking Attendants and Stable Managers should be used when necessary to assist exhibitors in loading and unloading, and in the parking of their trucks and trailers. They can make the difference when it comes to traffic congestion at the show. Parking attendants may also be requested to take note of the owner’s vehicles, so that they may be notified quickly in the event of an emergency with their vehicles. This can help prevent theft or vandalism. The Stable Manager sees that each animal is efficiently unloaded from the trailer and is escorted to his respective stall. If the show is providing hay, he will make sure each exhibitor has as much hay as they need and that any other needs are provided. Newt Elsdon was the model Stable Manager and Show Committee member for the Bishop Mule Days Celebration for many years.
 Last, but certainly not least, are the show veterinarian and farrier whose expertise are to be used for emergency show situations. An exhibitor should not expect to use their services for regular maintenance at the show unless pre-arranged. Veterinarians and farriers should be booked well in advance of the show to allow for their busy schedules. Alternates should also be booked and at the show, their areas should be clearly marked and they should be easy to locate.






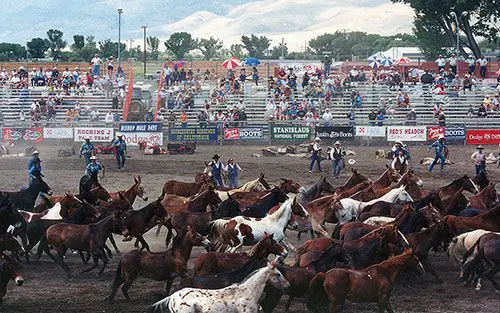 By Meredith Hodges
 The gift we have found with Longears is one that needs to be shared with others that they might also experience the joy and pleasure of these animals. In this hustle-and-bustle world, it is easy to miss out on the things that are really important like love, sharing and simple pleasures derived from personal growth. Mule and donkey shows are the vehicle we can use to bring these things to light and revitalize the appreciation of Longears. The show ring is a place where mules and donkeys can exhibit the results of experiments in a new realm of performance. Challenges are made and met with both humor and enthusiasm.
 transportation, inopportune geographical locations and the fear of politics. We must remember, however, that this intimidation was born of the horse show formats. There are literally millions of horses being shown all over the world and out of necessity the shows were divided and specialized according to ability and breeding. This is the only fair way to progress and still accommodate the growing numbers of equines and their owners. In the midst of this overwhelming competitive spirit, we sometimes lose sight of the true benefits of showing. Showing should be an opportunity to test your equestrian skills and to share new ideas and concepts with others. It should be fun and enlightening.
 Because mule and donkey showing is relatively new, there is much to be gained by participation. Those who feel that their animal is not of show quality can still attend shows and learn a lot about Showmanship, grooming and training skills. This development of new skills can make all the difference between show quality or not, particularly in performance events. Newcomers to showing also give the audience something extra-special. Their enthusiasm is often contagious and the audience is subtly invited to virtually join in the show. This is something that they too could manage and enjoy. Those who feel they just cannot get in enough training time can still participate in today’s donkey and mule shows as the class roster will usually include a lot of fun classes. If they do not, it is a relatively simple matter to contact show representatives and request these classes for your area. There are enough mule and donkey clubs today to sponsor all kinds of shows and one need only contact any one of then to acquire any information needed.
 Time and money are a great hindrance to showing today. Economic problems are quite prevalent these days, but as they say…”where there’s a will, there’s a way!” With careful planning and setting of priorities, one can determine the number of shows to attend in a season. Those of us who sponsor and work on shows are sensitive to the needs of our exhibitors and are willing to help in every way we possibly can. Most donkey and mule shows are not all that expensive and can be managed fairly easily. At most of the larger shows, those who wish can tie up to their trailers and save the stall fees. This is true in a lot of regions. Entering fewer classes will also save money and still provide you with the important learning and social benefits of showing. There are so many different sizes, colors, and abilities in mules and donkeys that we really need as many to participate as possibly can to properly represent our longears breeds.
 ast, but certainly not least, a word about politics. In the mule and donkey industry, we are promoting donkeys and mules. As individual animals meet new challenges and succeed, we should all feel a little warmth and joy for that individual who has obviously worked long and hard, and who stands as a representative of his breed. We can all be proud of his contribution to a greater cause. When in competition, compete against yourself and learn to derive joy and pleasure from your own improvements. There is a lot that showing has to offer besides ribbons and trophies. Showing gives you the opportunity to test your skills and to measure successes. It affords one the opportunity to assess different skills, make personal choices and to expand social interaction and education among those of similar interests. But most of all, showing gives each of us the opportunity to do our part in support of our beloved donkeys and mules!


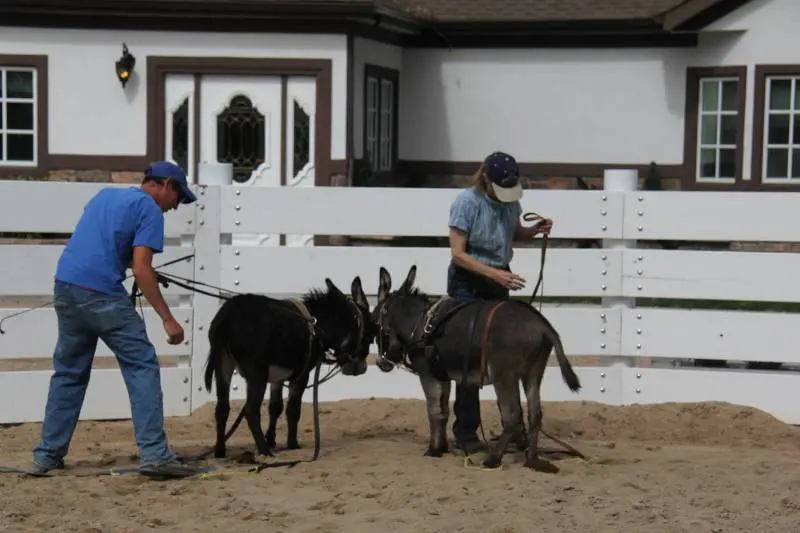


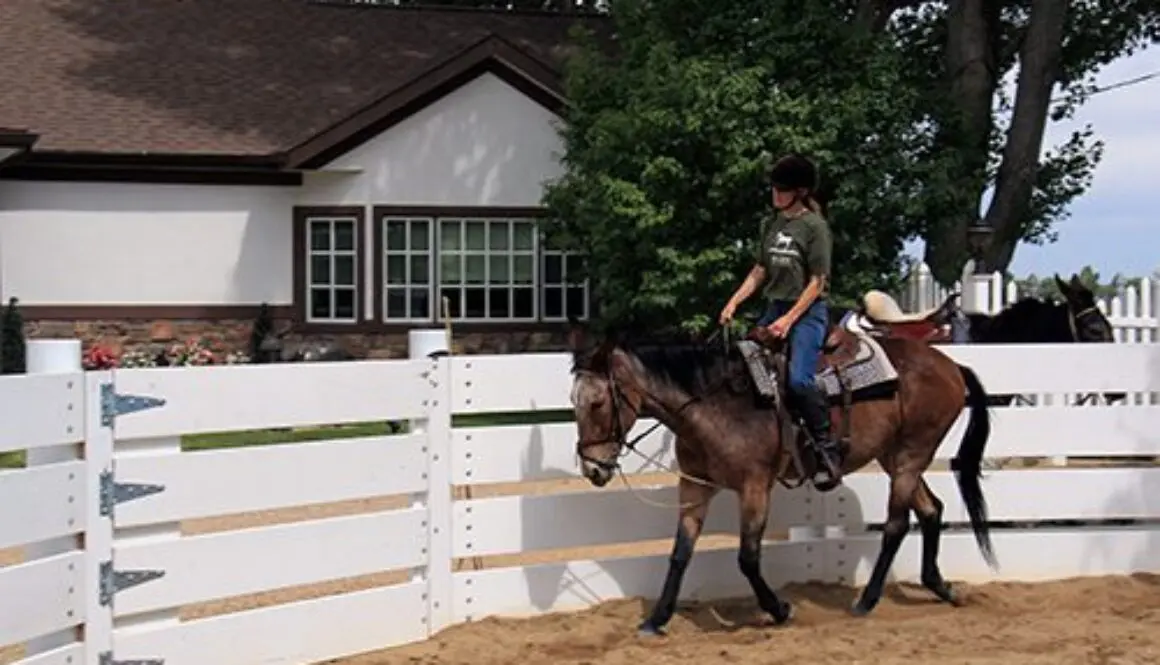


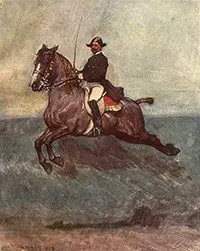 Why does Dressage training lend itself so well to training mules? In order to answer this question, we need to have a clear understanding of what Dressage really means and how it pertains to the mule’s mental and physical development in relationship to our own expectations. When most of us think of Dressage, we picture in our minds those elegant Lipizzaner stallions of the Spanish Riding School in Vienna, Austria.
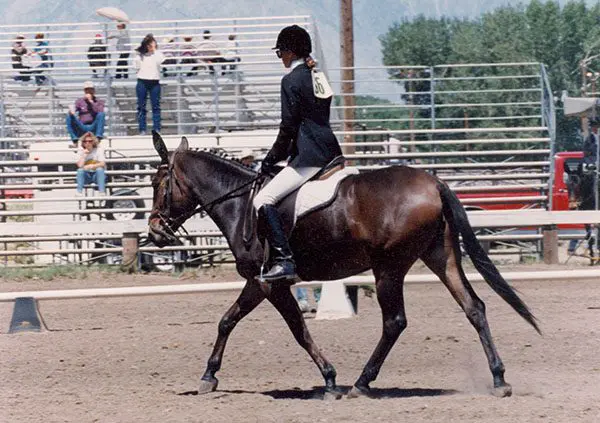 I have found that my mules will exhibit resistant behavior when they are confused or frightened, but never out of “stubbornness.” Often, we take it for granted that, since a young mule can walk, trot, canter, back up, etc. by himself, he should be able to do all these things with us astride. What many people don’t realize is that mules are born with as diverse postures as humans, and there are few mules that will exhibit good equine posture without being constantly reminded. People compensate continually for deficiencies in their own body structure, and posture will vary from person to person and situation to situation. For example, a straight-backed chair will cause most of us to sit up straight, which is healthy for the spine and neck. On the other hand, the sinking comfort of a plush couch will produce a collapsed posture, which can eventually produce sore back and neck muscles. In a similar way, a mule will have to sacrifice his good posture to accommodate an unbalanced and inexperienced rider.
 By taking the time to condition and strengthen their muscles, we allow our mules to engage in physical exercise that is not taxing and painful, thus, keeping their mental attitude fresh and happy. By conditioning your mule in a carefully sequenced pattern of exercises, you will more often avoid the possibility of throwing him off balance and into the confusion and fear that will lead to resistance and disobedience. With your own posture in mind, you can develop the rider and mule as one unit. The process is slow but thorough, and mutually satisfying.
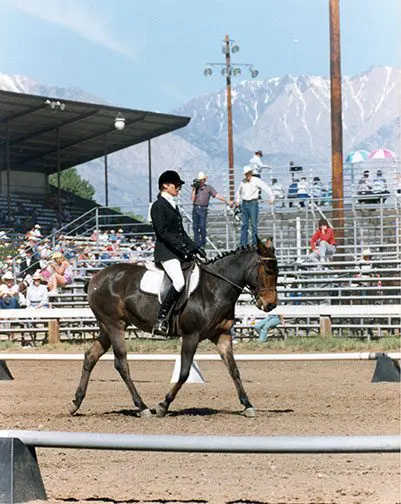 Equipment use plays an important part in the breaking saddle used, but many trainers today will agree that the less complicated equipment is used in the beginning, the better. The Western saddle may certainly be used for breaking but, from the mule’s standpoint, the Western saddle is heavier and there is quite a lot of leather between you and your mule, which can cause a certain amount of interference in communication. If the mule cannot “feel” his rider well, often times a leg or rein aid can come as a surprise and produce a response that is predisposed to resistance. For this reason, I prefer to start training in an all-purpose—or Dressage—saddle. However, I would recommend training in a Western saddle for the less-experienced rider, or if you are training a more easily excitable animal.
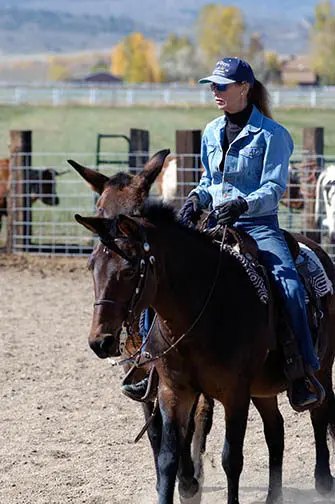 As in any exercise program, it is not advisable to drill and repeat every day. With a mule, as with any athlete, muscles need to be exercised and then allowed rest for a day or two between workouts to avoid serious injury. In between Dressage days, you can take your mule for a simple trail ride or just let him rest. The time-off and a variety of activities will keep him fresh and attentive. Three times a week is usually sufficient, with Dressage training for his proper development and conditioning, two days of simple hacking or trail riding and two days of rest. This also takes the pressure off of you. If you’re not into riding on a particular day, you won’t feel like you have to because your mule will retain his learning without the added stress of drilling day after day. Try to think of your mule’s training in terms of yourself: Would you care to be drilled to exhaustion day after day? How would you feel mentally and physically if you were? Dressage—whether it is basic or the most advanced—is a French word for training. It is thoughtful, considerate and kind, and will produce a mule that is mentally and physically capable of doing anything you might like to do with a relaxed and willing attitude. It may take a little longer, but the result speaks for itself.