By Meredith Hodges
There is a lot of discussion about training mules versus training horses. There are some who say that training mules is harder than training horses, and others who say just the opposite. It has been my experience that it isn’t really that one animal is more difficult to train than the other. They each have their redeeming qualities and individual limitations. The people who are dealing with them also have their own redeeming and limiting factors. For instance, if you are leading a horse, and he does not want to follow you, because he hasn’t the strength in his head and neck as a mule, or donkey, does, he can be more easily bullied into compliance with a quick jerk on the lead rope.
 On the other hand, if you are leading a mule, or a donkey, they can easily jerk the rope right out of your hands, or jerk you right off your feet, because of the incredible strength they have in their head and neck. When you teach a mule or donkey something one day, he will ponder what he has been taught during the days between lessons. Regardless of how many days or weeks pass, he will comply more easily during the next lesson because he never forgets what has been taught. A horse will tend to forget and will need to be reminded where mules and donkeys will not necessarily need those constant reminders.
It makes sense that the handler needs to adjust his training program such that the horse has many frequent and consistent lessons to refresh his memory. Longears will only need lessons as frequently and consistently as it takes to maintain good postural conditioning. When applying lessons more frequently, the handler has the ability to make subtle adjustments to get the best from the horse. If he wants a Longears to respond properly, it is critical that he teaches the mule or donkey correctly the first time. They will learn EXACTLY what the handler teaches them the first time and will continue to repeat it. The option of changing your approach during the training sequence is limited Longears. What this all amounts to is that one is really not more easily trained than the other. Rather, it is the experience and knowledge of the handler or trainer, that makes the difference with both Longears and horses.
Mules and donkeys, sensitive creatures that they are, seem to be more concerned about the overall attitude of the trainer than are horses. With the intelligent use of negative reinforcement, a positive attitude and informed use of restraints, modification of any equine behavior becomes a lot easier.
When your mule does not comply with your wishes, first you need to get his attention and do something to temper his defensive attitude. When we are intelligent about a situation, it will minimize the animal’s negative reactive responses. Our politeness and consideration promote an overall positive attitude on both parts, and opens up the lines of communication between you.
Since these equines out-weigh us by several hundred pounds, careful and informed use of restraints can sometimes be humanely used to perpetuate and escalate the close relationship between you and your Longears (and even horses) in the training environment. Restraints should be used to help “explain” what you wish from your equine, but should not be used as a perpetual training “crutch.” Intelligence, attitude and restraints should always be used in conjunction with a pursuit of “the path of least resistance” in mind to promote successful training sessions.
If we realize that correct development of mind and body takes time, we should relax, be patient, allow the equine learn at his own pace, humanely utilize helpful restraints to minimize resistance in difficult situations and actually enjoy the training process with our animals. For example, in the case of Draw Reins, they should be used in conjunction with your regular reins, only if you have Good Steady Hands and only when necessary. In the beginning, this might mean pressure on them at every stride. As with any restraint, they will need to be slowly phased out over time. This is pretty easy to see with Draw Reins and the response they elicit from the equine.
But what about a restraint such as the Scotch Hobble where the hind foot is tied up to make handling the feet easier? The first time you need to use the Scotch Hobble, you will probably need to secure the hind foot so that the toe cannot touch the ground when you try to pick up the hind foot. In order to tie the Scotch Hobble, you will first tie a Bowline (non-slip knot) around the neck loosely, then take the slack, hold the very end and work it between the back legs. When you get it in position, you can walk back to the front toward the loop around the neck while taking up the slack.
From the shoulder, give a quick tug on the rope to see if he will yield the hind foot. If he does, you can let him keep the toe on the ground when you run the rope through the loop around the neck and finish going around the back leg again. Then bring the rest of the slack back to the front loop and tie it off.
The Scotch Hobble can be helpful just teaching them to yield the hind leg with this method, without actually tying it off. See if he allows you to transfer the hind foot into your hand. If he does yield the foot and let you hold it for a few seconds, set the foot back down and reward him with oats immediately! If you do have to tie it off, do it looser every time you need to use it until it is so loose that you only have to put the loop around the neck and leave the rest of the slack laying on the floor between his legs. Pretty soon, you won’t have to use it at all. This is called phasing out the restraint. If he becomes fidgety at any point in the process, just back up one step and try again the next time.
There are many kinds of restraints available in the equine industry today: Martingales, Tie-Downs, Side Reins, Draw Reins, Chambons, Hobbles, Breeding Hobbles and the list goes on. In my opinion, most of these are being used much too freely as “crutches.” They are responsible for terrible body posture and severely limit calm and compliant responsiveness among today’s equines.
A restraint should only be used as a temporary helpful tool to allow you to get a desired response from the animal…to help to show them what you expect from them. Once you get the desired response, it is your responsibility to phase out the restraint in order for the new behavior to become his new normal way of responding…correct behavior. Restraints help to reshape behaviors!
Early in a Longears life, he should \be taught to be calm in restraints which will make routine tasks much easier. Your Veterinarian and Farrier will thank you, and it might save your mule’s life if he should get caught anywhere, fall in a hole, or encounter any other potential for disaster. Your goal is to get him to stay calm and think before he begins to struggle, or bolt, and tries to run. Many Longears will stand still naturally when they are trapped, but it is always better to reinforce this pause for thought with regular lessons.
NEVER USE A FACE TIE OR ANY HARD-TIE ON A HORSE! They have a completely different reaction to being hard-tied than a mule or donkey. They will frantically fight it and throw their bodies around so wildly that they can hurt you or themselves quite easily! I do use my Elbow Pull on horses, but do not hard-tie it. Rather I tie it with loops that slip over their back when they pull against it.
The following technique is useful when working around very young mules, although it also works well with adults. If your Longears begins to struggle, simply step back and wait for him to calm down, reward with crimped oats when he’s are calm and then resume what you were doing. The Face Tie is a very useful restraint for worming, giving shots, clipping bridle paths, clipping on the head and for teaching an ear-shy Longears how to accept the bridle over their ears. The technique is easy.
Find a good, stout hitch rail or post:
- Wrap your lead rope around the hitch rail once until your animal’s face is over the rail. This may take coaxing as you take up the slack one step at a time. Remember the oats reward as he takes steps forward.
- Slip the rope through the nose band again and secure it. For a more secure tie that will keep him sideways to the hitch rail so he cannot swing his haunches into you (like when you are giving shots), Run the rope first though the nose band as previously described, then com back through the nose band, take the rope further down the hitch rail toward the shoulders, go through the throatlatch and tie it off there. With his head secured in two places, he will not be able to pivot at the chin anymore to swing the haunches very far.
If your mule or donkey is difficult to lead and tends to bolt and run, rather than using chains that can cause unsightly bumps on the face, you can use what I call the Quick Twist. A quick twist of your lead rope through the nose band and over his nose will provide adequate leverage. Just stand your ground and don’t move if he pulls against you. The rope will tighten around his nostrils and restrict his ability to inhale deeply. He will soon discover that if he comes toward you, it loosens and allows for free breathing again. If he becomes insistent about running off, be sure you are always leading in a confined space and just let go of the lead rope and let him run off… it’s better not to lose a pulling battle with him and let him think he can win. The coax him back by reminding him that you have the crimped oats in your fanny pack! If he still won’t come back, leave him for awhile and try again later. He’ll be back!
NEVER TIE UP YOUR EQUINE WITH THE QUICK TWIST!
Hobbles can be helpful when clipping the legs, but I don’t recommend using them very much. Longears are truly adept at running off in them and most hobbles will cause rope burns on the pasterns that will scar permanently and never really heal. Do not use nylon hobbles for this reason unless they are lined with fleece. Leather hobbles seem to be fine for supervised use. When camping, it is better to tie them UP to a High Line, or just tie up a horse to the High Line and leave the mules free to roam loose with no halters on. They will stick near the horse.
Choosing the right restraint for a given situation takes a lot of thought and consideration. You must ask yourself which restraints are available for you to use? Which restraint will most likely bring about the correct response from your equine? Will the response come with little or no resistance, and is it humane? Will it cause other more serious problems with the animal? And finally, can the restraint be phased out easily?
Keeping these things in mind when using restraints will help to keep the relationship with your mule from becoming a battleground. Bear in mind that whatever restraint that you use might vary from situation to situation, and from animal to animal. So, carefully weight your options! Remember, using intelligence, a good attitude and informed use of restraints can greatly enhance your training experience together!
To learn more about Meredith Hodges and her comprehensive all-breed equine training program, visit LuckyThreeRanch.com or call 1-800-816-7566. Check out her children’s website at JasperTheMule.com. Also, find Meredith on Facebook, YouTube, Pinterest, Instagram, MeWe and Twitter.
Covered in TRAINING MULES & DONKEY: A LOGICAL APPROACH TO TRAINING, TRAINING WITHOUT RESISTANCE and EQUUS REVISITED at www.luckythreeranchstore.com
© 1989, 2016, 2024 Lucky Three Ranch, Inc. All rights reserved.



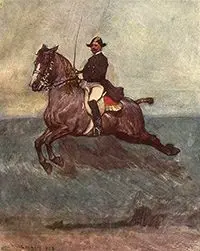 Why does Dressage training lend itself so well to training mules? In order to answer this question, we need to have a clear understanding of what Dressage really means and how it pertains to the mule’s mental and physical development in relationship to our own expectations. When most of us think of Dressage, we picture in our minds those elegant Lipizzaner stallions of the Spanish Riding School in Vienna, Austria.
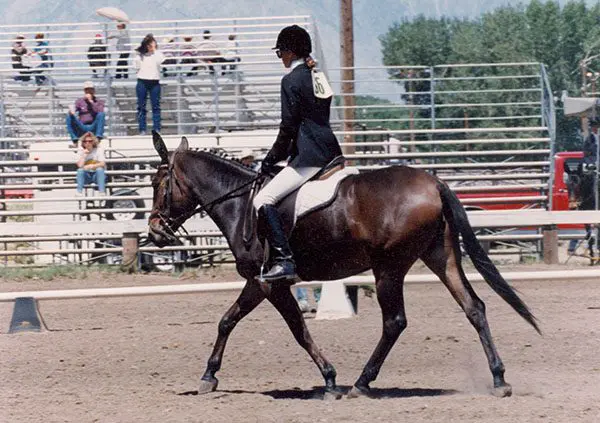 I have found that my mules will exhibit resistant behavior when they are confused or frightened, but never out of “stubbornness.” Often, we take it for granted that, since a young mule can walk, trot, canter, back up, etc. by himself, he should be able to do all these things with us astride. What many people don’t realize is that mules are born with as diverse postures as humans, and there are few mules that will exhibit good equine posture without being constantly reminded. People compensate continually for deficiencies in their own body structure, and posture will vary from person to person and situation to situation. For example, a straight-backed chair will cause most of us to sit up straight, which is healthy for the spine and neck. On the other hand, the sinking comfort of a plush couch will produce a collapsed posture, which can eventually produce sore back and neck muscles. In a similar way, a mule will have to sacrifice his good posture to accommodate an unbalanced and inexperienced rider.
 By taking the time to condition and strengthen their muscles, we allow our mules to engage in physical exercise that is not taxing and painful, thus, keeping their mental attitude fresh and happy. By conditioning your mule in a carefully sequenced pattern of exercises, you will more often avoid the possibility of throwing him off balance and into the confusion and fear that will lead to resistance and disobedience. With your own posture in mind, you can develop the rider and mule as one unit. The process is slow but thorough, and mutually satisfying.
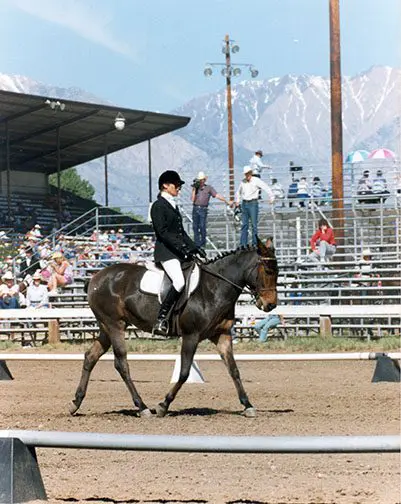 Equipment use plays an important part in the breaking saddle used, but many trainers today will agree that the less complicated equipment is used in the beginning, the better. The Western saddle may certainly be used for breaking but, from the mule’s standpoint, the Western saddle is heavier and there is quite a lot of leather between you and your mule, which can cause a certain amount of interference in communication. If the mule cannot “feel” his rider well, often times a leg or rein aid can come as a surprise and produce a response that is predisposed to resistance. For this reason, I prefer to start training in an all-purpose—or Dressage—saddle. However, I would recommend training in a Western saddle for the less-experienced rider, or if you are training a more easily excitable animal.
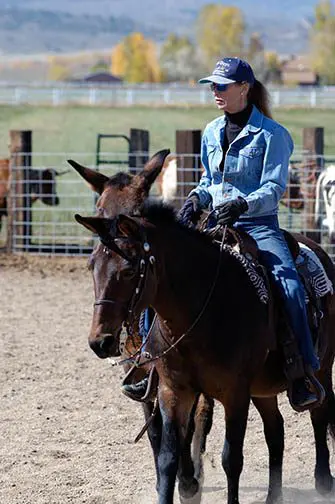 As in any exercise program, it is not advisable to drill and repeat every day. With a mule, as with any athlete, muscles need to be exercised and then allowed rest for a day or two between workouts to avoid serious injury. In between Dressage days, you can take your mule for a simple trail ride or just let him rest. The time-off and a variety of activities will keep him fresh and attentive. Three times a week is usually sufficient, with Dressage training for his proper development and conditioning, two days of simple hacking or trail riding and two days of rest. This also takes the pressure off of you. If you’re not into riding on a particular day, you won’t feel like you have to because your mule will retain his learning without the added stress of drilling day after day. Try to think of your mule’s training in terms of yourself: Would you care to be drilled to exhaustion day after day? How would you feel mentally and physically if you were? Dressage—whether it is basic or the most advanced—is a French word for training. It is thoughtful, considerate and kind, and will produce a mule that is mentally and physically capable of doing anything you might like to do with a relaxed and willing attitude. It may take a little longer, but the result speaks for itself.
 By Meredith Hodges
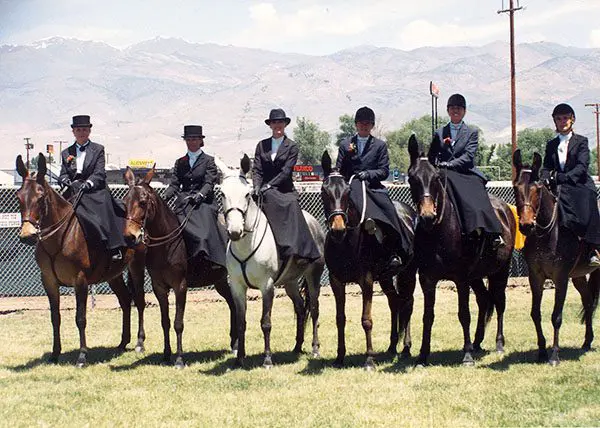
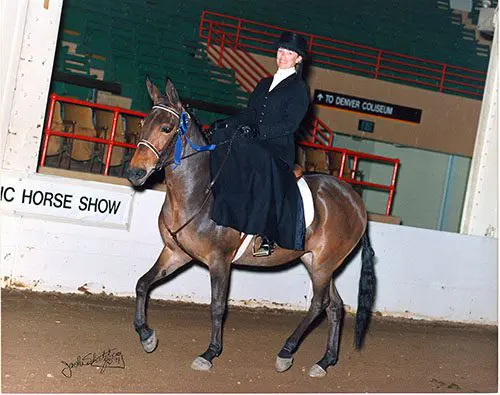
 Mules can be lovely, obedient and secure Side Saddle mounts when they are brought along correctly as has been exhibited nationally by Crystal Elzer and her mule, Final Legacy. I also fondly remember Ann Hathaway and her Dressage mule, Baby Huey, exhibiting Side Saddle in the Bishop Mule Days parade years ago. I judged the A.D.M.S. Nationals in Austin, Minnesota, and again, I witnessed a sprinkle of elegant Side Saddle riders on mules. In the state of Colorado, there was a surge of Longears Side Saddle riders beginning in 1983. The Side Saddle class for mules at the National Western Stock Show in Denver, Colorado previously had no less than 10 entries in the Side Saddle Class since its beginning in 1983 when an entire mule division was brought back after a long absence from the show.
 Generally speaking, people are quite impressed with the ladies who ride aside, and a common question often arises, “You sure look elegant, but how on earth can you stay on that way?!”
 My daughter, Dena and I truly enjoyed riding aside both in shows and in parades. Dena was thrilled to be able to finally best seasoned Side Saddle rider, Crystal Elzer in the Bishop Mule Days Side Saddle class. Crystal was a practiced Side Saddle competitor from California at Bishop Mule Days that had bested her for the previous three years.
 The training of your equine for Side Saddle should be accomplished fairly easily if your animal has a good foundation to start, and those trained in Dressage will convert the most easily. The absence of the leg on the right side gives problems most often during the left lead canter and during the leg yield left. Though many ladies will use a whip as a substitute for the right leg, it is not necessary. The animal at the higher levels of training (1st Level Dressage and above) have learned to follow your seat, and will do quite nicely staying under your seat as you move through the patterns. If your animal needs additional support, it can come through supportive indications through the reins. To achieve the left and right lead canter, for example, a slight push with your seat and a squeeze/release on the indicating directional rein will tell your animal the correct lead to take. It’s that simple!
 There are quite a few existing Side Saddle organizations today that are available to those of you who might be interested in taking lessons and participating in shows and award programs. You can check your local area for one near you or you can contact the International Side Saddle Organization, 75 Lamington Rd., Branchburg, New Jersey, 08876-3314, (706) 871-ISSO (4776),
  If you think you might be interested in learning to ride aside, contact one of these organizations to find out what people you should contact in your area to help you and others that share your interest. The feeling of elegance and accomplishment is unmatched. Our world could use a little more whimsy and romance to help the modern woman to enjoy her dignity and elegance in this fast-paced world. Hats off to the lovely ladies who ride aside!


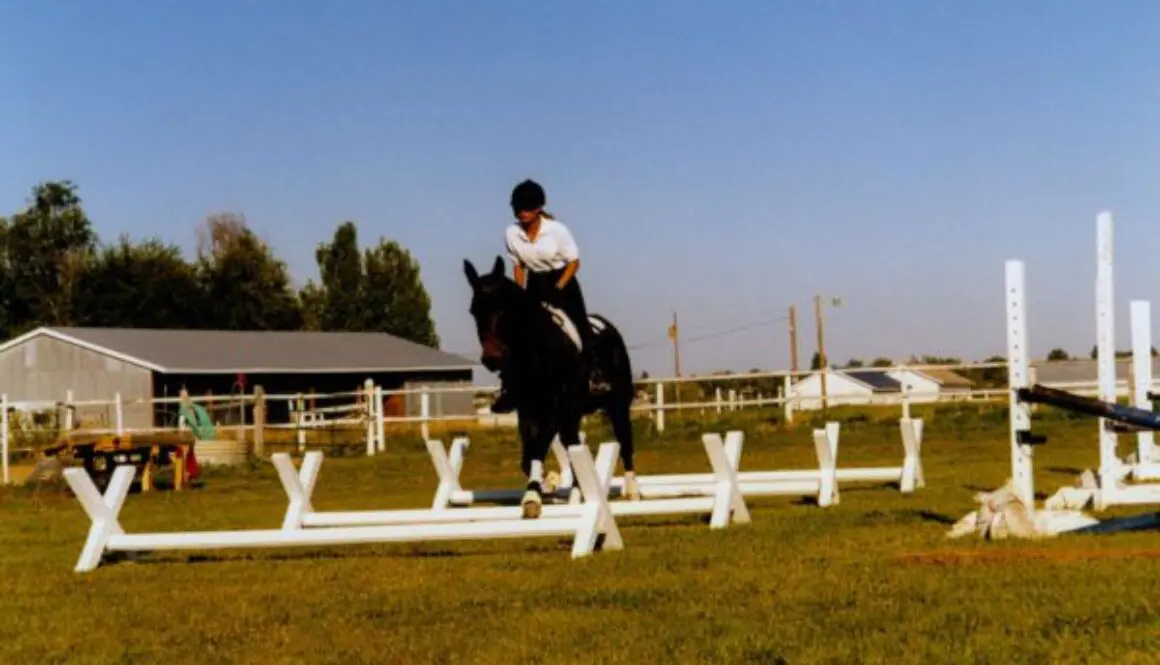


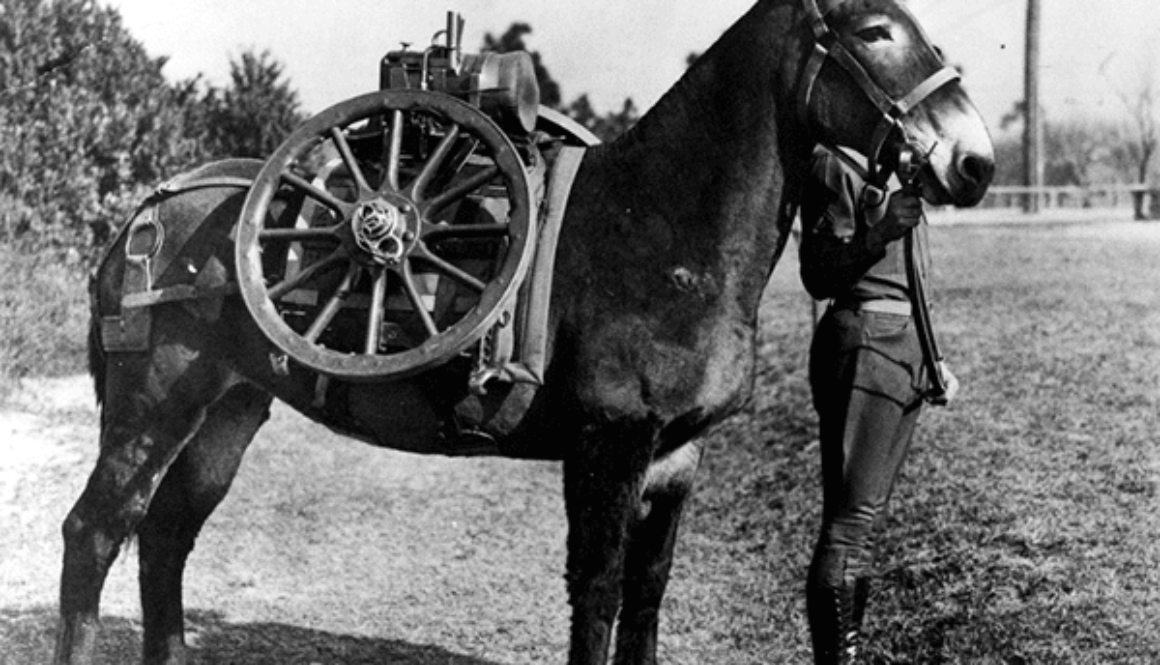
 Mules played an important role in our country during the Reconstruction Period: they patiently worked the fields, packed necessary artillery for the army, and served as a durable riding and driving animal in the westward movement. With the coming of the industrial age, their uses were minimized and they were faced with the possibility of extinction in the march of progress. Today, through the persistent determination of mule enthusiasts, mules are once again emerging as a conceivable asset to our economy and a unique form of athletic achievement and entertainment.
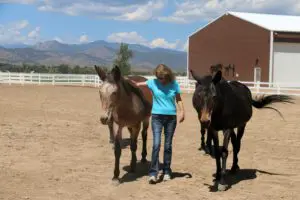 They will generally follow you around until you leave the field, begging for attention or simply observing you closely from a safe distance. Mules have a genuine desire to make friends with those other than their own species. Also, they are a very sensitive animal and can read your intentions through the tone of your voice and your body language.
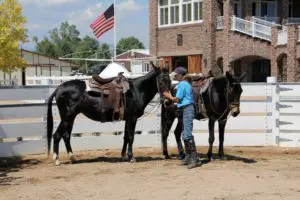 Still, the most important thing to remember is to praise the mule with caressing and scratching when he does what you desire and back it up with the food reward. Mules love this kind of attention and will do their best to get it. If they are rewarded immediately when they are behaving as desired, the desired behavior will eventually become the norm. If bad behavior is ignored or gently reprimanded, it will fade to a minimum. The result is a pleasant, affectionate, and dependable animal.
 By Meredith Hodges
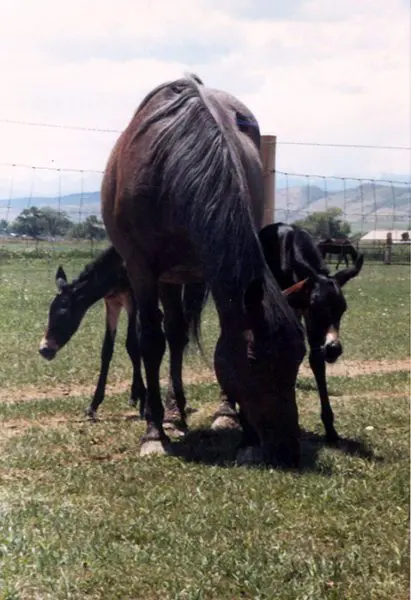 Mule foals are not too much different than human infants in their emotional needs. They require lots of attention, love, guidance and praise if they are to evolve into loving, cooperative and confident adults. In your efforts to get your young foal trained, bear in mind that he is still a child. If he is expected to fulfill too many adult responsibilities too quickly, he can become overwhelmed, frustrated and resistant. This is why it is important to allow your foal to have a childhood. You can turn this time into a learning experience by playing games with your foal that will help him to prepare for adulthood without imposing adult expectations on him when he is too young.
 The first component of developing a well-adjusted adult mule is to establish a routine that will give your mule foal a sense of security and trust in you. Having a definite feeding schedule can help a lot. If you take a few minutes each morning and evening to scratch and pet your foal while your foal’s dam is eating and after he has finished nursing, he will associate you with a very pleasurable experience. If his dam is busy eating, she will be less likely to think about running off with him. If your animals are on pasture, a short visit once or twice a day with a ration of oats and plenty of petting while paying special attention to the intensity of your touch on his body will accomplish the same thing.
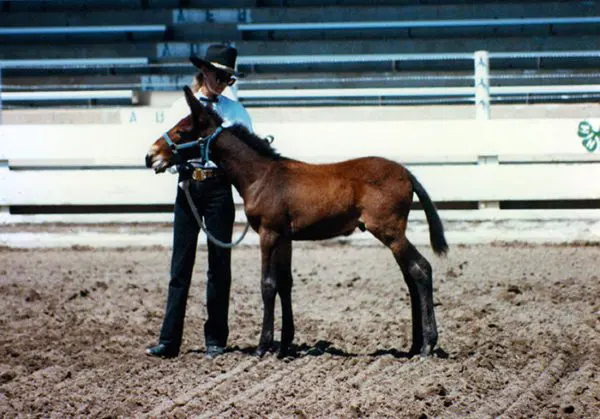 When your mule gets a little older and is ready to be halter broken, you can use your pleasurable status with him to your advantage. First, halter him and tie him to a fence with a safety knot (see DVD #1 n my Training Mules and Donkeys series). Leave him like this each day after breakfast for about half an hour, making sure to return to him every ten minutes. Each time you return, if he doesn’t become tense and struggle, untie him and ask him to follow you. If he refuses, just tie him up again and come back again ten minutes later and try again. If he comes with you, even if it is only one step the first time, take his halter off and play with him for a little while and then end the lesson. This will maintain your pleasurable status with your foal while he learns the things he will need to know as a young adult. In the next lesson you can ask for more steps before playing and ending the lesson
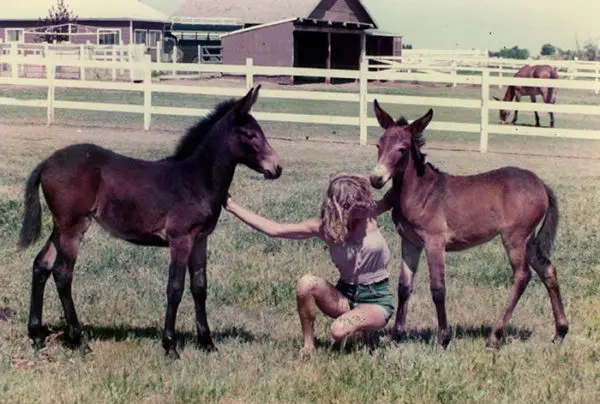 When handling your mule foal, always be sure to give him time to relax and accept a situation…and he probably will. Never get in a hurry and do not try to force anything—or your foal will be happy to oblige you with more resistance than you ever imagined possible! And remember, you can catch more flies with sugar than you can with vinegar, so go out there and have a good time with your little longeared pal. He’ll be glad to be your best friend if you learn how to be his best friend.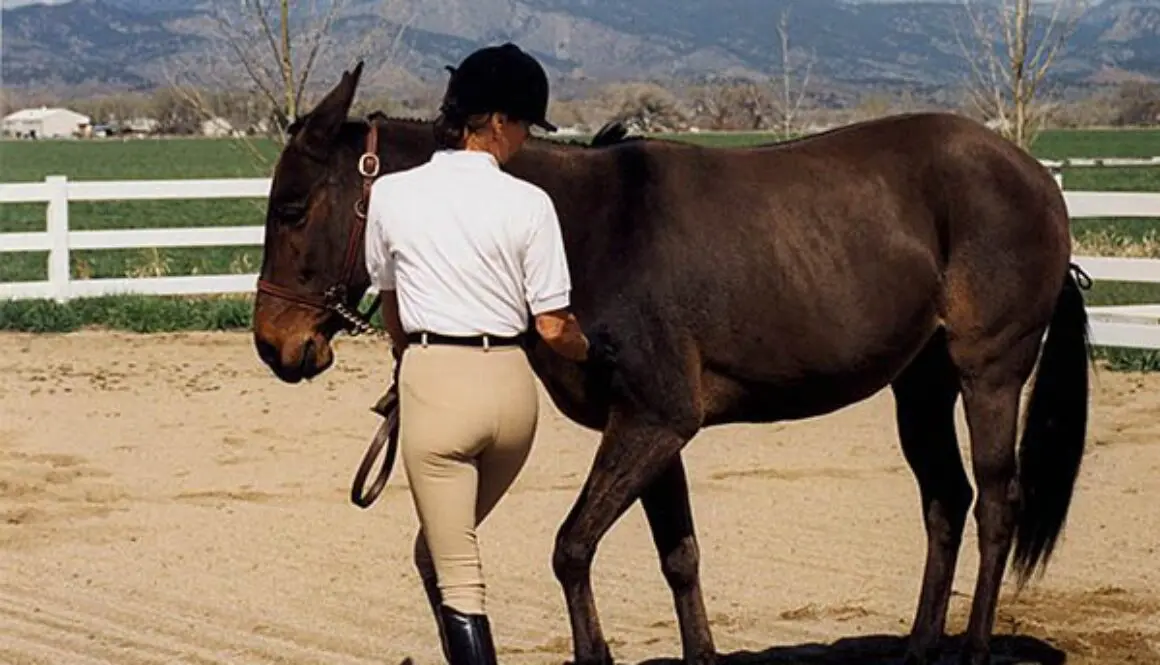
 By Meredith Hodges
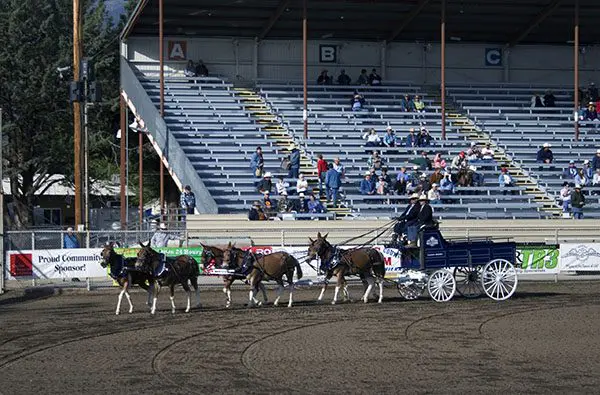 They are limited only by the imagination of The gift we have found with Longears is one that needs to be shared with others so that they might also experience the joy and pleasure these animals have to offer. In this hustle-and-bustle world, it is easy to take for granted the importance of love, sharing and simple pleasures derived from personal growth. Mule and donkey shows are a vehicle we can use to bring these things to light and revitalize the appreciation of Longears. The show ring is a place where mules and donkeys can exhibit the results of experiments with their owners and trainers, in exceptional horsemanship and performance, where challenges are met with both humor and enthusiasm. They can be pets, performers, pleasure mounts, or just plain hard workers.
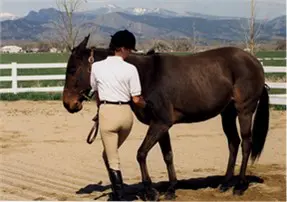 Because showing mules and donkeys is relatively new, there is much to be gained by participation. Those who feel that their animal is not of show quality can still attend shows and learn a lot about Showmanship, grooming and training skills. This development of new skills can make the difference between show quality or not, particularly in performance events. Newcomers to showing also give the audience something extra-special. The enthusiasm of the newcomer is often very contagious and the audience always finds Longears shows incredibly entertaining. They feel that this is something that they too could manage to do and enjoy. Those who feel they just cannot put in enough training time can still participate in a lot of the plain old fun classes that the show rosters include. There are enough mule and donkey clubs today that sponsor all kinds of shows and all one needs to do is contact any one of them to acquire the information that you need.
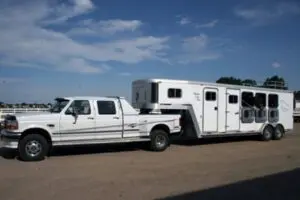 Geographical locations and transportation can also restrict showing opportunities. With a little help and a lot of ingenuity, these issues can be resolved. One just needs to decide which shows would benefit them the most and then plan accordingly. If the show is some distance away, families, or groups, can pool their efforts and cut expenses dramatically. The growth of the mule and donkey industry has increased the number of shows throughout the country. They are now more numerous in remote areas and easy to reach. If you live in a really remote area, you might want to start a Longears Group and host your own schooling shows, or you can always request permission to ride in the Open Classes at Horse Shows in your area. Either way, you are doing important work in the promotion of Longears!



 By Meredith Hodges
 In 1967, concerned Paul and Betsy Hutchins founded the American Donkey & Mule Society, designed to spark the fires of interest in these longeared animals. The A.D.M.S. quarterly journal continues to remind the American public of all the extraordinary things that had been accomplished in history by donkeys and mules. They plowed the fields, pulled the covered wagons and worked in the coal mines. They pulled barges on the canals and packed munitions for the military. They built the Rose Bowl in Pasadena, California. Wild Bill Cody rode a mule named Mouse that put General Custer’s fancy Thoroughbred to shame over long distances and rough terrain. The crowned heads of Europe rode mules as a statement of class and Jesus rode into Jerusalem on the back of a small and humble donkey! Although the horse was revered and given the credit, mules and donkeys were always right there, too – strong, steady and humble!
 Thanks to Paul and Betsy Hutchins, we have been reminded of Longears’ great legacy and there are those, including myself, who would find a way to appreciate their efforts and would help to make donkeys and mules an important part of modern-day society.
 Mules and donkeys are becoming the equine of choice in many areas today. The California Sierra Nevada Pack Stations are populated with mules trained to take tourists on pack trips through the scenic mountain areas. The only equines safe enough to carry tourists down the steep rocky trails at the Grand Canyon and at Molokai are mules! Hunters are using mules as riding and pack animals due to their incredible strength, endurance and intelligent nature. They can handle rougher terrain and adverse weather conditions better than can the horse. Donkeys are finding new uses in guarding sheep from unwanted predators. Mules and donkeys are used in handicapped riding and driving programs, and molly mules are being used for embryo transplant. Third world countries are being educated in the care and feeding of their donkeys and mules to enhance economic growth. Mules and donkeys have even become viable 4-H projects for young people who enjoy the challenge. We are finding that there are actually very few things these longeared equines can’t do!
 Skeptic that I am I have always attempted to find the limitations of these incredible individuals. Here at the Lucky Three Ranch, we continually challenge our mules and donkeys with new and innovative tasks. They have continually met these challenges with success! With each new success, our mules and donkeys have brought many new and wonderful friends into our lives, making life full and very rewarding. To this day, I am still amazed when an animal has met his challenge and accomplished what I have asked. I suppose part of me would still like to believe that if they could have done all these things, then they would have already been done. But I can see now that that isn’t necessarily so. Need has a lot to do with it. No one ever NEEDED an upper level Dressage mule before! But I did!
 Since we have yet to find any serious limitations in these Longears’ ability, at the Lucky Three Ranch we concerned ourselves with documenting these three unique successes. Training Mules and Donkeys: A Logical Approach to Longears is a book documenting the training techniques we have used that led to the ultimate success of our mules and donkeys. It will was first released in May 1993 and was revised in 2013. As far as I know, it is the only book of its kind with training from foal to adulthood and has subsequently been supported by more books, DVDs and television shows and our extensive and comprehensive website at www.luckythreeranch.com. The intent is always to help mule and donkey enthusiasts to get the best from their animals and to avoid the common pitfalls that would sour an otherwise stimulating and rewarding experience with Longears. It just goes to show that MULES CAN DO, AND DONKEYS, TOO! Seeing IS believing and dreams really CAN come true!


 On the other hand, if you are leading a mule, or a donkey, they can easily jerk the rope right out of your hands, or jerk you right off your feet, because of the incredible strength they have in their head and neck. When you teach a mule or donkey something one day, he will ponder what he has been taught during the days between lessons. Regardless of how many days or weeks pass, he will comply more easily during the next lesson because he never forgets what has been taught. A horse will tend to forget and will need to be reminded where mules and donkeys will not necessarily need those constant reminders.
 There are many kinds of restraints available in the equine industry today: Martingales, Tie-Downs, Side Reins, Draw Reins, Chambons, Hobbles, Breeding Hobbles and the list goes on. In my opinion, most of these are being used much too freely as “crutches.” They are responsible for terrible body posture and severely limit calm and compliant responsiveness among today’s equines.
 The following technique is useful when working around very young mules, although it also works well with adults. If your Longears begins to struggle, simply step back and wait for him to calm down, reward with crimped oats when he’s are calm and then resume what you were doing. The Face Tie is a very useful restraint for worming, giving shots, clipping bridle paths, clipping on the head and for teaching an ear-shy Longears how to accept the bridle over their ears. The technique is easy.

 Keeping these things in mind when using restraints will help to keep the relationship with your mule from becoming a battleground. Bear in mind that whatever restraint that you use might vary from situation to situation, and from animal to animal. So, carefully weight your options! Remember, using intelligence, a good attitude and informed use of restraints can greatly enhance your training experience together!