MULE CROSSING: Good Basic Training Includes Common Sense, Part 2
By Meredith Hodges
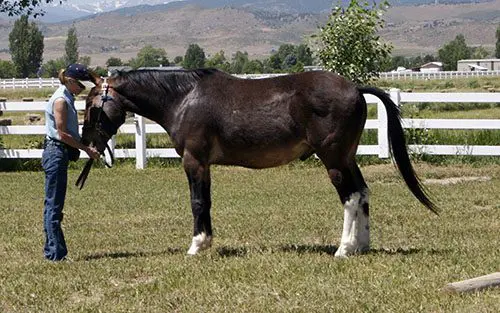
Proper training is much more than just teaching your equine to do “movements.” You are conditioning his body so he can do those movements easily, which in turn produces an equine with a happy and healthy working attitude. In order to do this, you need to be prepared to spend plenty of time during the leading stage of training both on flat ground and then over obstacles, conditioning the “core” muscles that support your animal’s skeletal frame. When training any equine for saddle or driving, you will need to spend an adequate amount of time on correctly conditioning his body. To assure that there is no undue stress on his body, your equine should be at least three years of age when a rider is introduced. If you look at the configuration of the equine spine, it’s easy to see how important it is to strengthen the muscles that support the tall, finger-like spinus processes that protrude from the equine’s interlocking vertebrae—these spinus processes are what a rider actually sits on and must be supported along the topline by strengthened musculature on both sides of the spine.
Approach to Obstacles, Stage One:
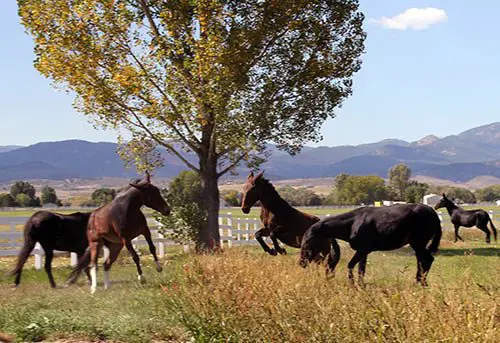
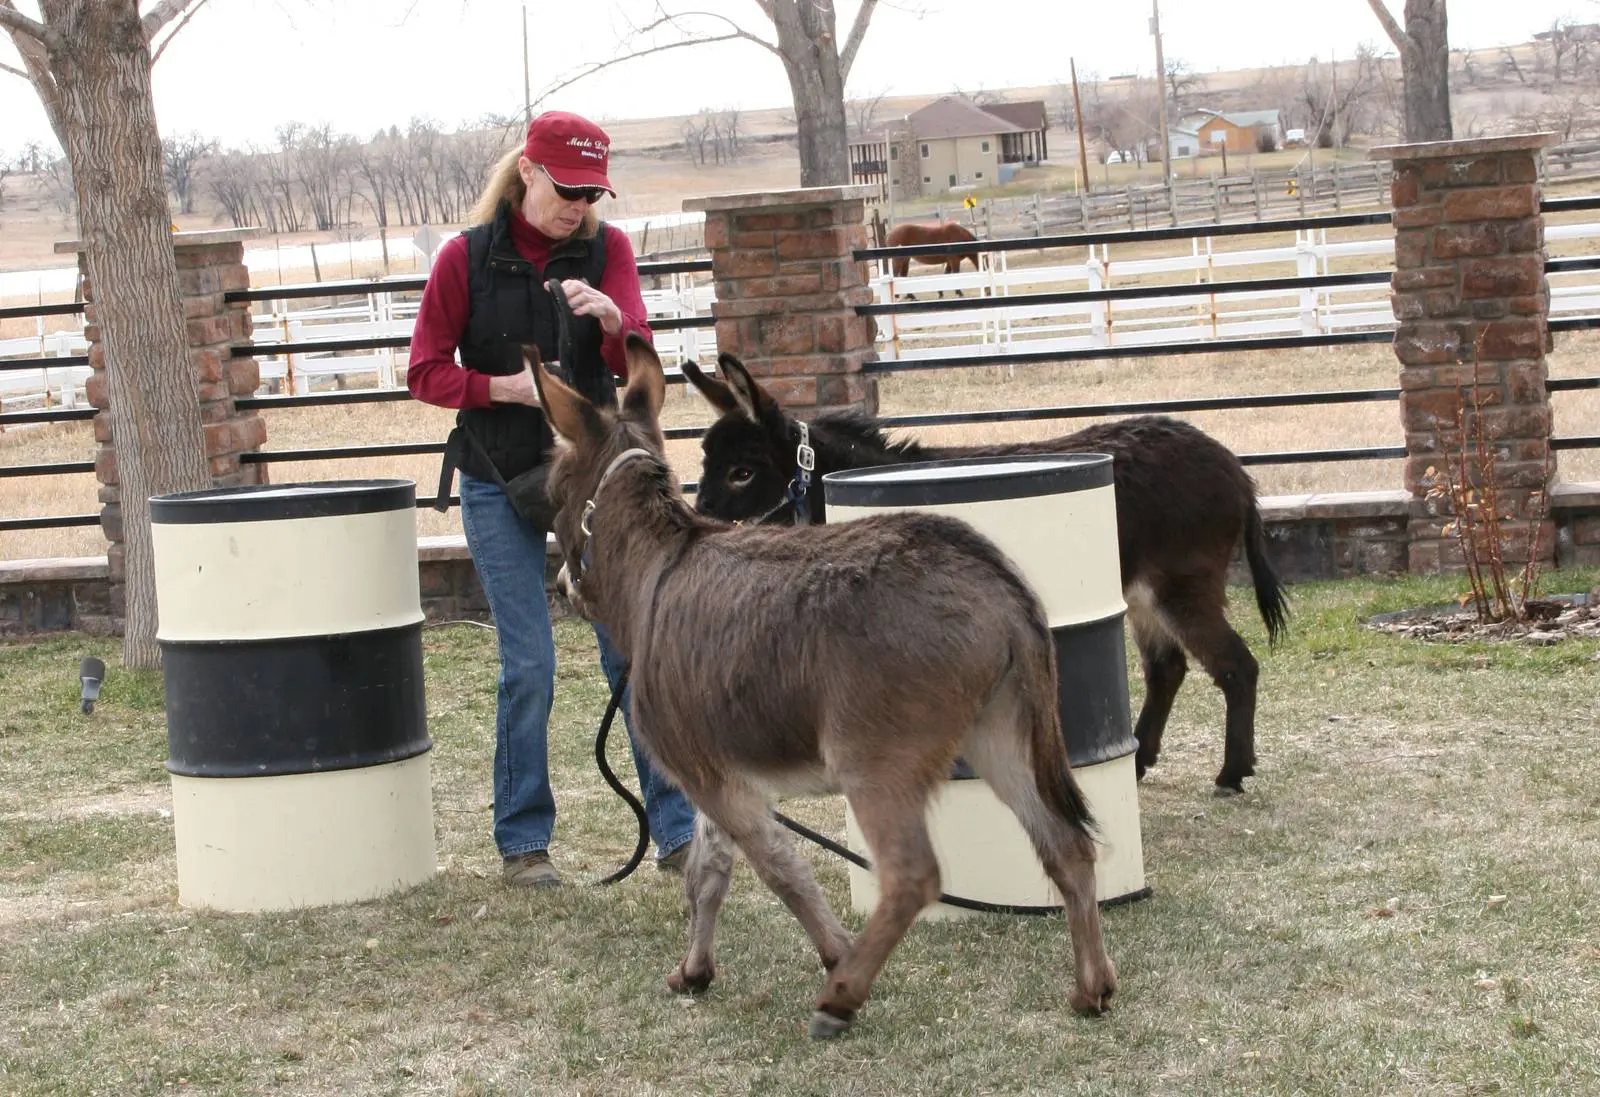
At this stage, you need only focus on negotiating the obstacle: replacing fear with curiosity, instilling trust and confidence, and just getting your equine through the obstacle. When doing obstacles on the 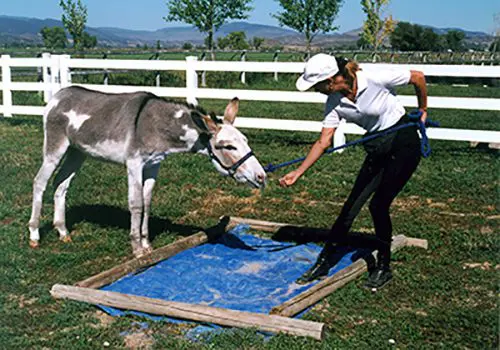 lead line, keep in mind that you are not only teaching your equine to negotiate an obstacle, you are also conditioning the muscles (especially the ones that are closest to the bones) while, at the same time, teaching balance, coordination and self control. In showmanship training, you focused on strength and balance on the flat ground. While working with obstacles on the lead line, you will now begin to add coordination during this second phase of obstacle training. Remember: Do not put obstacles in your equine’s stable area and/or living quarters, in an attempt to make him “live” with the obstacle. This only serves to create insensitivity and in some cases, cause greater fear. The stable area should always be your animal’s resting place, just as our bedrooms are for us—a place of rest, relaxation and privacy.
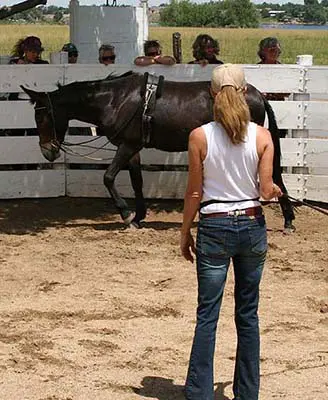
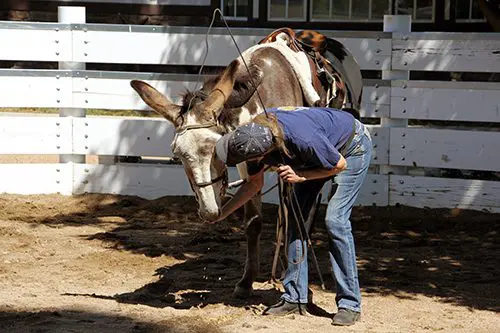
If your equine is not easily approaching an obstacle such as a bridge, tarp, ground poles, etc., do not wait and withhold the reward until he actually makes it over or through the obstacle. Lower your expectations and go back to your lead line training: Walk to the end of your lead line, hold it taut and wait for your equine to step toward you. Even if he only takes one step at first to comply with your request, give him his crimped oats reward, tell him how brave he is being and praise him for his accomplishment. Let him settle, leave him where he is and walk to the end of the lead line again, getting even closer to the obstacle, and repeat the same routine. When you finally reach the obstacle, step up onto the bridge or tarp, or over the first ground rail, and ask again. Stop him if he tries to run through or over the obstacle and reward him for standing with his front feet on the obstacle. You might even want to back him up, and then reward him for doing the back up before proceeding forward. Next, lead your animal away from the obstacle and then come back, requesting that he put all four feet onto or into the obstacle. Repeat this procedure again and ask him to negotiate the entire obstacle slowly and in control. Breaking the obstacle down into small steps like this will facilitate your animal’s body control and help him to learn to keep his attention on you—and don’t forget your verbal commands.
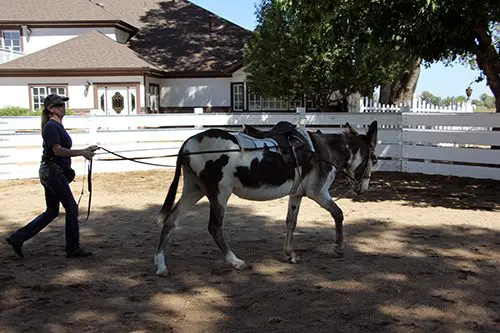
 When your equine is more willing to come through the obstacle, you can regain your showmanship position, with your left hand carrying the lead line and your right arm extended in front of you, pointing toward the direction in which you will be going. When he is finally listening and will follow at your shoulder over or through the obstacle and stop or back up at any point during the negotiation of the obstacle, you can then turn your attention to whether he is actually traveling forward and backing up in a straight line, and whether or not he is stopping squarely. Do this the same way first on the lead line, then much later in the drivelines and, lastly, under saddle. How he negotiates the obstacles will have a direct bearing on how his muscles are being conditioned and how his balance and coordination are being affected so don’t be afraid to ask for more precision going forward.
Approach to Obstacles, Stage Two:
Now you will be going through the same obstacles, but with body strengthening and coordination in mind. Since, in the beginning, balance is very sketchy at best, you should break all of the following obstacles down into very small steps.
 Ground Rails and Cavalletti: Four ground rails and four cavalletti are good tools for straight, forward exercises that will promote stretching of the body in true and correct forward motion. These exercises will also develop rhythm, balance, cadence and suspension within the gaits, first on the lead line, and then later during ground driving and under saddle. Ground rails and cavalletti are also great for enhancing your ability to stay in stride with your animal. You should first do the exercises over the ground rails. Then, for jumping training, you can graduate to the 6″ cavalletti setting, then the 12″ cavalletti setting and, finally, the 18″ cavalletti setting. Your equine will learn to suspend and place his feet in a balanced and deliberate fashion while you learn to do the same. Getting in rhythm with your animal’s stride will improve your equine training experience and make things a lot easier and safer.
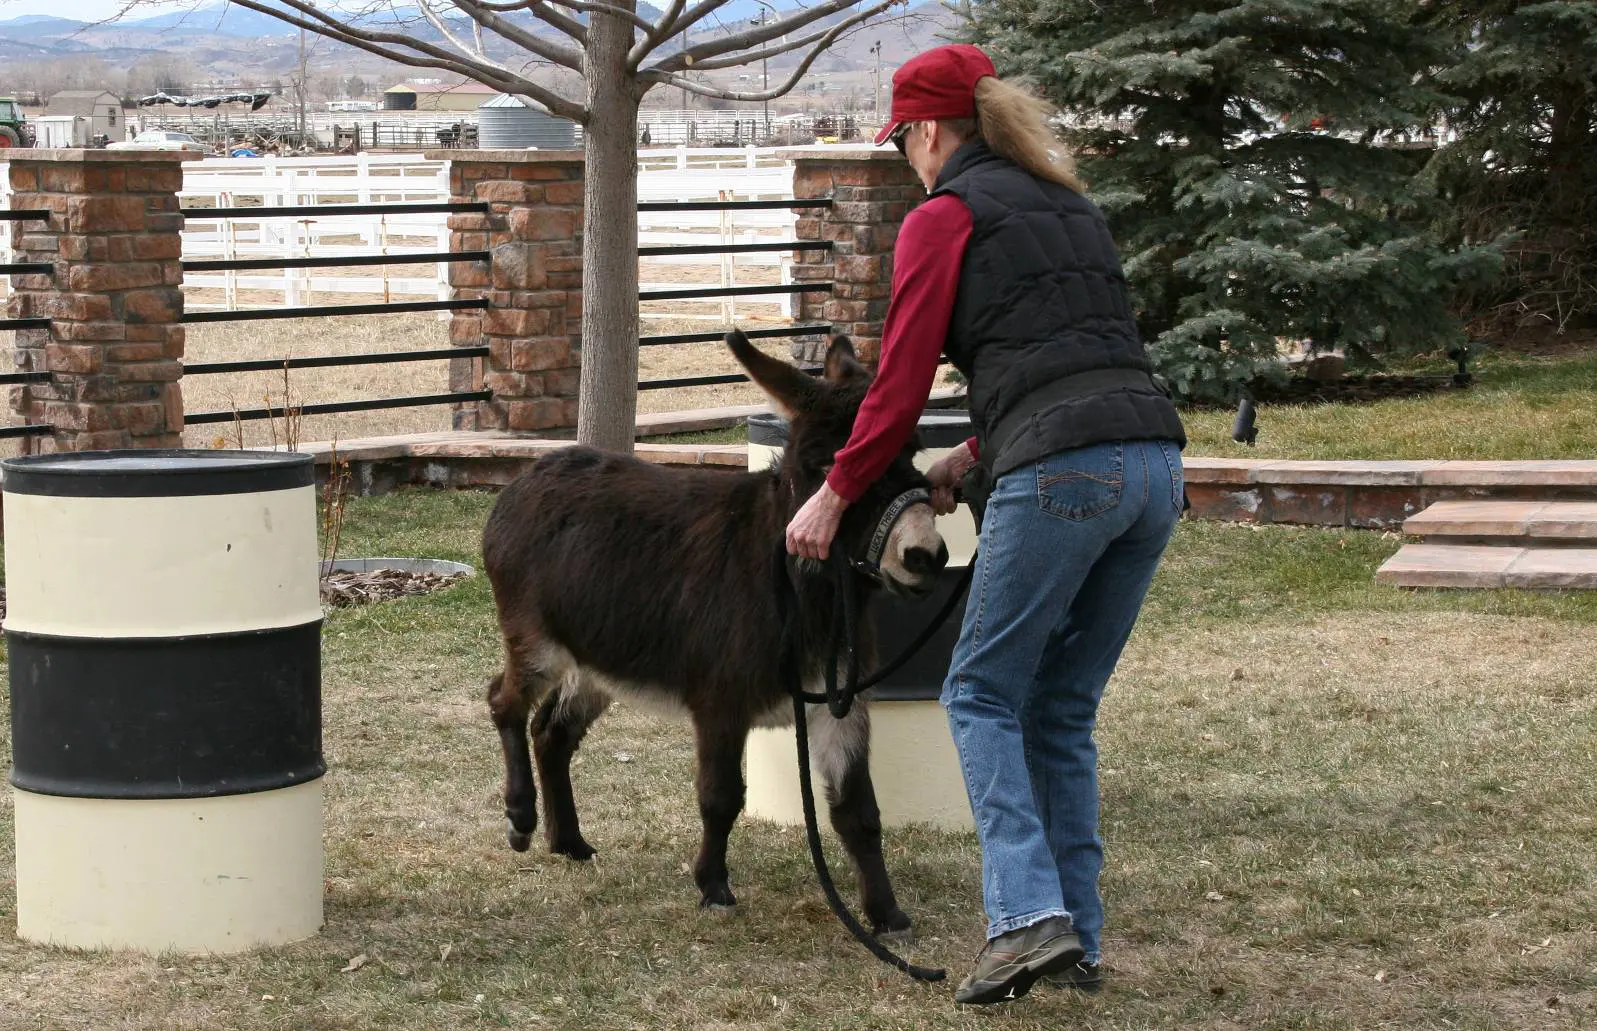
The Bridge: The bridge obstacle will help develop your animal’s eye/hoof coordination. Those first steps onto a bridge will determine how the rest of the body will follow. Approach the bridge, and then  stop at the base, square up your equine and stand for a few seconds. Then ask him to put his two front feet on the bridge, square up and, again, stand for a few seconds. Next, ask him to put all four feet on the middle of the bridge, square up and stand still for a few seconds. Now ask him to take his two front feet off the bridge and leave the two back feet on it and square up again. Most equines can do the first few positions pretty easily, but when the front feet go off the bridge, the equine’s balance is often thrown forward and they find it very difficult to stop in this position. If he is able to sustain this position for several seconds before you give the command to continue forward, he has completed the bridge work.
If your animal is having difficulty with this position on the bridge with you in the showmanship position, you can use a second technique when coming off the bridge. Stand directly in front of your equine and hold the halter on both sides of his face to help keep him from falling forward. This is one time when it is preferred to have a nylon webbed halter that fits his face. If he has been properly trained up to this point, he should not run over you, but will accept the aid of your arms to help support him in the correct position. This is one time when it is acceptable to violate the rules of being in the “danger zone,” which is the area directly in front of your equine. The equine that is trained in this manner will be able to negotiate the bridge and halt at any time upon request with no visible effort (i.e., no change in stride, balance, rhythm or cadence) and will learn to wait and listen carefully to each of your commands, first on the lead line, and then later on the drivelines and finally under saddle.
To learn more about Meredith Hodges and her comprehensive all-breed equine training program, visit LuckyThreeRanch.com, MEREDITH HODGES PUBLIC FIGURE Facebook page, or call 1-800-816-7566. Check out her children’s website at JasperTheMule.com. Also, find Meredith on Pinterest, Instagram, MeWe, YouTube and Twitter.
Covered in TRAINING MULES & DONKEY: A LOGICAL APPROACH TO TRAINING, TRAINING WITHOUT RESISTANCE, EQUUS REVISITED and A GUIDE TO RAISING & SHOWING MULES at www.luckythreeranchstore.com.
© 2015, 2016, 2020, 2024 Lucky Three Ranch, Inc. All Rights Reserved.

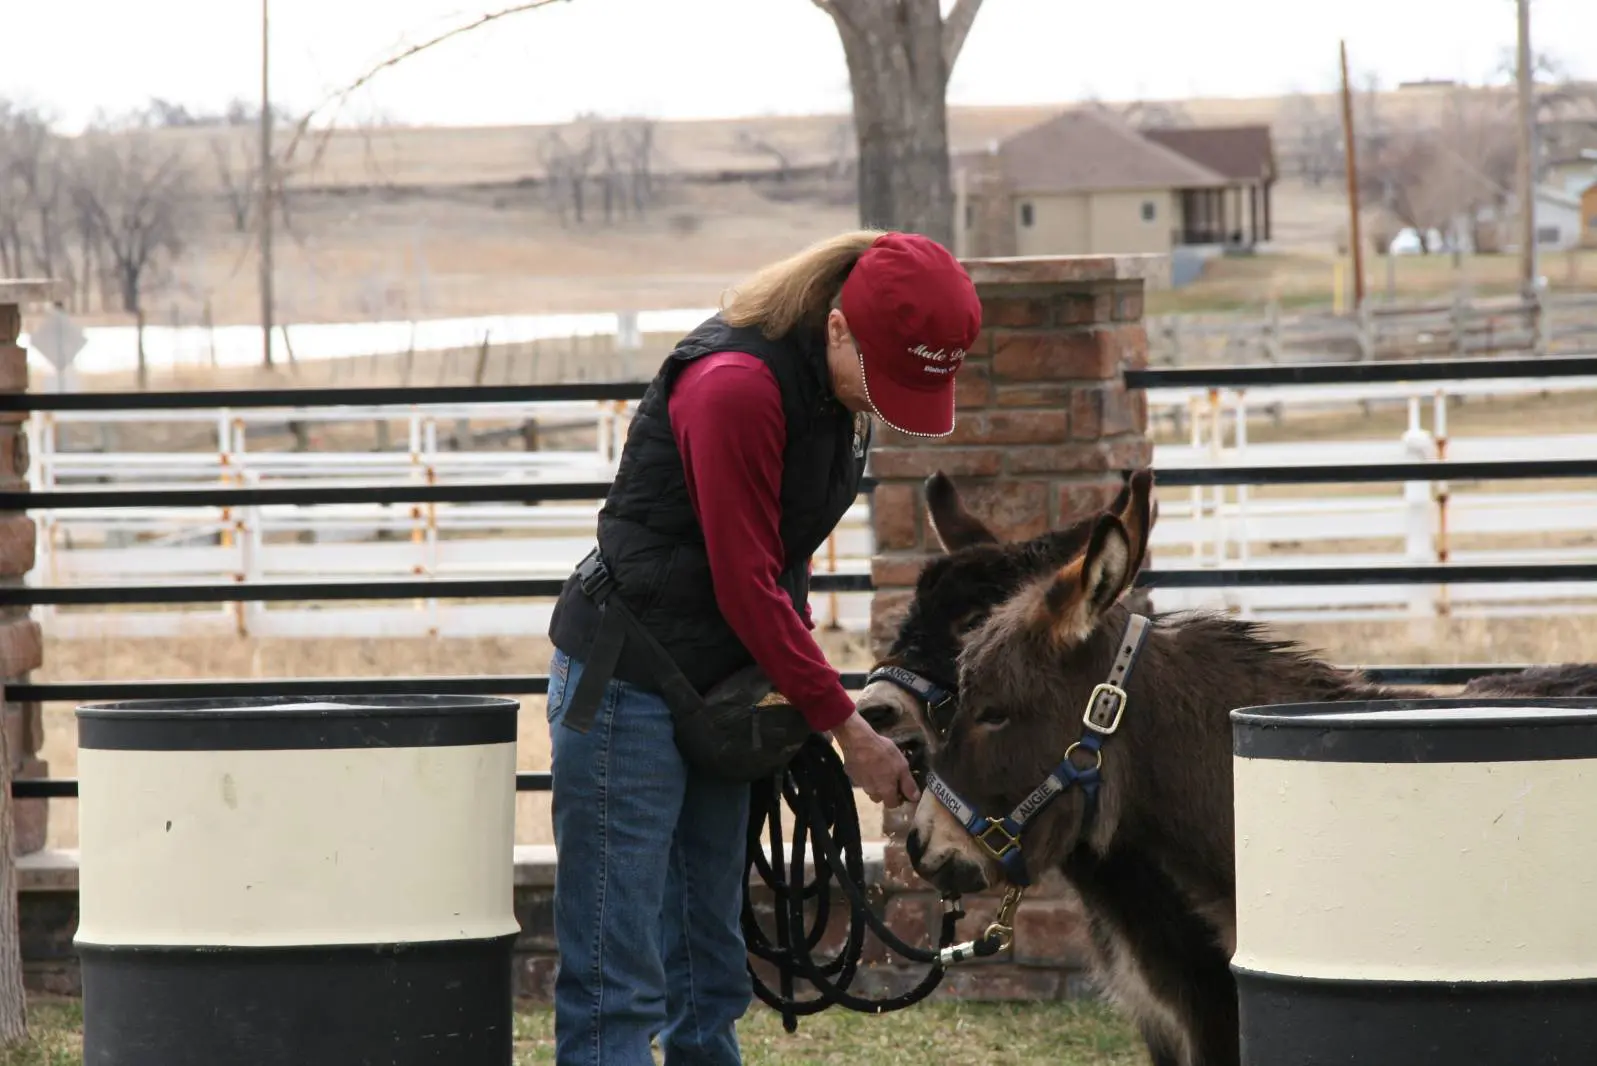
 In Part 1, you learned how to begin the relationship with your miniature equine in a positive and natural way that fosters good behavior and a good relationship between you. You also learned the importance of getting down to your mini’s eye level so that he can make eye contact with you, which discourages striking, jumping on you and other bad behaviors that are common when working with miniature equines. In Part 2, I discussed how important it is to successfully complete the tasks in Part 1 before moving on to Part 2, and I explained why it is advisable to work minis in groups, as they perform better when they are with their friends. You also learned how to train minis to go over and around various obstacles. Remember that all of this is to be done with no expectations that may overwhelm your mini—it is better if you maintain an attitude of fun and games. In Part 3, we got down to some serious groundwork training so that your mini can be used for driving and showing in hand. He learned to lunge and to be ground driven in the round pen and in the open arena through the hourglass pattern and, if part of a team, how to do these things as a pair.
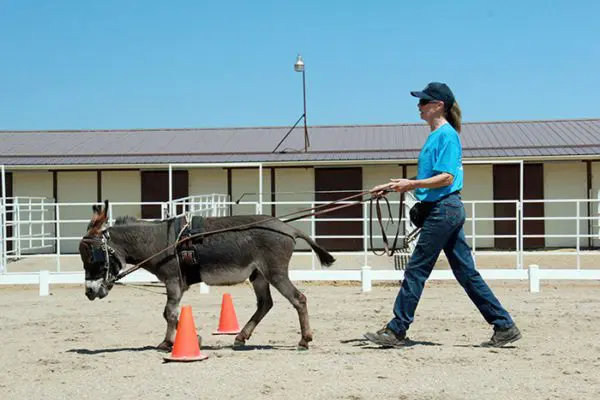 The “Elbow Pull” supports good equine postural balance and acts much like the balance bar that is used by a ballet dancer until she or he is strong enough to hold any postural position in the middle of the room without support. This becomes very important when your mini is in draught (pulling an obstacle or vehicle) in order to make sure he will pull correctly, and symmetrically condition his body’s muscles to avoid future injury to the internal structures within his body.
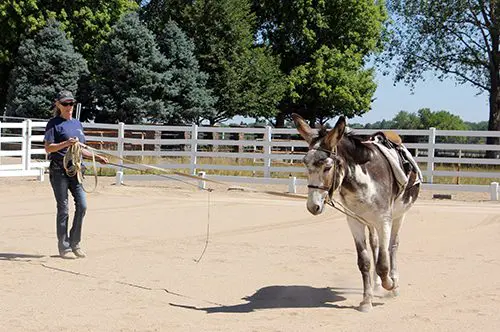
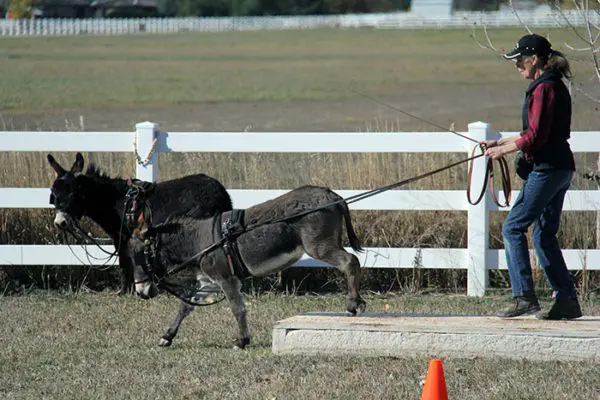 By now your mini has already learned to ground-drive the hourglass pattern and has negotiated the obstacle course on the lead line. There are still more obstacle exercises you can do to strengthen your mini and improve his strength and coordination to prepare him for driving before he is ever hitched to a cart or carriage. Now he is ready to learn to ground-drive the obstacle course. The obstacle course exercises will increase his confidence in being in the lead and help him to go bravely ahead of you upon command.
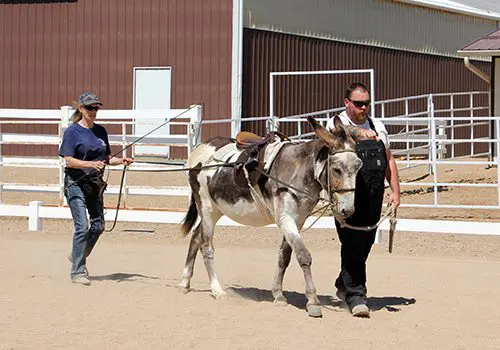
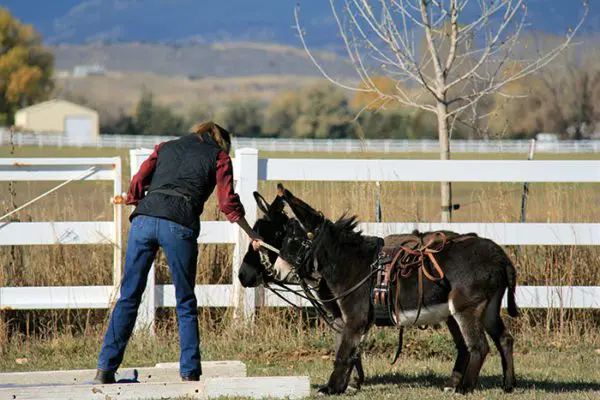 Approach each obstacle on the drive lines and if he balks and refuses to go forward, just stop, gently lay the lines over his back and then lead him through. Then go back and try again on the drive lines. In order to alleviate any fear or confusion your mini may feel, remember to “get down” to his eye level whenever possible. NOTE: Don’t forget to always reward him with his favorite crimped oats for compliance.
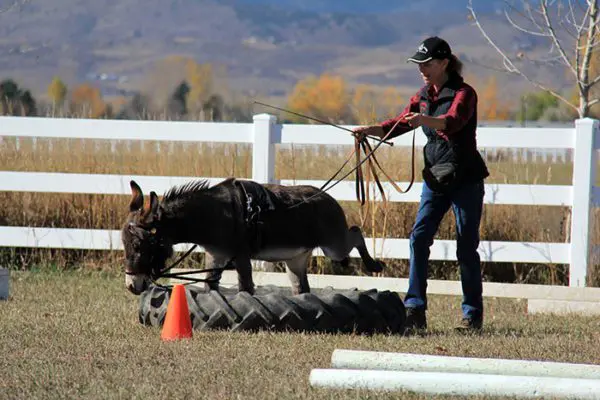 Once your mini is willing to go straight through the obstacle with a calm attitude and no balking, you can then begin to break each obstacle down into smaller, easier steps, rewarding and praising him for each success. If he is apprehensive about any obstacle, you should lead him through these smaller steps with frequent halts before attempting to ground-drive him through. He may need these detailed “explanations” before he is willing to “take the lead.”
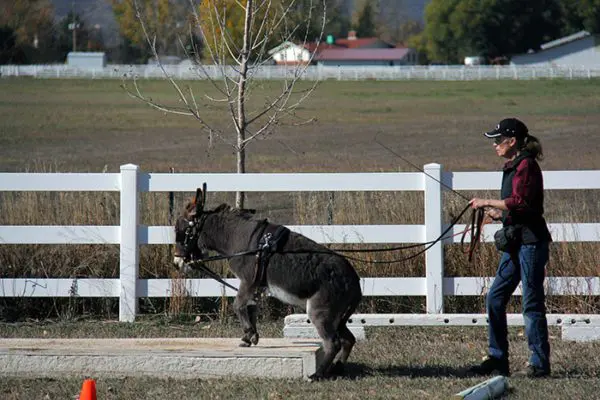 If you are training him on the bridge obstacle, go to the landing, stop, square up, put the lines up and reward, then resume your position and drive him up onto the bridge, but with only his front feet on the bridge, and then stop again. Put up the lines, walk forward and reward. Then drive him completely onto the bridge, stop, square up, put up the lines and reward. If he is having problems squaring up on the lines, then just square him up when you get to his head before you reward him.
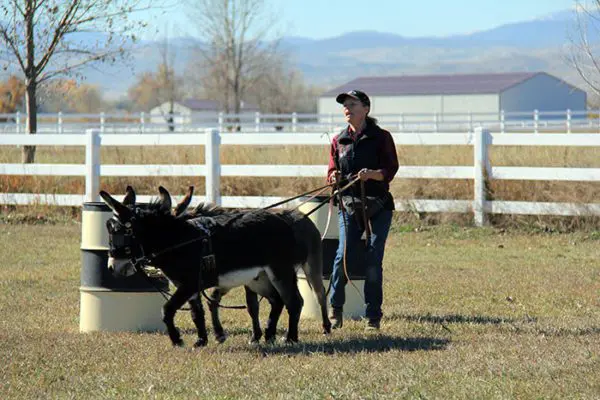 You can ask him to take full responsibility for perfect balance and negotiation of the obstacle later. For now, your primary task is to help him get through the obstacles successfully and with as little help as possible. Breaking obstacles down into smaller steps will increase his balance, coordination, agility and self-confidence. Even after he has become competent while hitched to the vehicle, you can use ground-driving obstacle exercises in the “Elbow Pull” to finesse his movements during future lessons. It will add variety to your mini’s lessons and continue to promote health, coordination and good equine posture.